Coin Photography For Beginners
 FlyingAl
Posts: 4,394 ✭✭✭✭✭
FlyingAl
Posts: 4,394 ✭✭✭✭✭
I will preface this post with several caveats, because I feel they are needed.
1) I will not be sharing any gear tips for specific equipment aside from cameras. There are several options available to each photographer and it is up to them to decide what works best. Some of the gear I use is no longer available on the open market as well, which means me sharing what I use will be of no use to you. There are also a lot of threads on this topic.
2) This post can apply in some ways to photos taken with a cell phone. With that said, it is certainly not geared towards it and as a photographer I HIGHLY encourage anyone with the ability to use a DLSR or mirrorless camera to do so. This post will also not break down the basics of photography at large (how to change xyz setting on MY camera).
3) I will not be offering post-processing tips, that would be a longer post for another time. I will say that post-processing is necessary to pretty much every image I have ever taken, and what post-processing does is the same thing as changing a camera setting before taking the shot. It is not evil or deceptive if done right, and should not be frowned upon.
Here we go! I will use some images straight from the camera to help show what it looks like on the camera screen.
Photography Generally
Photography generally depends on several factors, F-stop, ISO, white balance, and exposure. I will break these down here.
First, what does this look like on a camera screen? Here's mine, labeled with the adjustments for everything we will be talking about. When I mention items like F-stop or ISO, this is where those numbers are located. They will vary based on camera, but this is generally how it's set up: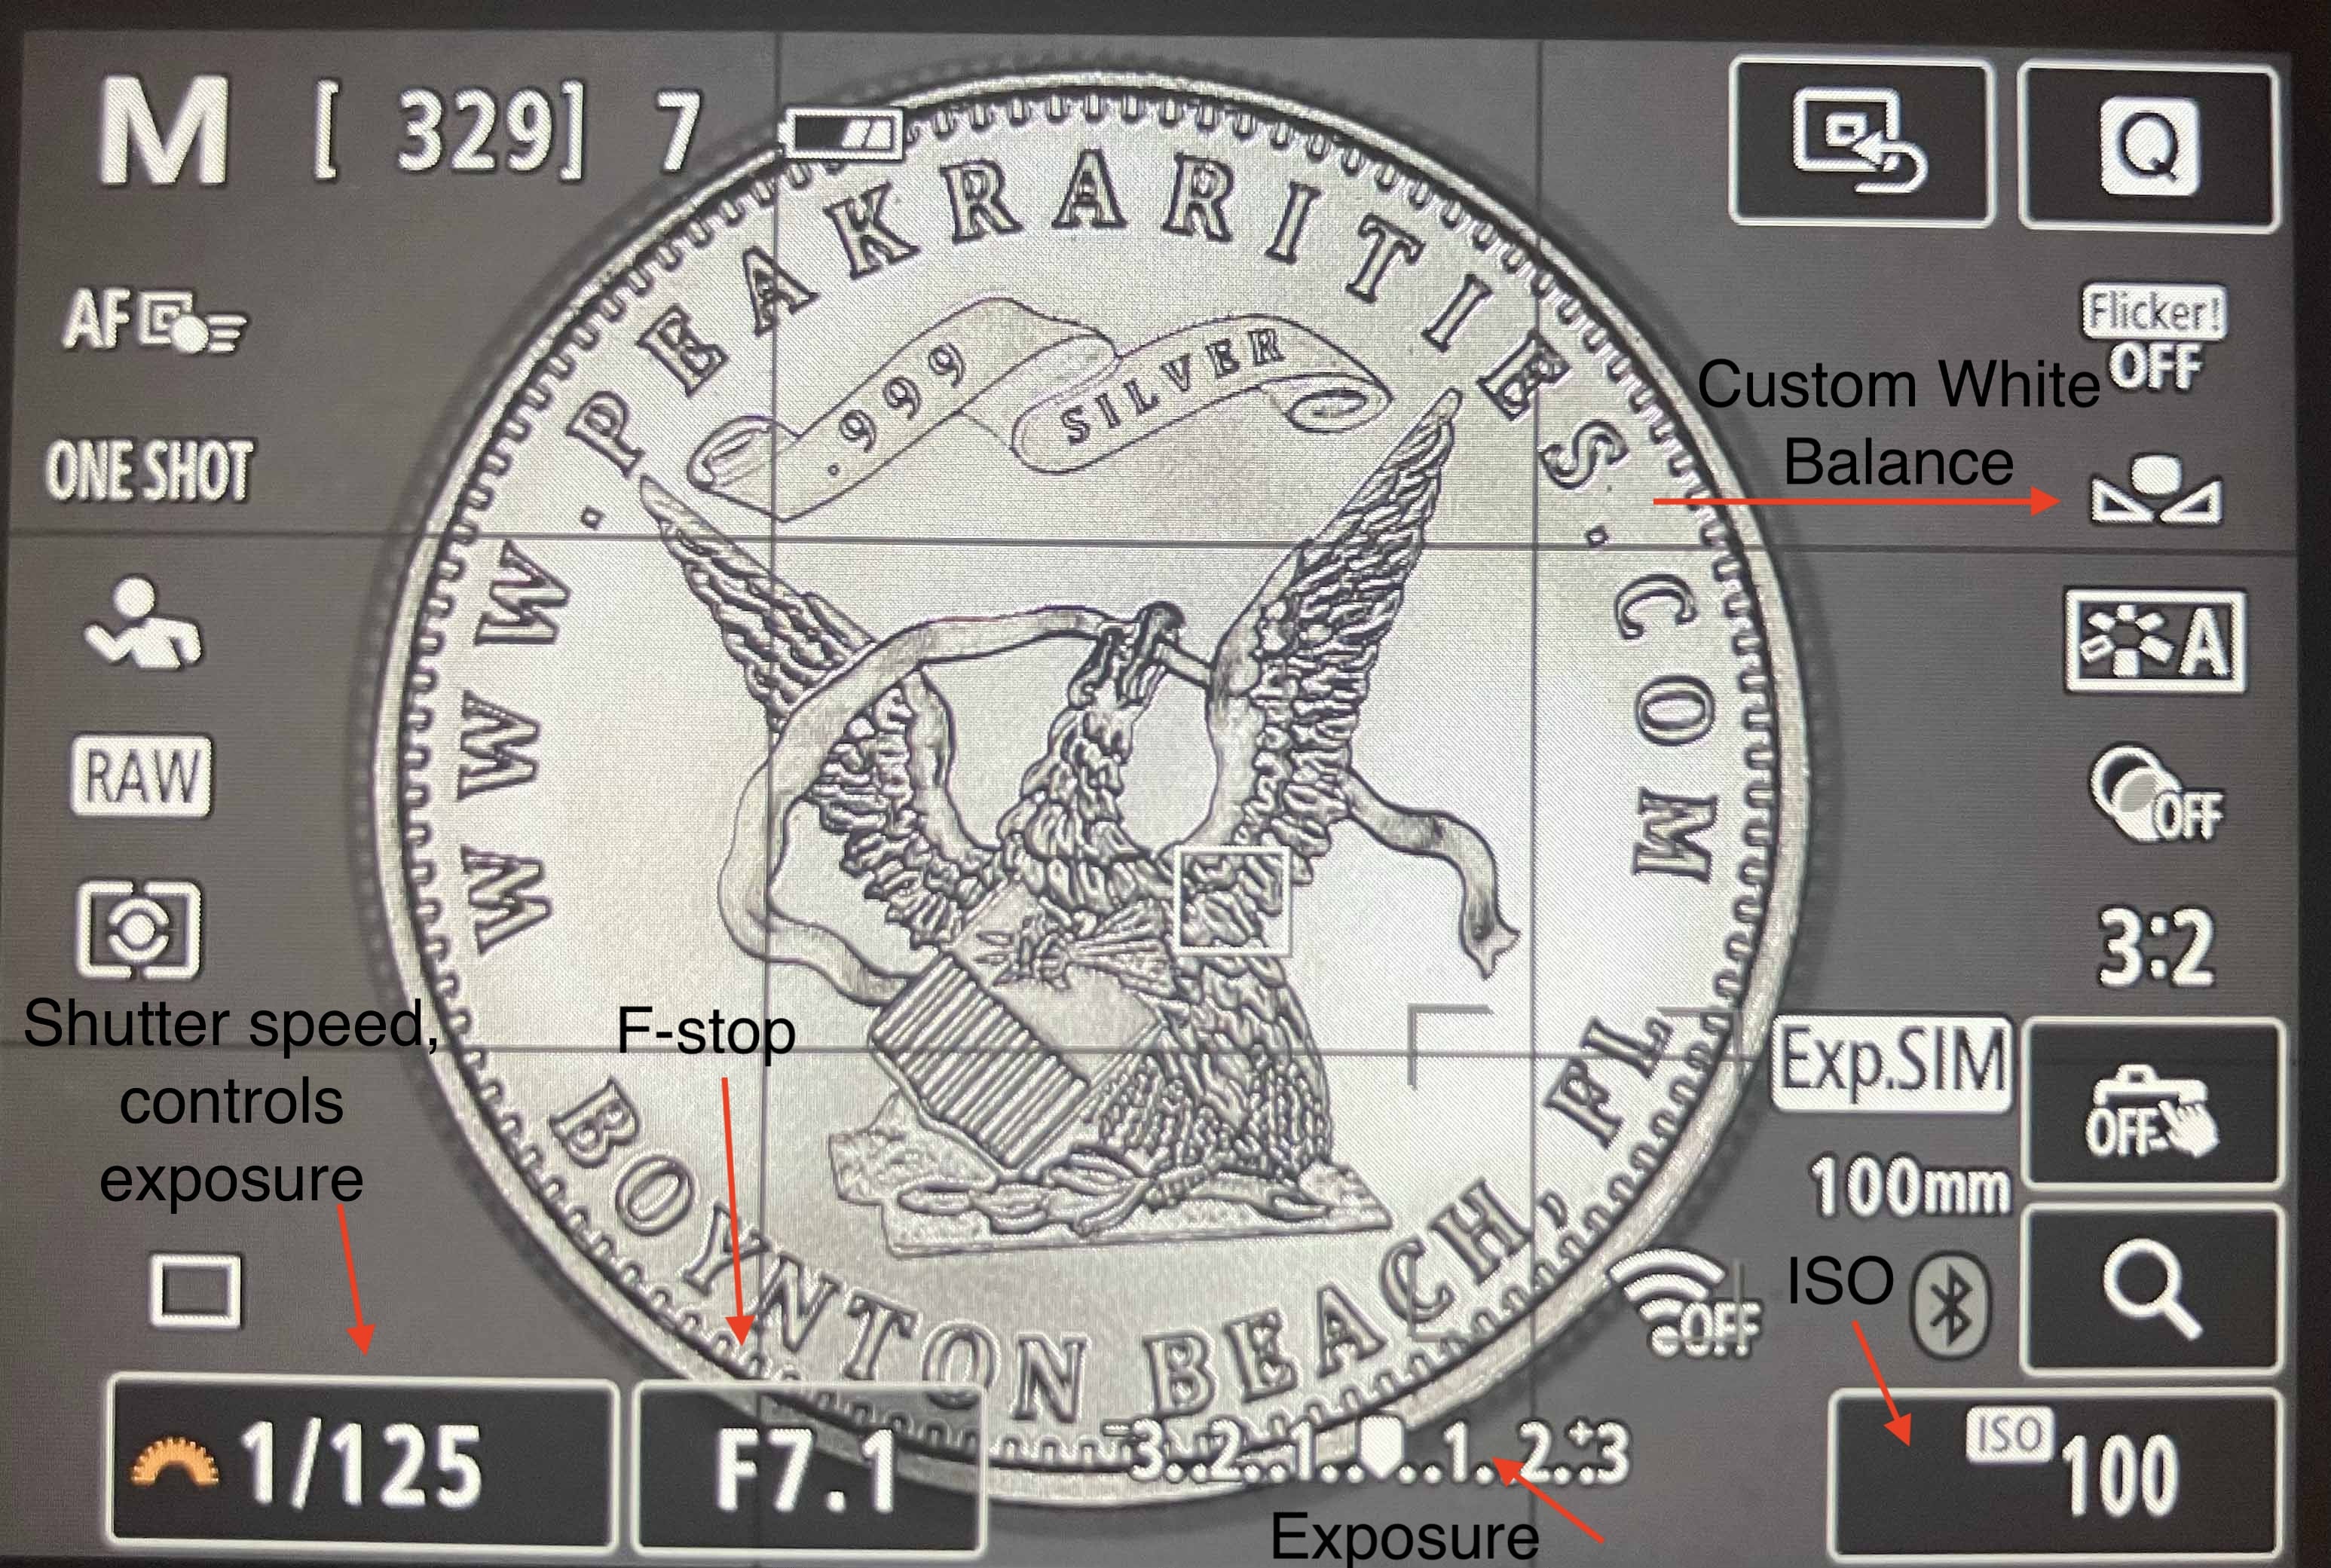
White balance - use custom. A grey card is ideal, but a sheet of white paper works just fine. Take a picture of the grey card or paper and then use the custom white balance feature on your camera to adjust the white balance. If you are wondering how to do that, your camera manual or google can provide step by step instructions.
F-Stop - This is how much light the camera lets in my opening or closing the aperture into the lens. It also controls depth of focus. If you want a very high depth of focus, choose a higher F-stop. A lower F-stop will bring up the available resolution of an image as well, so you want to toe the line, or at least I do, for the lowest F-stop possible for numismatic photography. Usually that's F6-7 or so.
F-2.8
.
.
F-8 
.
.
F-22
.
.
Closeup comparison of F2.8 to F22 - notice how much more detail the focused area on 2.8 has. 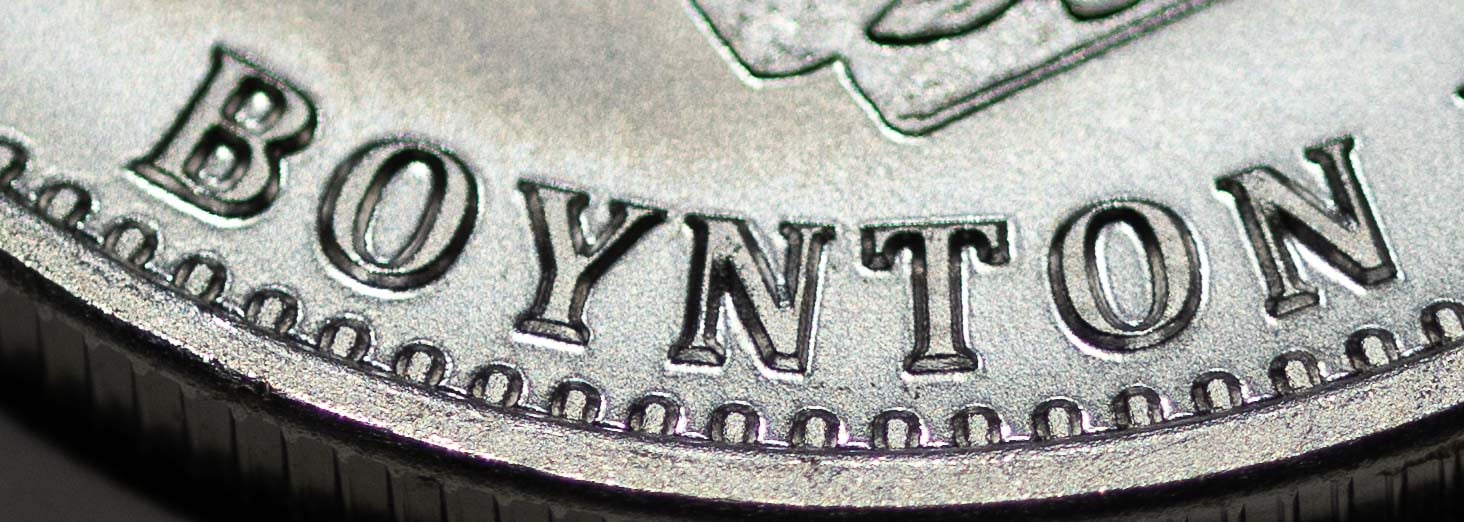
.
.
ISO - how sensitive the camera is to light. How this comes out in the image is fuzzyness. Higher ISOs are fuzzier. ALWAYS shoot in ISO 100 for coins. A low ISO will require you to use a tripod or a copy stand, due to slow camera shutter speeds. I use a tripod, but others like copy stands. If you have a remote to control your camera, do so. Otherwise, use the timer function so that you pushing the button does not cause camera shake.
ISO 100- 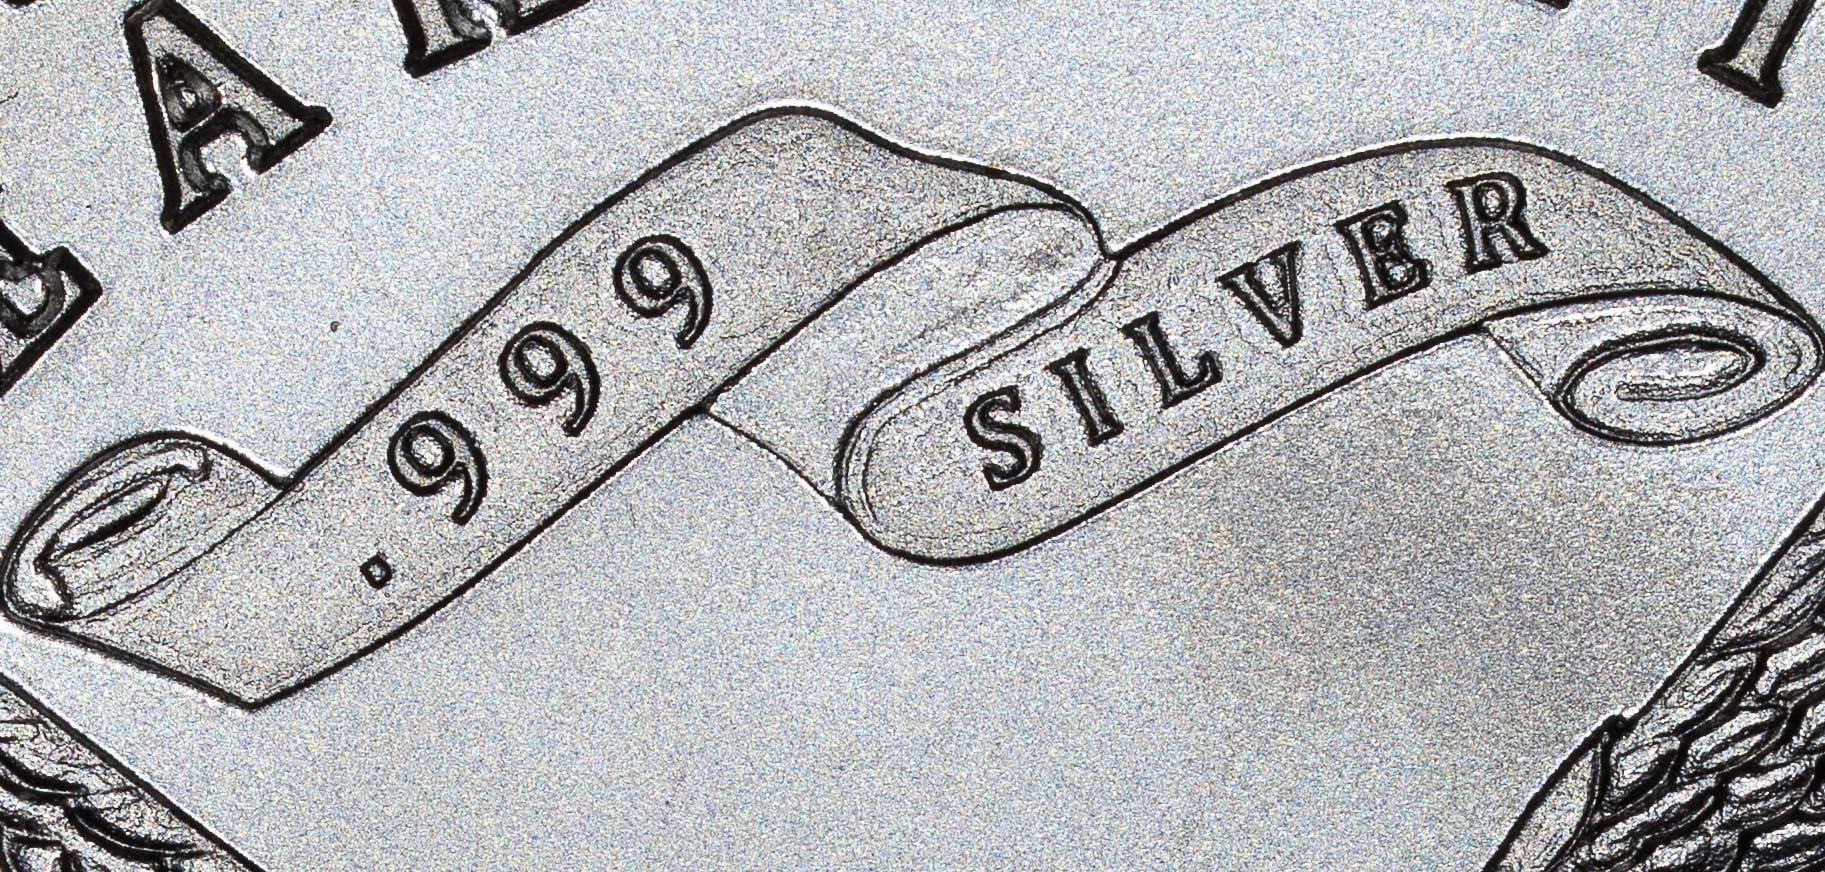
.
.
ISO 25000- 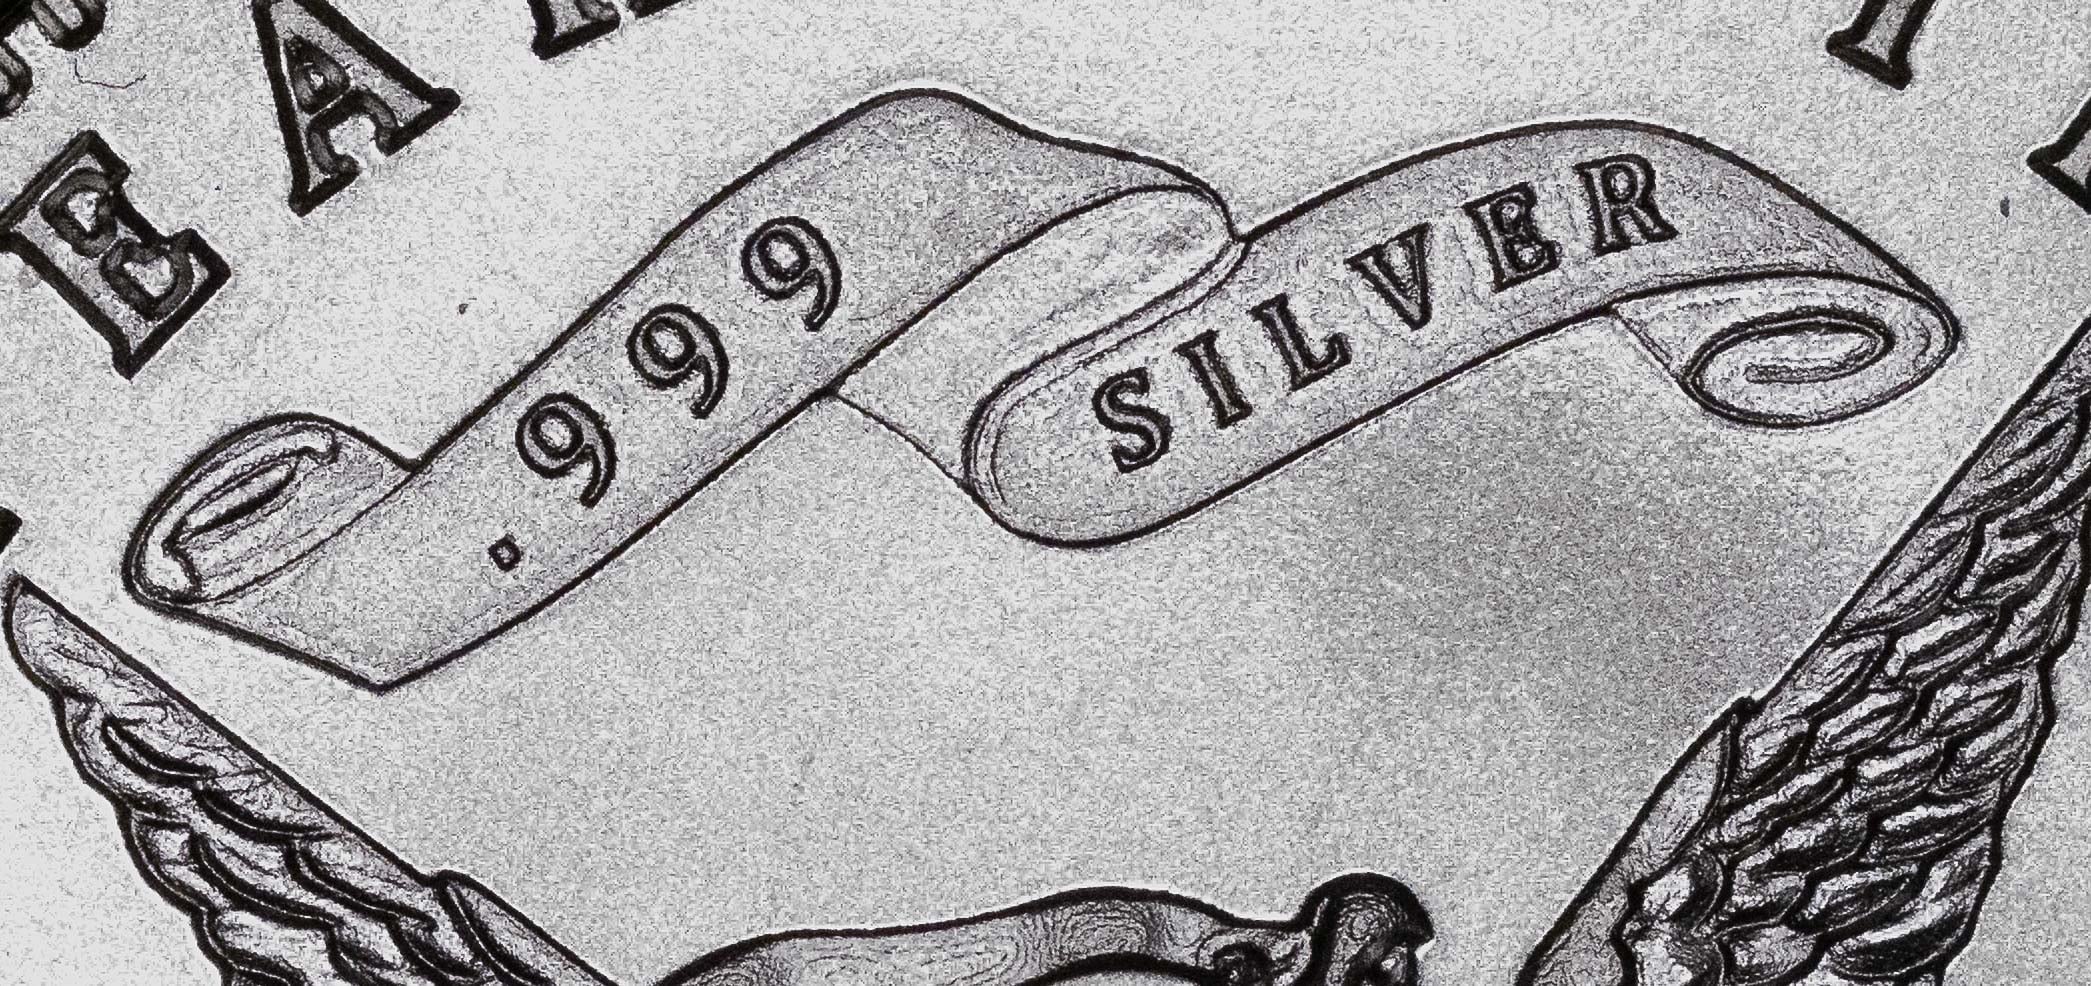
.
.
Notice how the ISO 100 coin has more detail in the fields - the 25000 image has lost the texture that the 100 image shows.
Exposure - how much light was captured in the shot. This is the most important element of coin photography that can be controlled on the camera. You want your exposure arrow in the middle of the exposure meter (refer to the image of the camera screen where you can see the exposure meter). Exposure is controlled by changing the shutter speed (how long a camera lets light in for). There is usually a dial you turn on your camera to change exposure, so use that to get your arrow to the center of the meter.
2 stops under exposed: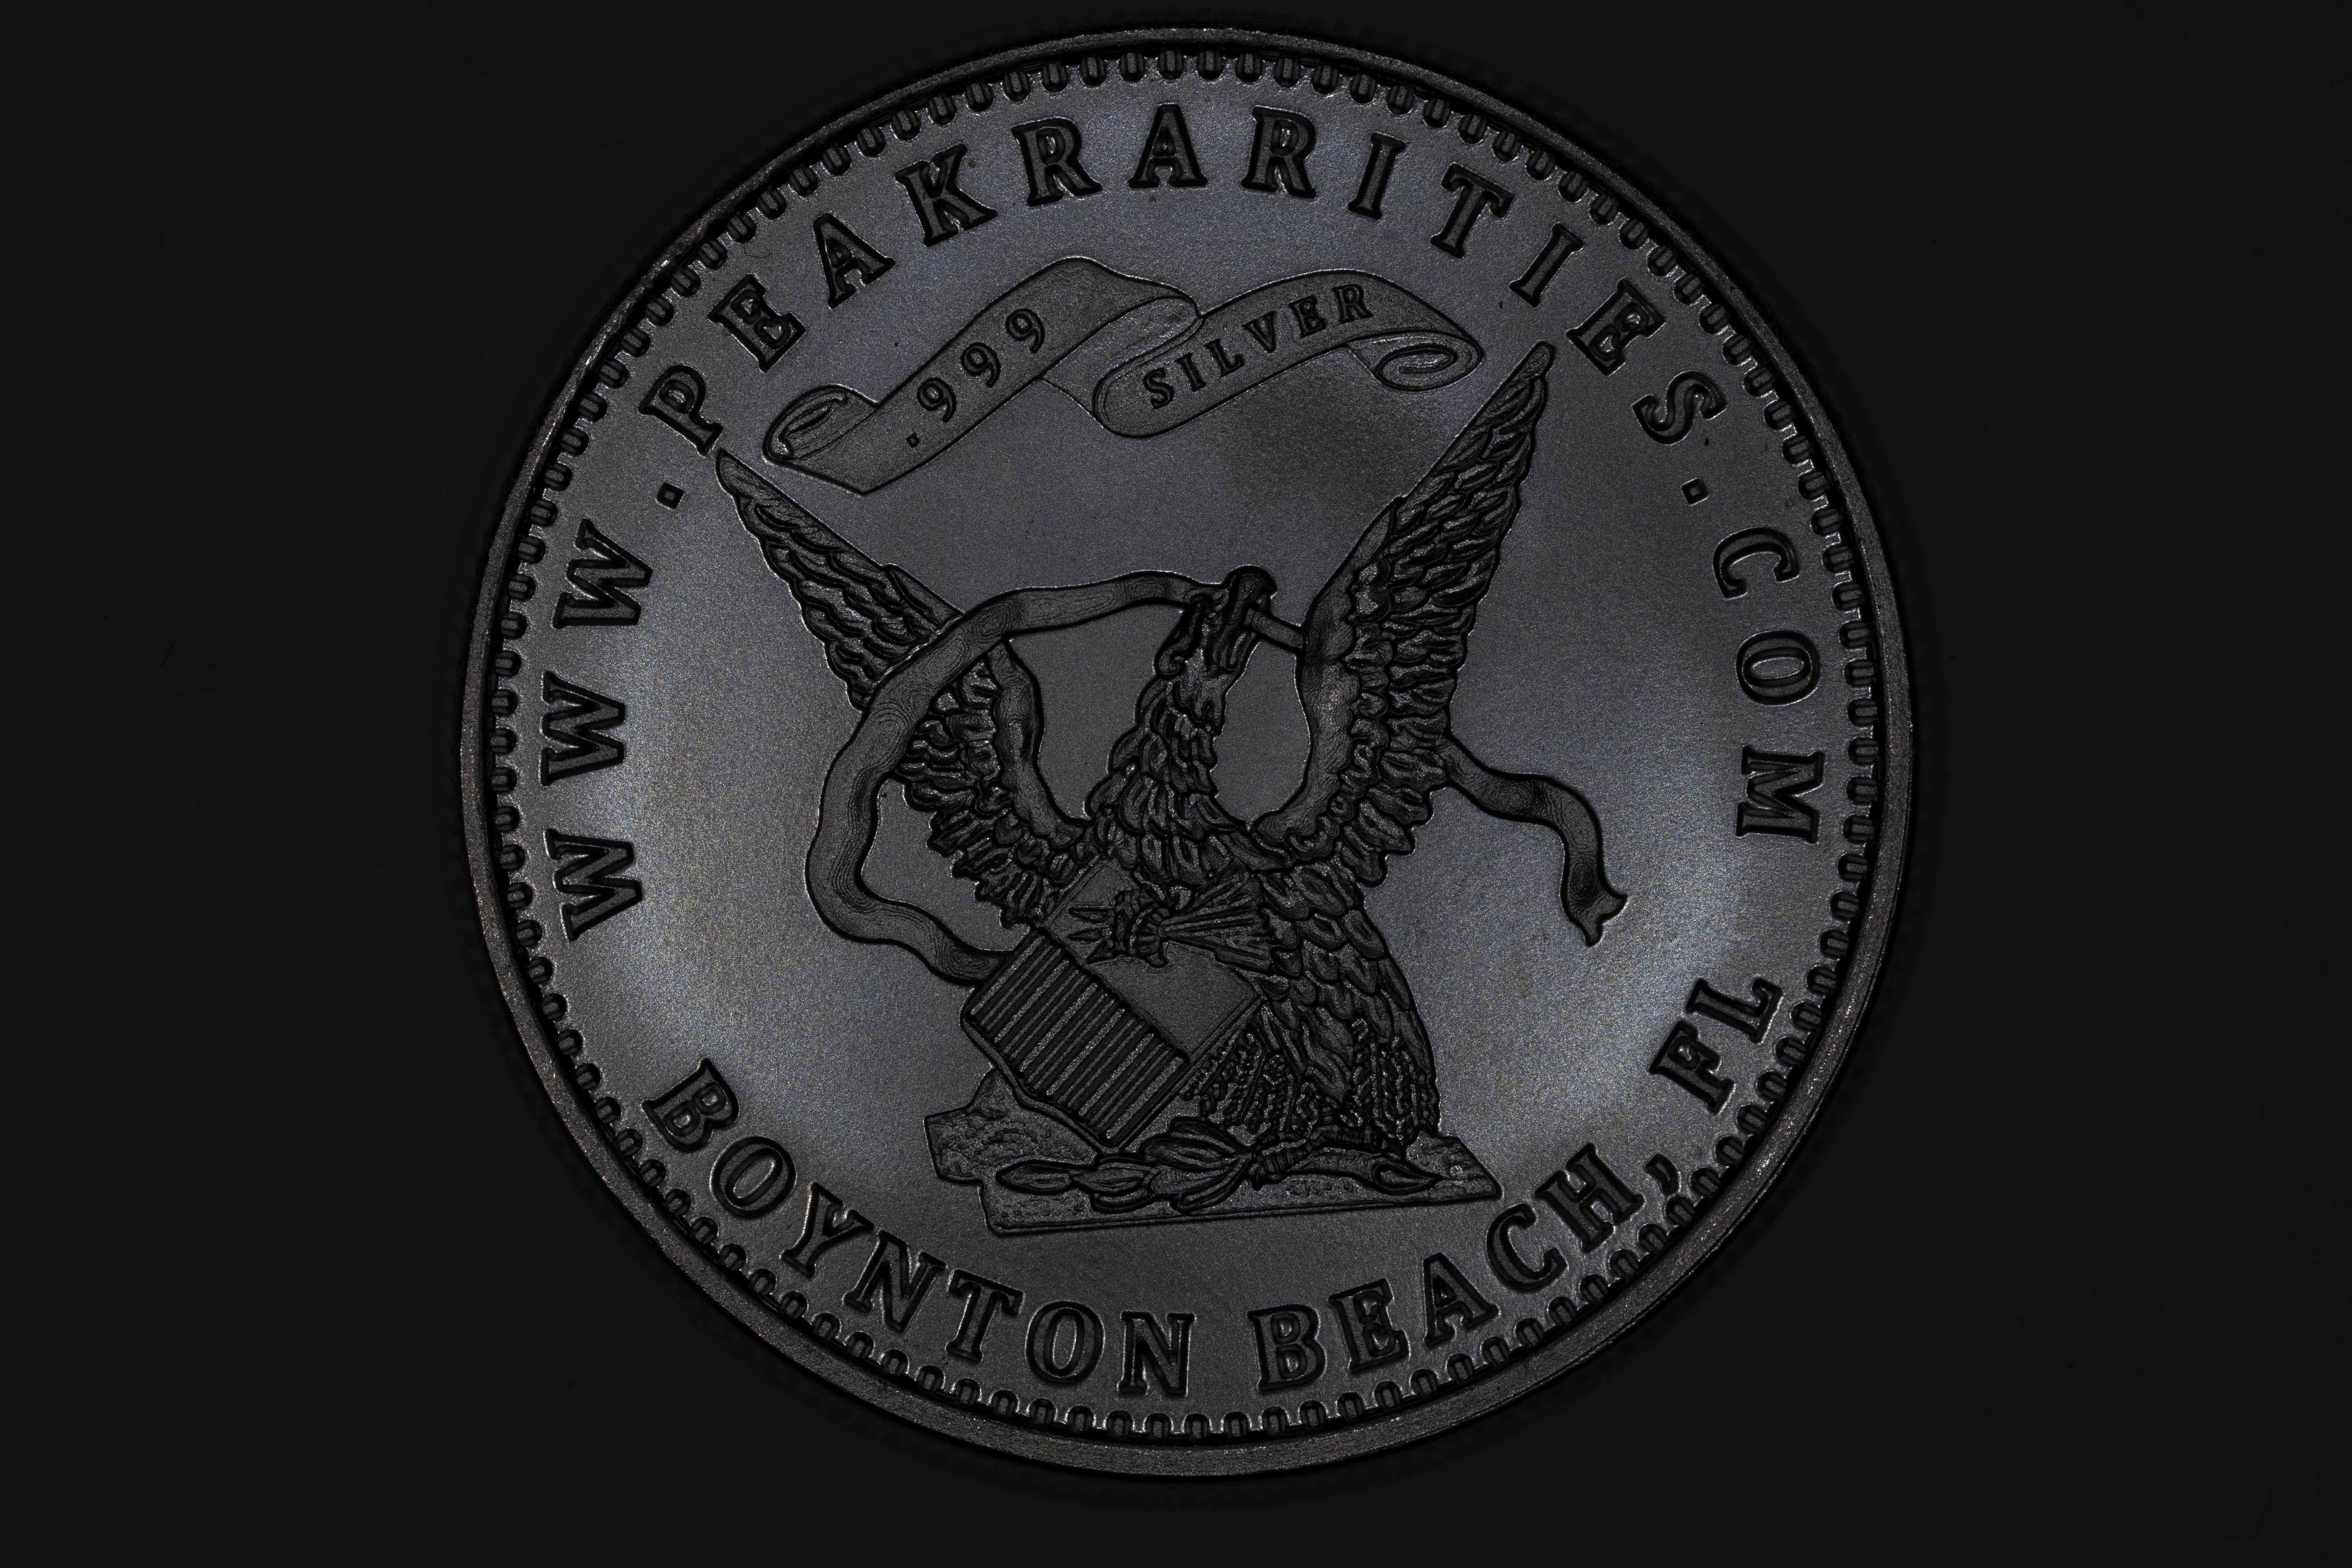
.
.
1 stop under exposed: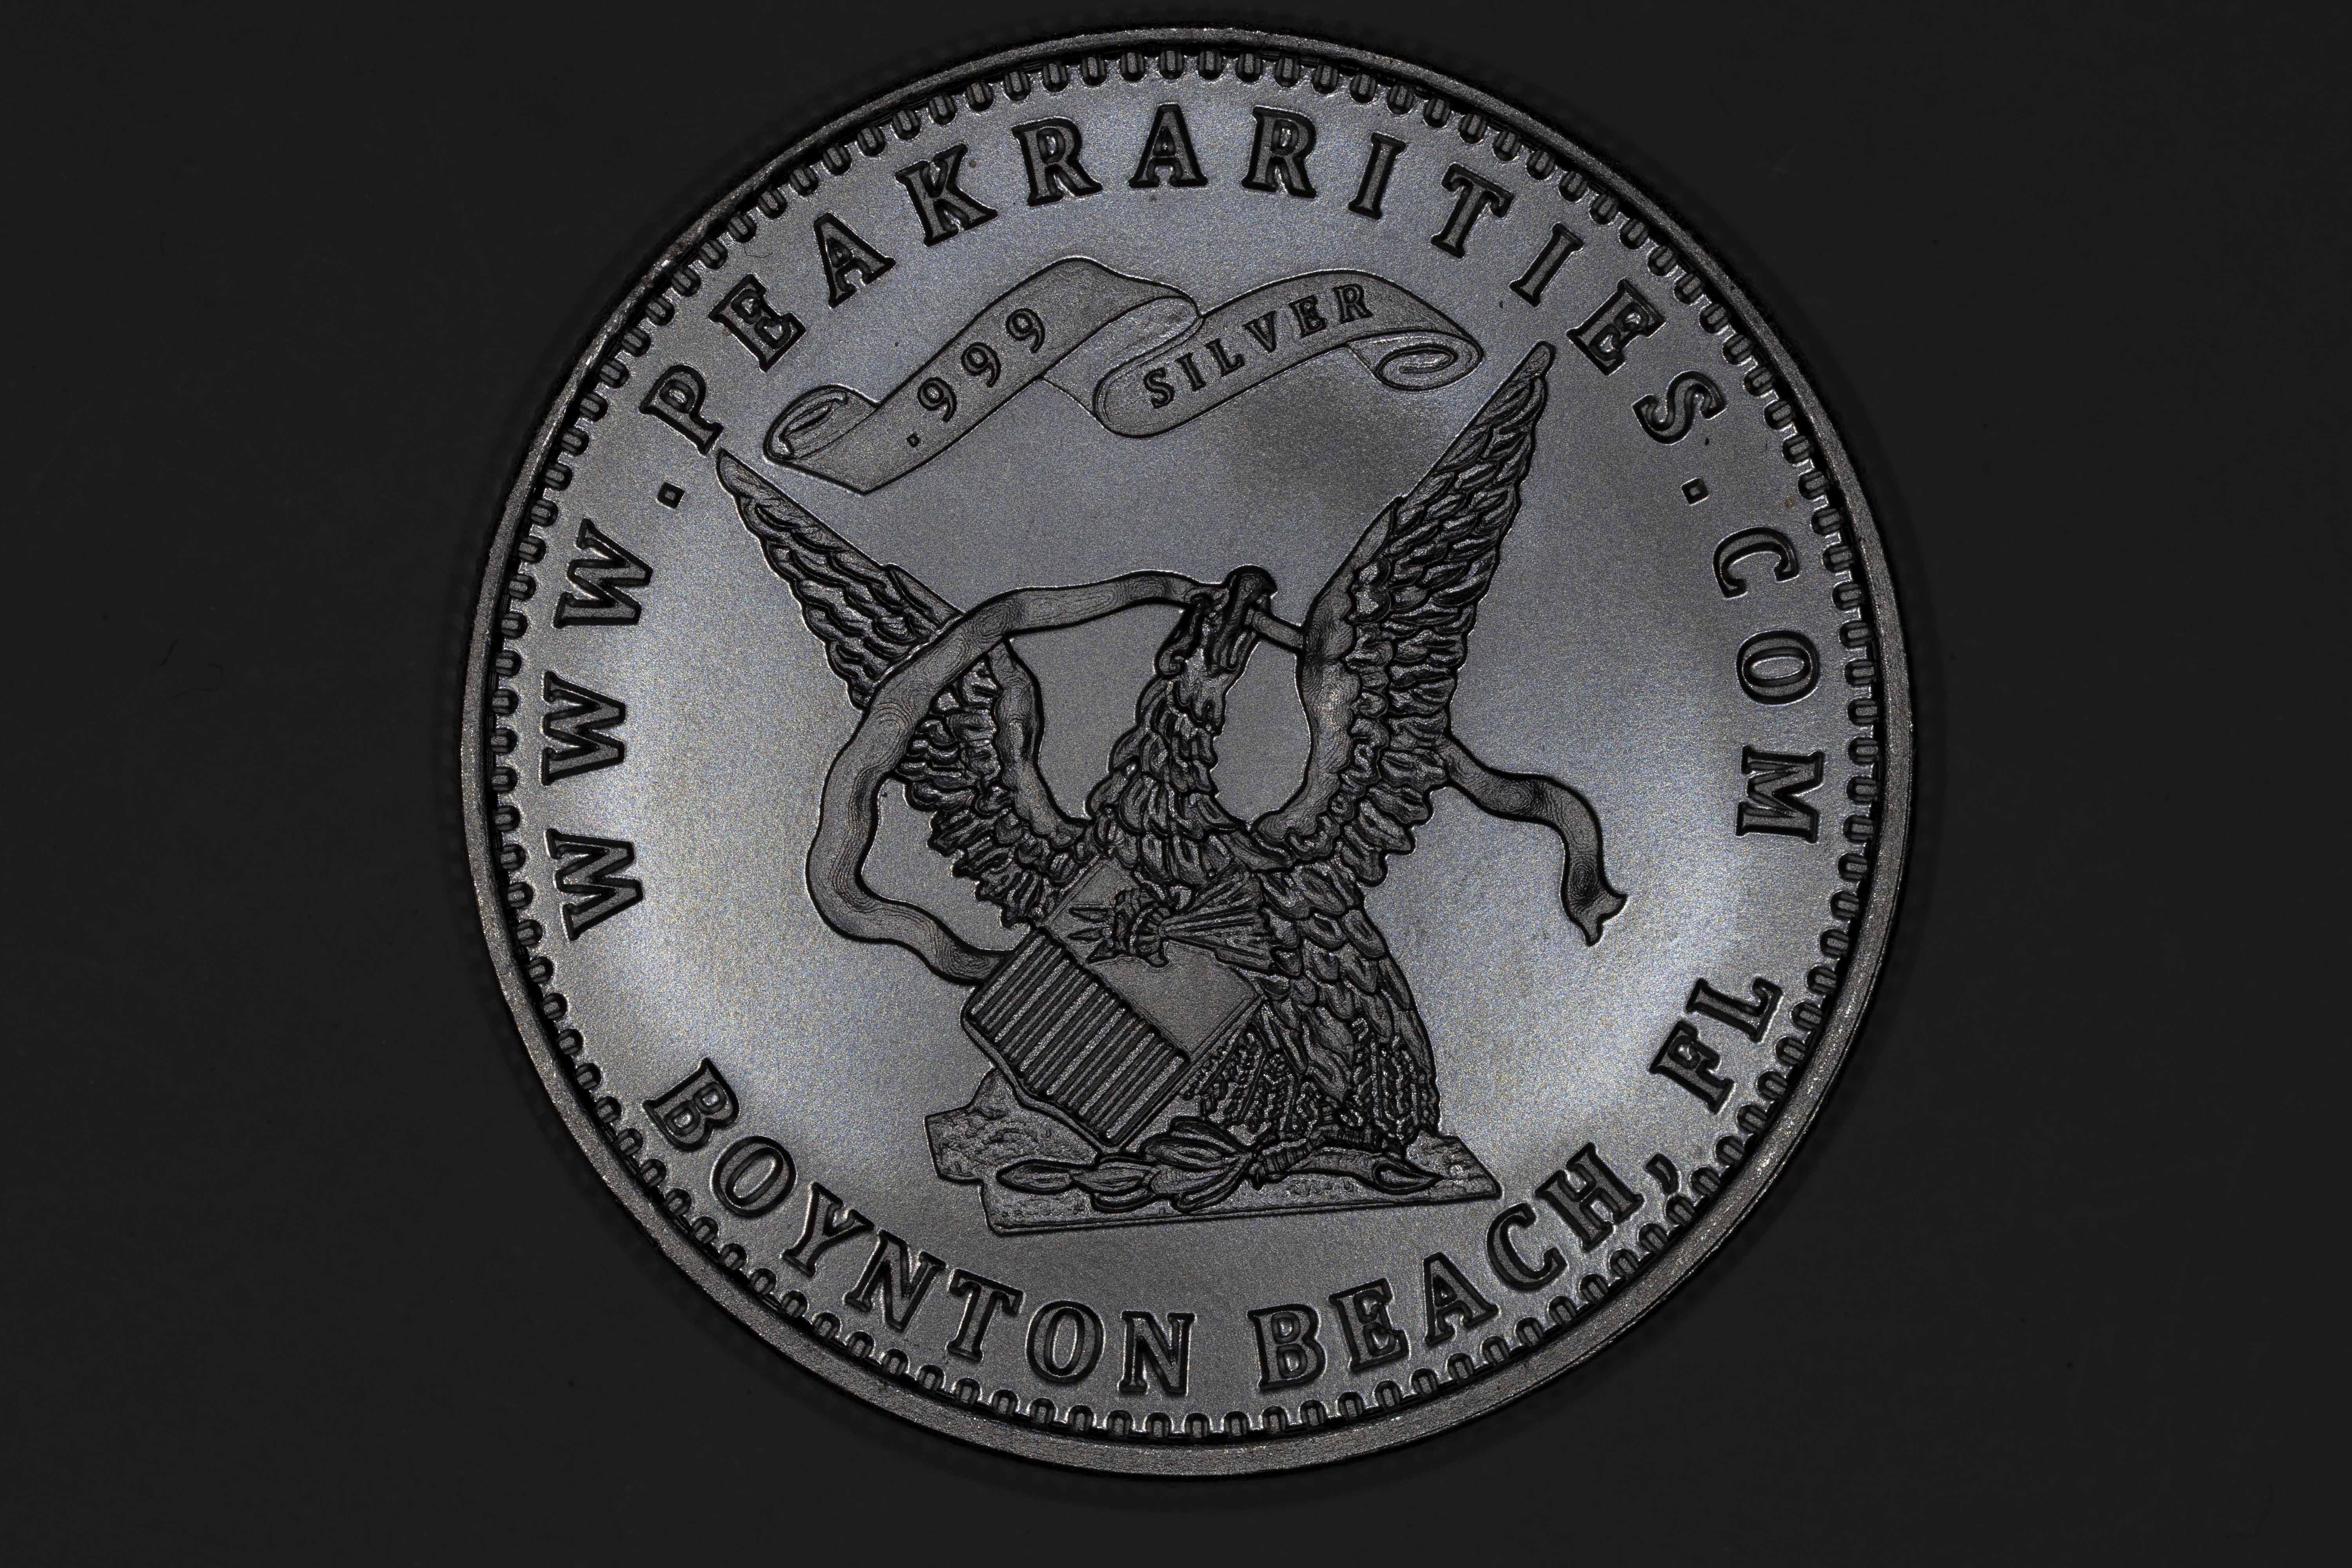
.
.
Correctly exposed:
.
.
1 stop over exposed: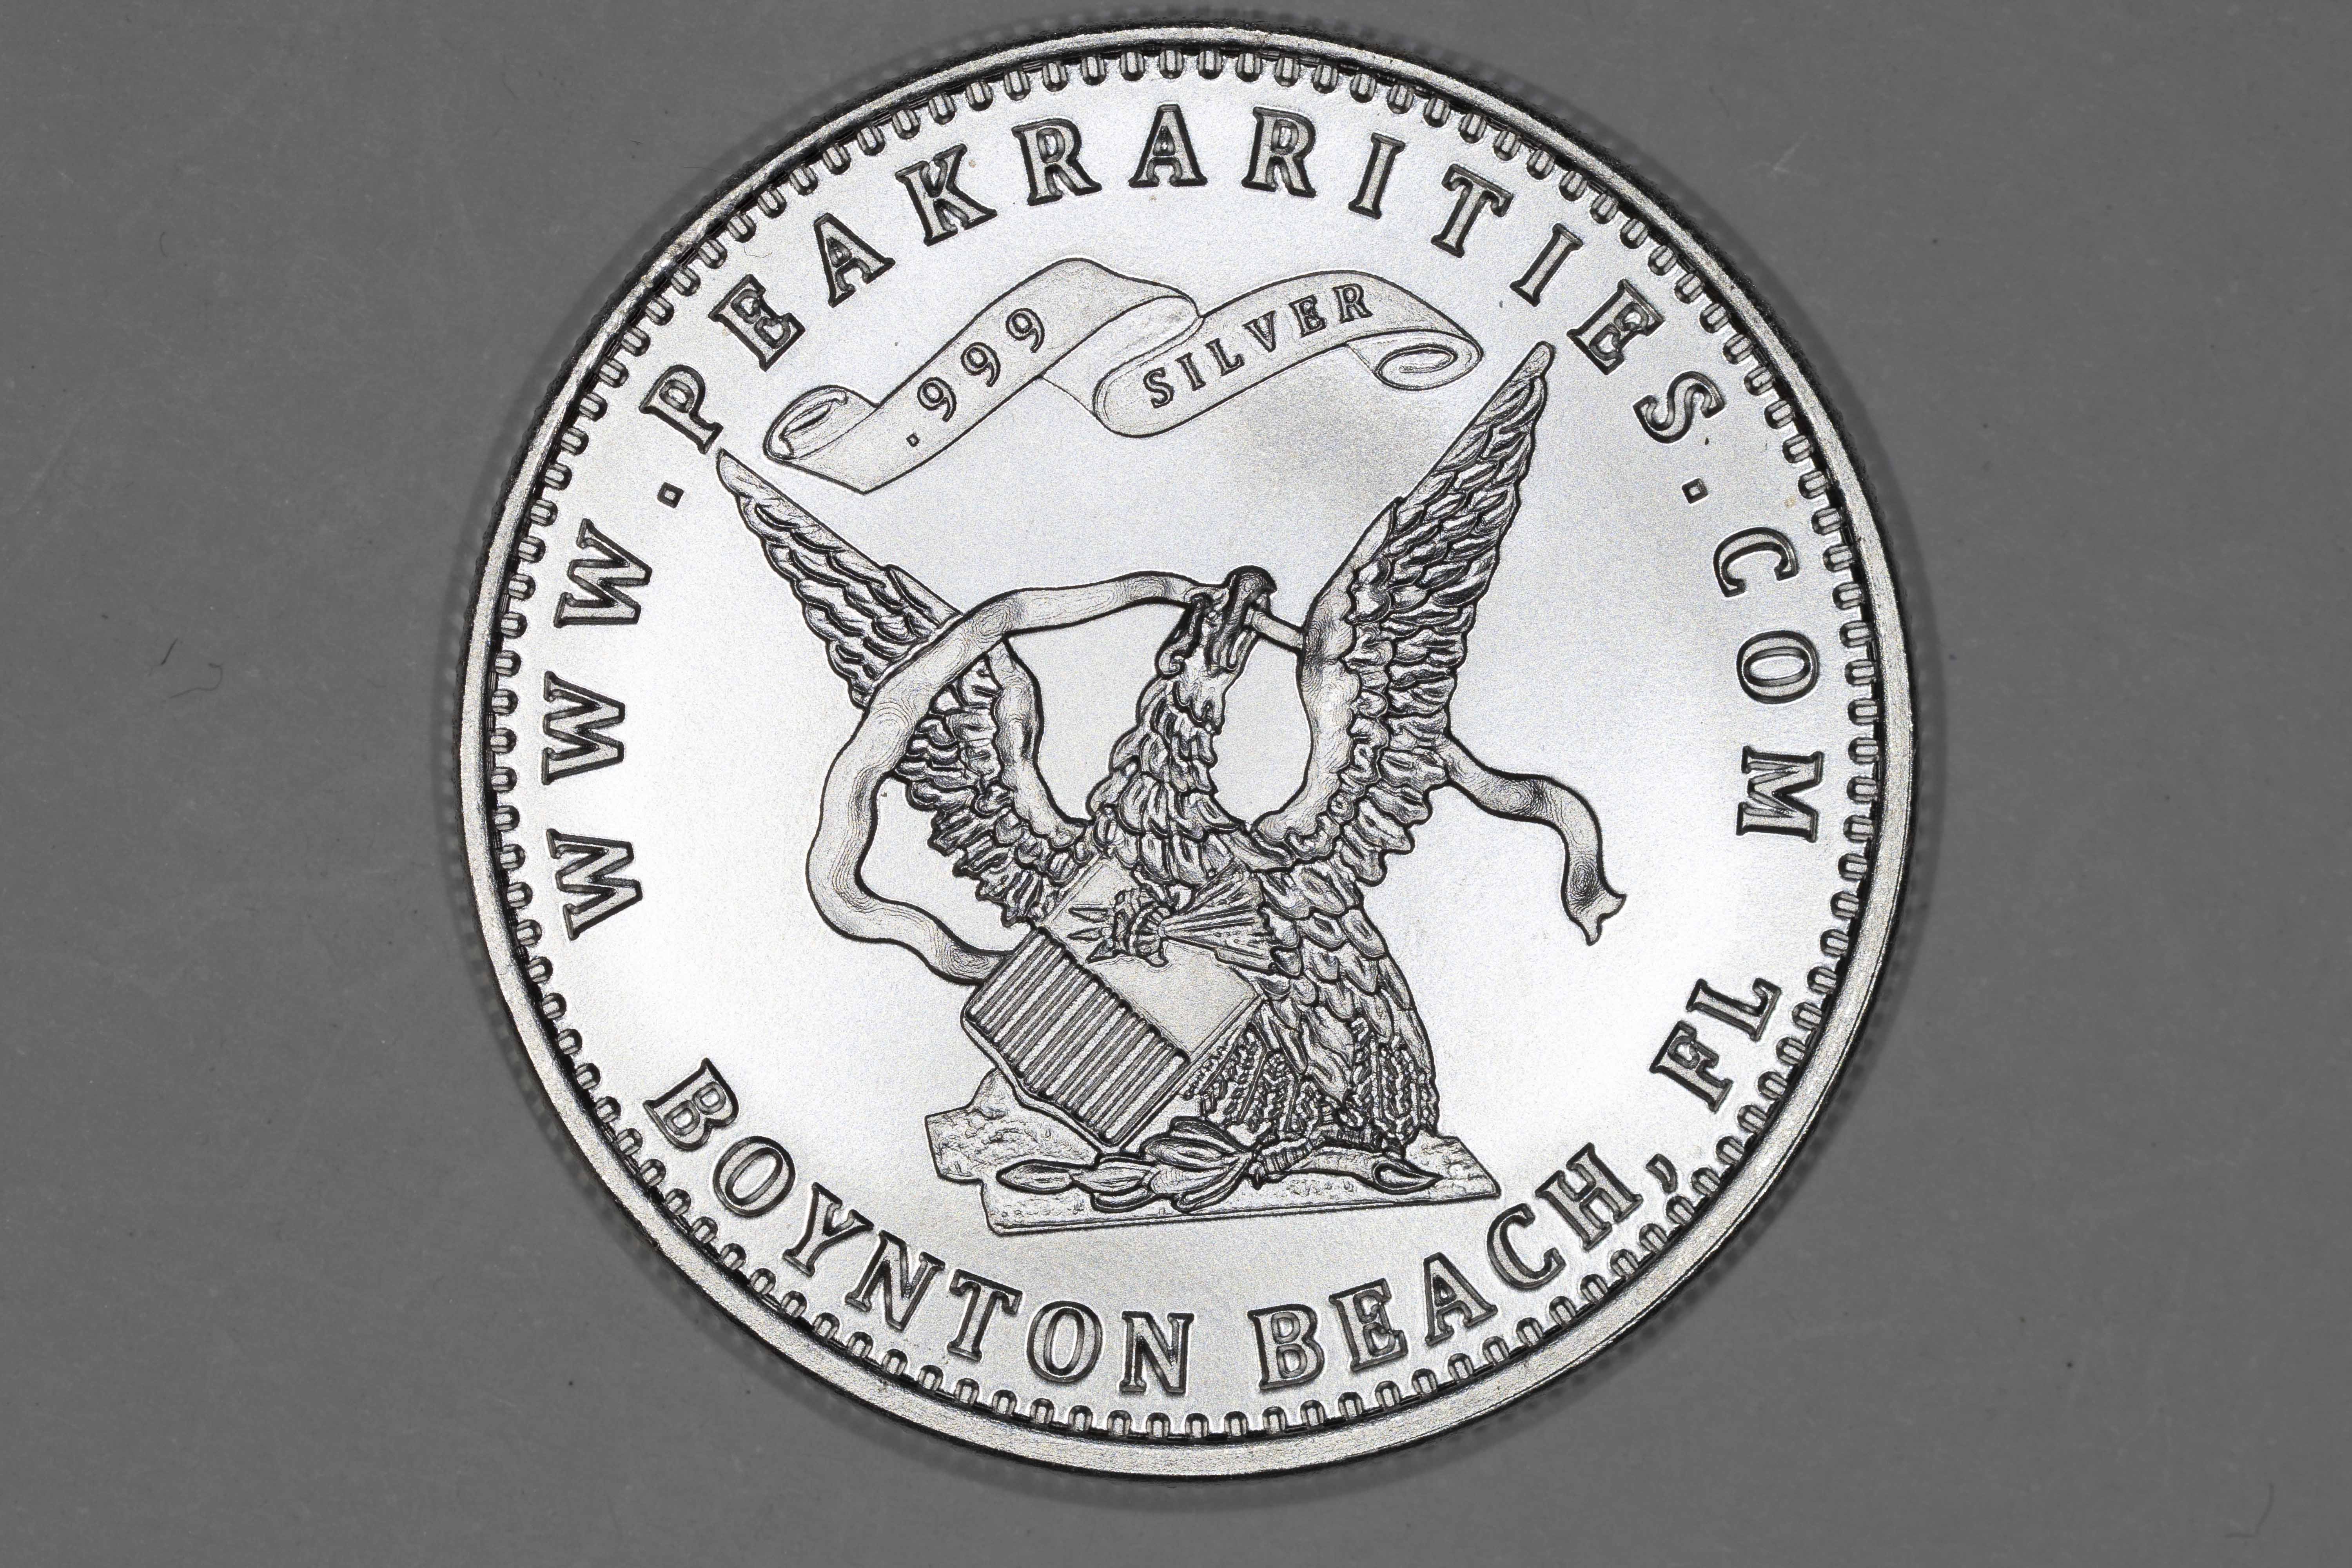
.
.
2 stops over exposed: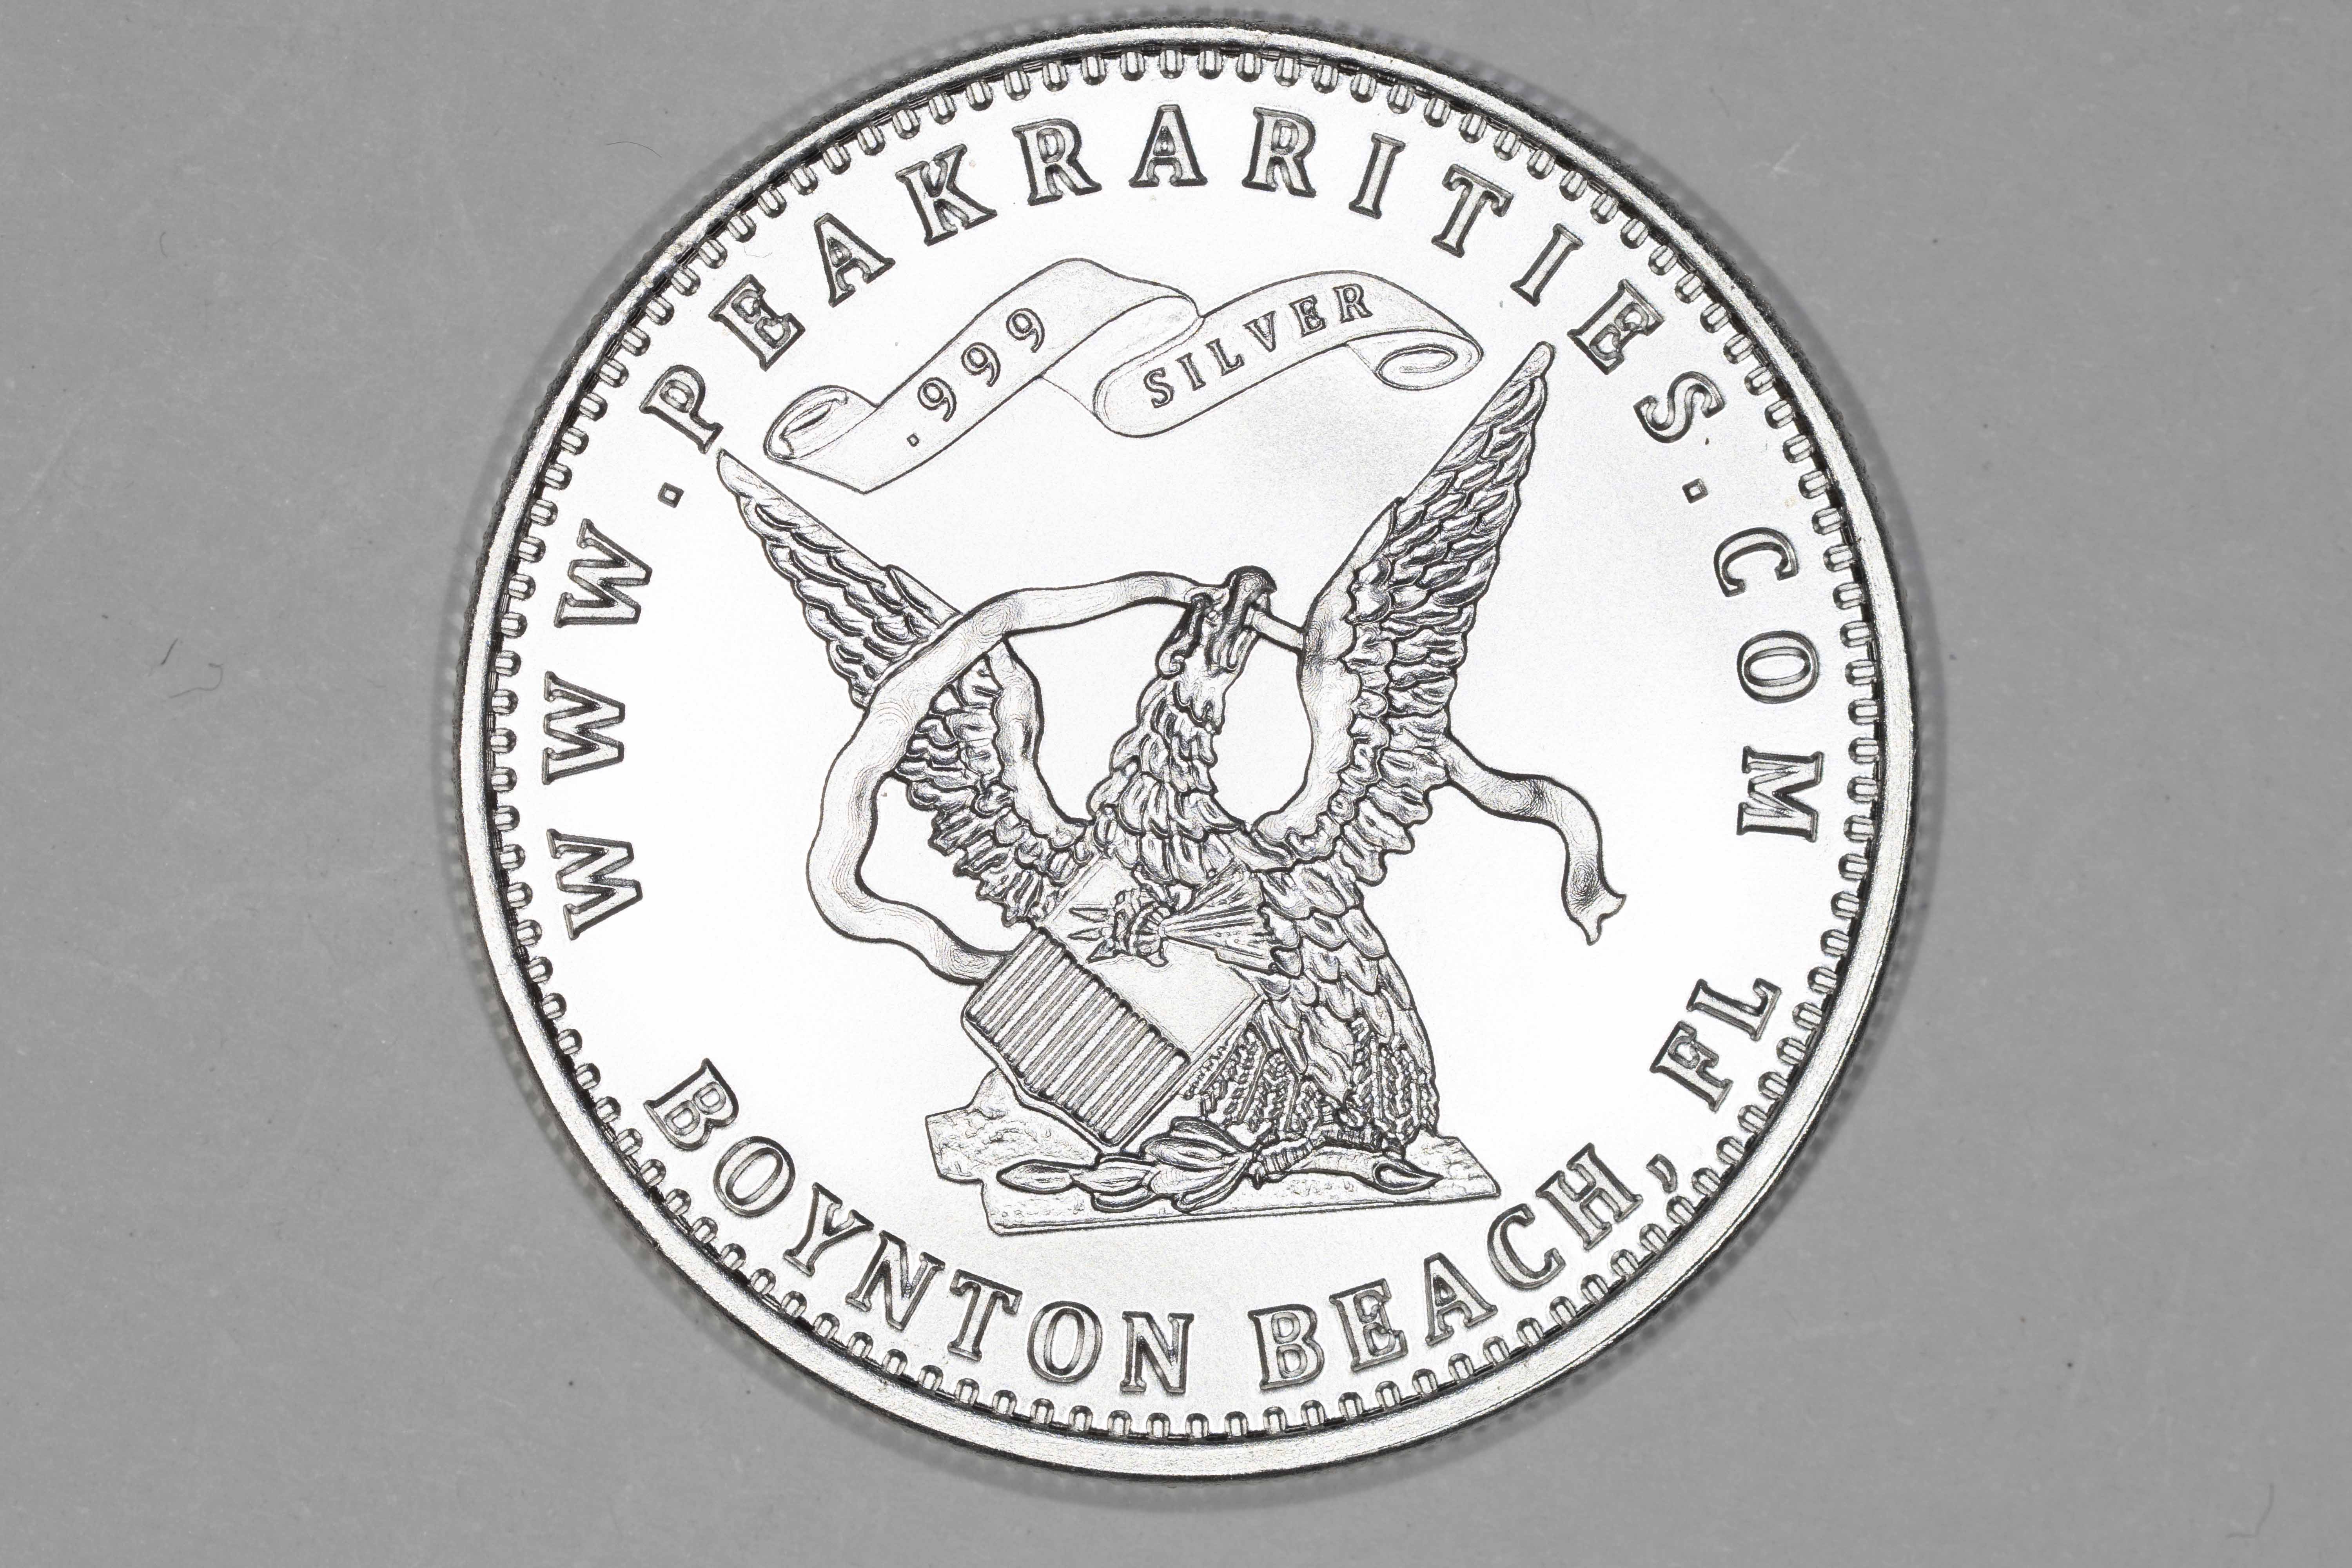
.
.
How to Get that Perfect Shot - Lighting, lens, and coin position!
Lighting first - use three lights, positioned at roughly 9, 12, and 3. You can vary slightly from this, but it's not recommended for the majority of coins. Special cases will dictate changes, but they're very rare.
Direct lighting - the three light setup mentioned above. 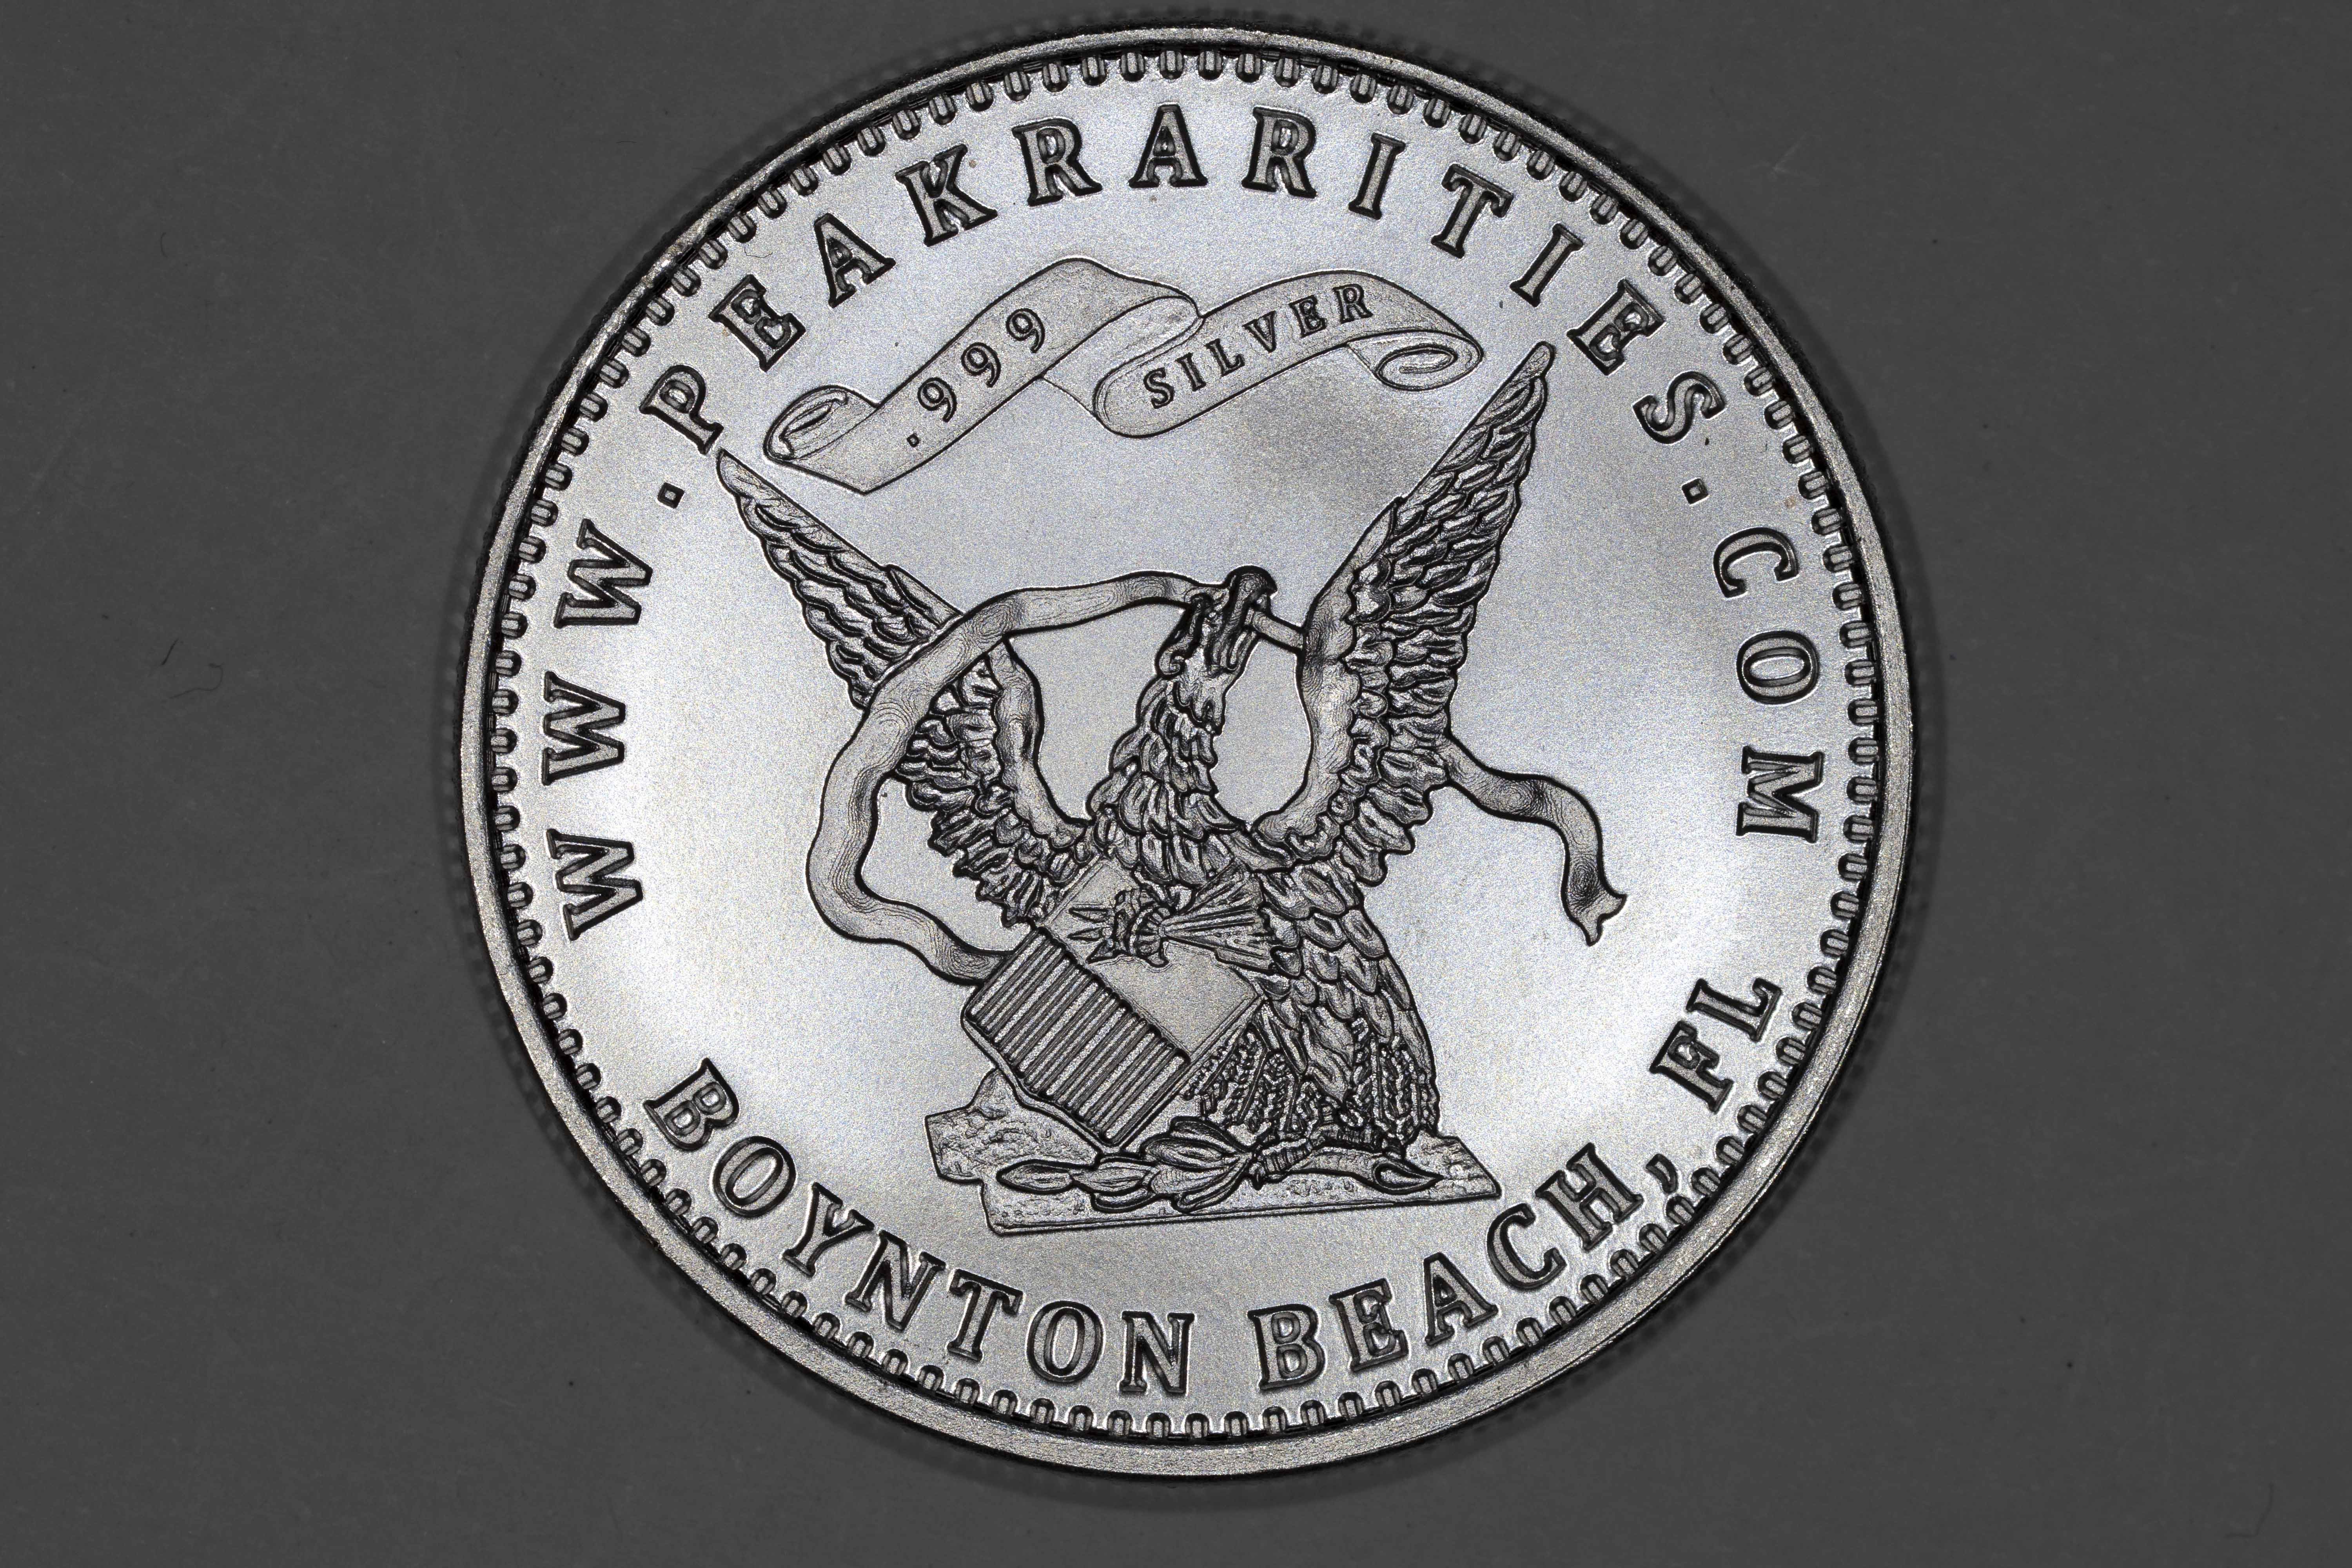
.
.
Proof under direct: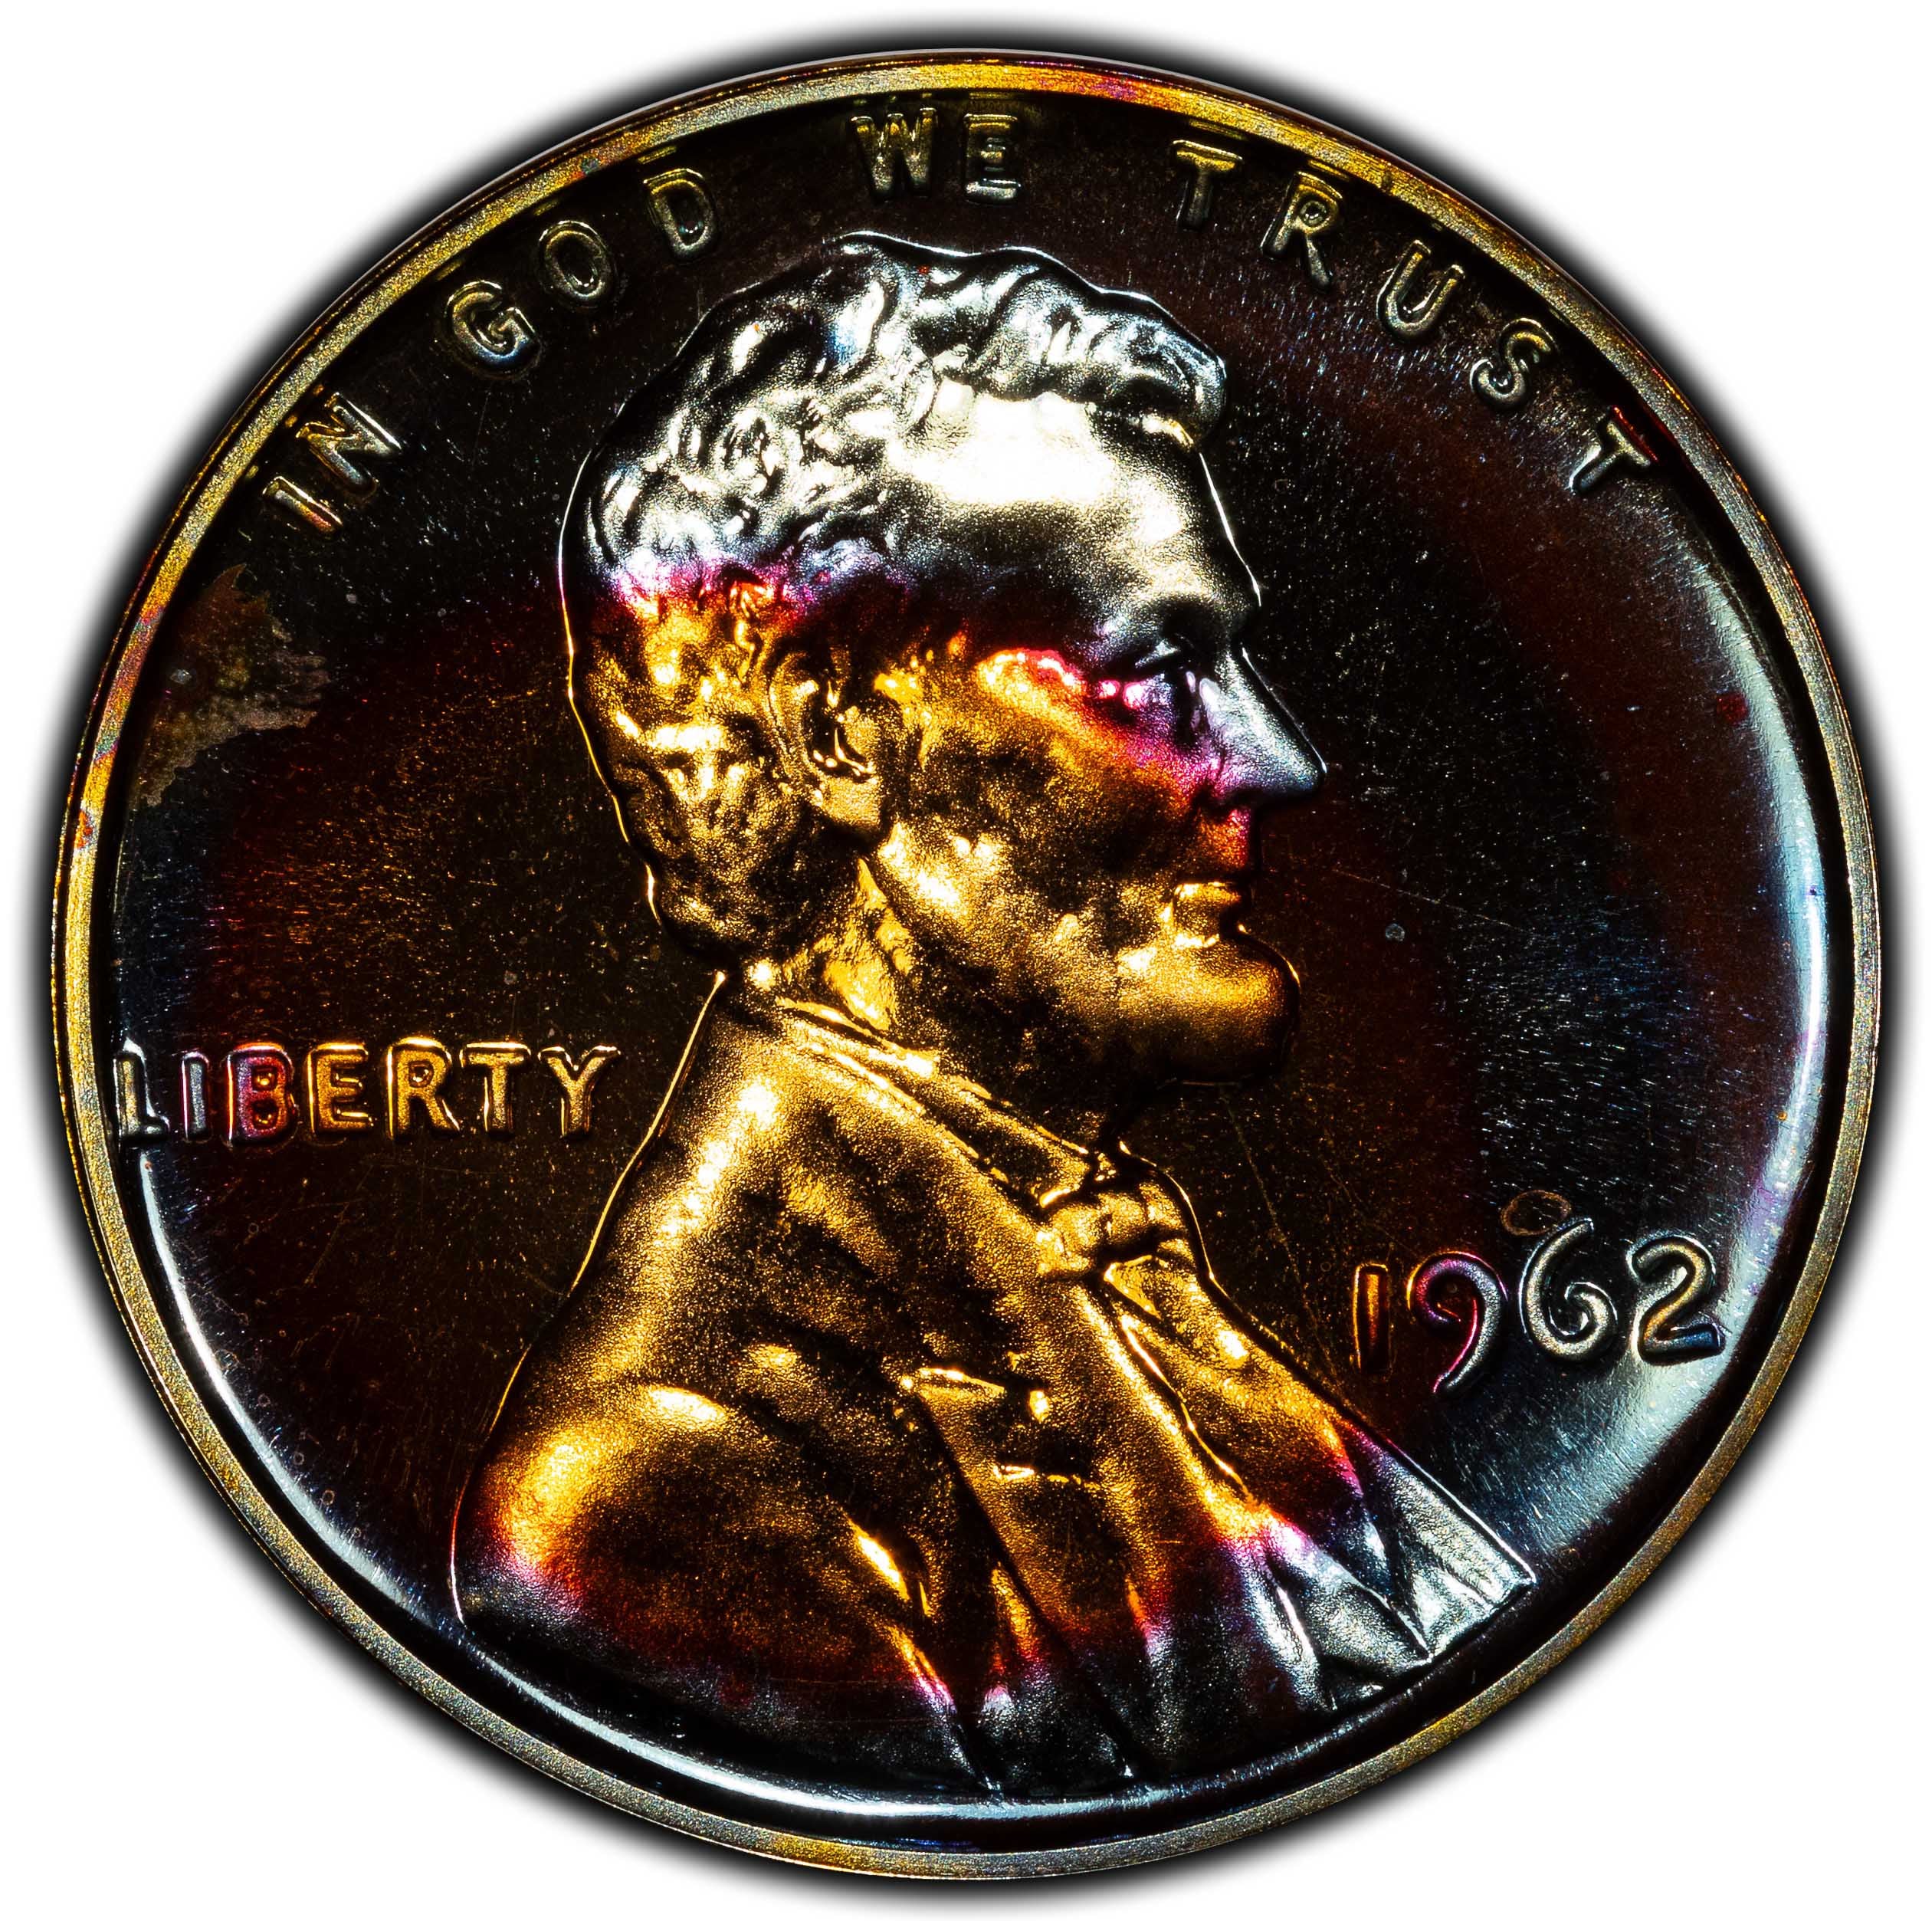
.
.
Axial lighting - a special kind of lighting used to show reflective color in fields. This is achieved by taking a pane of glass, and bouncing one beam of light down onto the coin to illuminate them from a plane that passes through the lens of the camera. This causes direct reflection of light off the coin into the lens. Very tricky to do, especially for slabbed coins. I recommend axial for Proofs and colorful coins. This is different than the three light setup above, and I would recommend watching a tutorial on how to do it if you're interested. If there's interest, I can do a more in depth explanation of this lighting method. 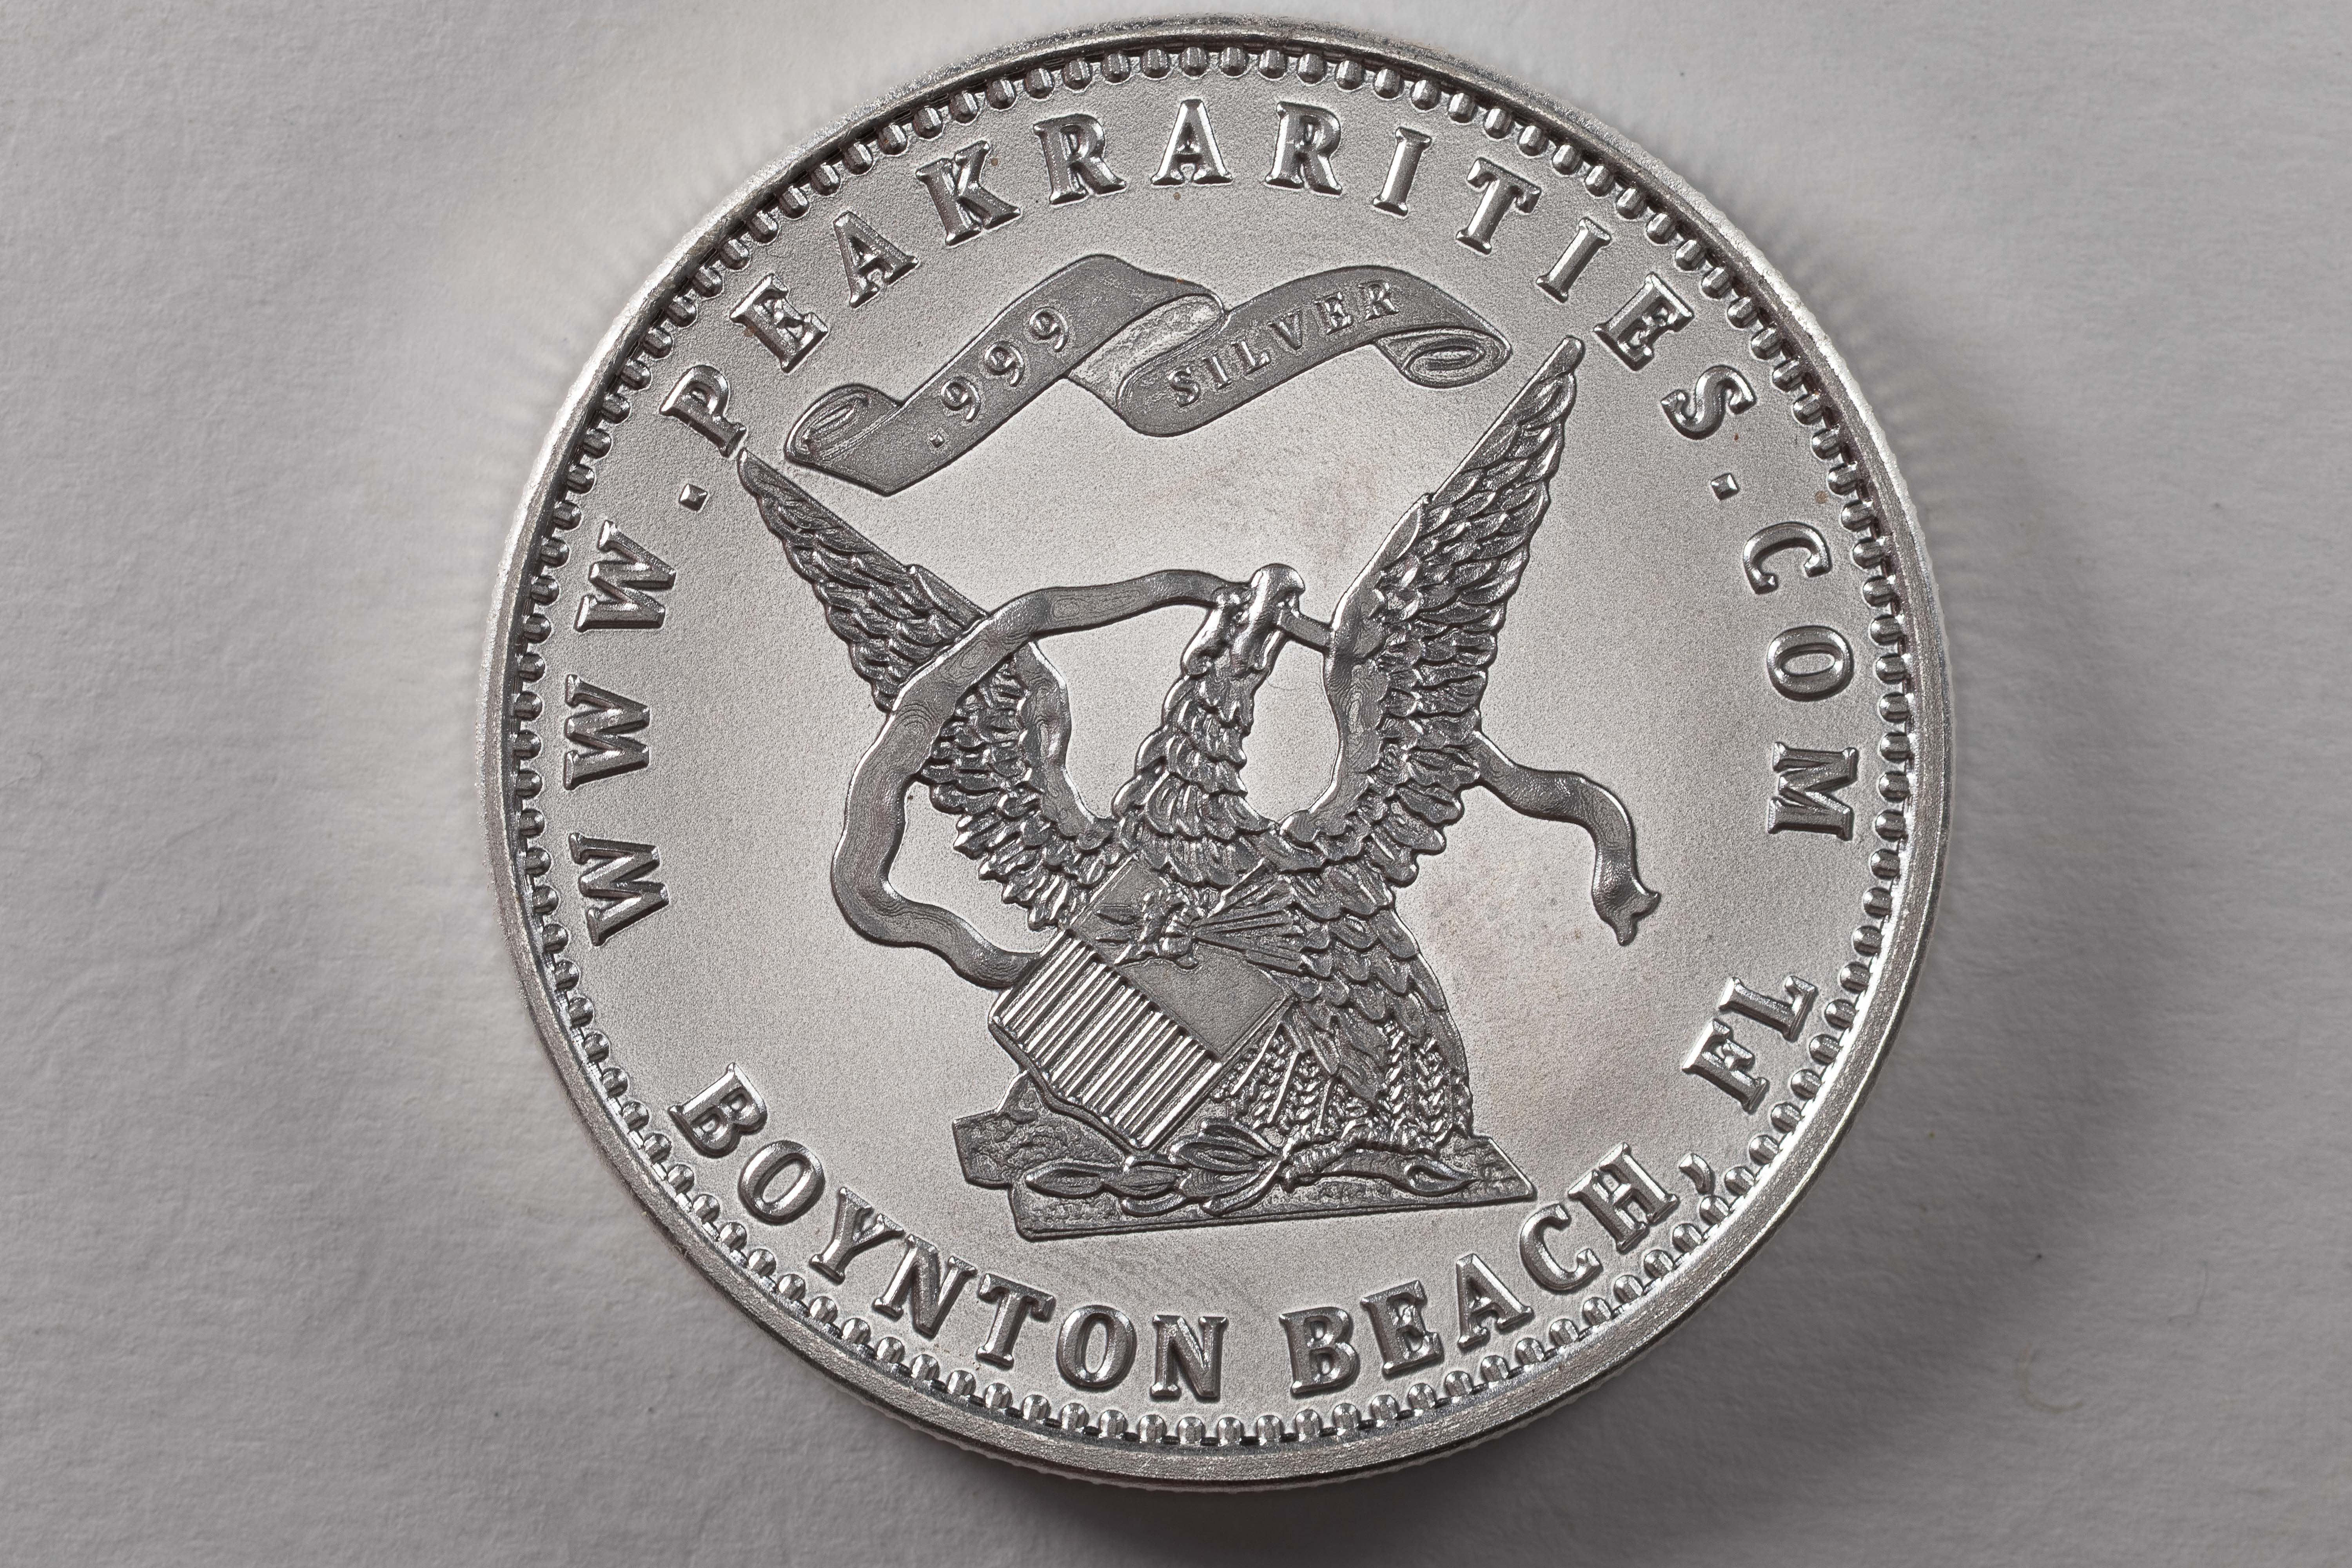
.
.
Proof under axial: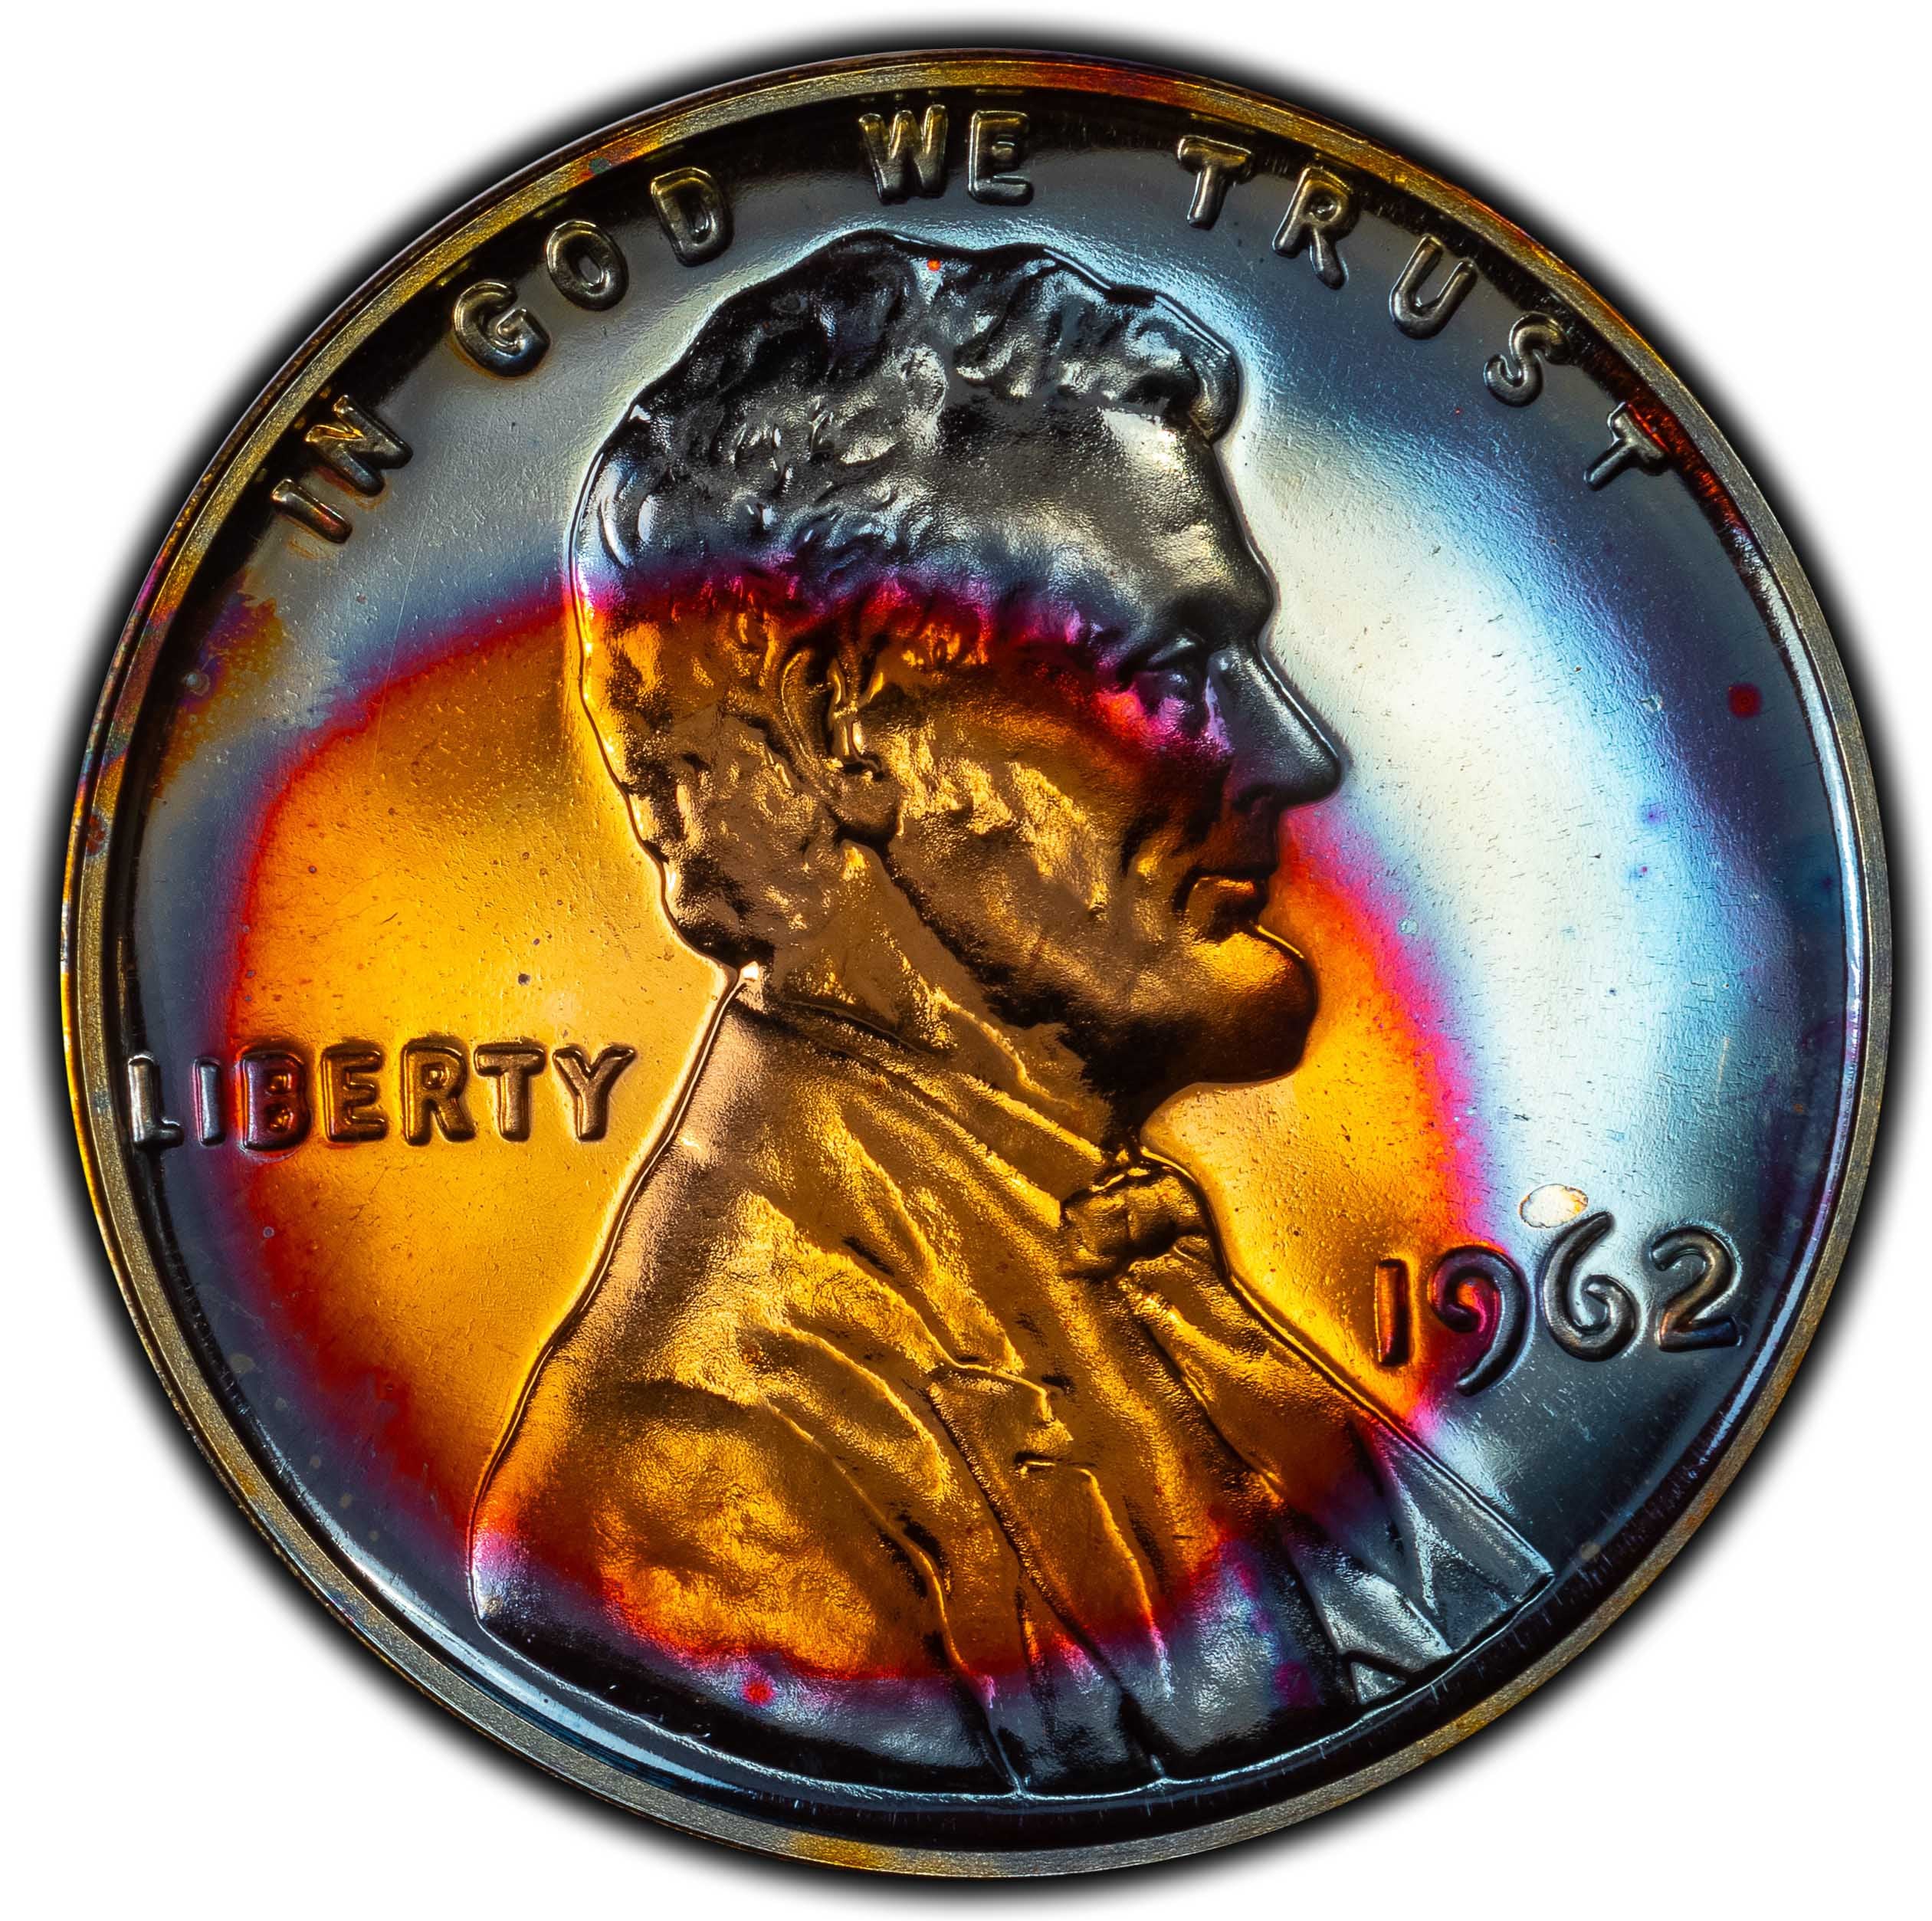
.
.
Lens to coin position - you need the coin and lens to be parallel, so much so that I use a level to make sure my camera is level for every shot. This goes back to F-stop, and how you want to maximize detail in your images. If the coin and lens are parallel, you can use lower F-stops. Find a small level, and use it! I just put a cube level on the back of my camera screen to make sure it's good.
Light position - 9, 12, 3. It's somewhat of a golden rule. If you have two lights, I recommend coming from 10 and 2.
So, to get that perfect shot, use direct lighting (generally), have your lights at 9, 12, and 3, and have your lens and coin parallel.
What Not To Do
Overexpose/underexpose your image. Doing so will make it too dark or too bright. Always make sure your exposure arrow is under the center of the exposure meter.
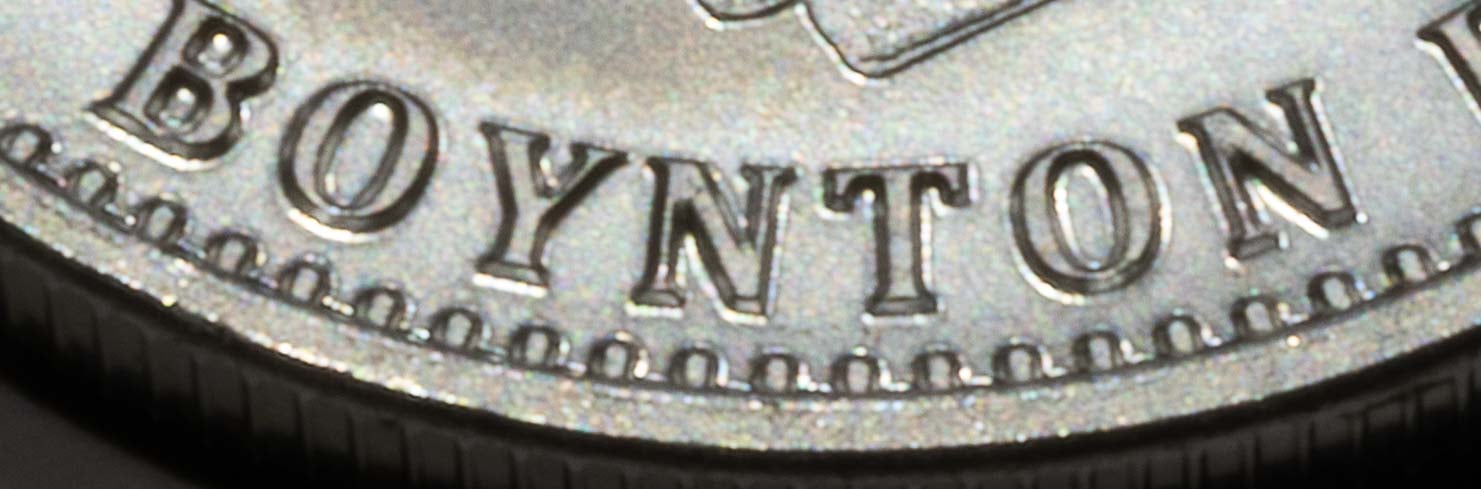
Ring Lighting: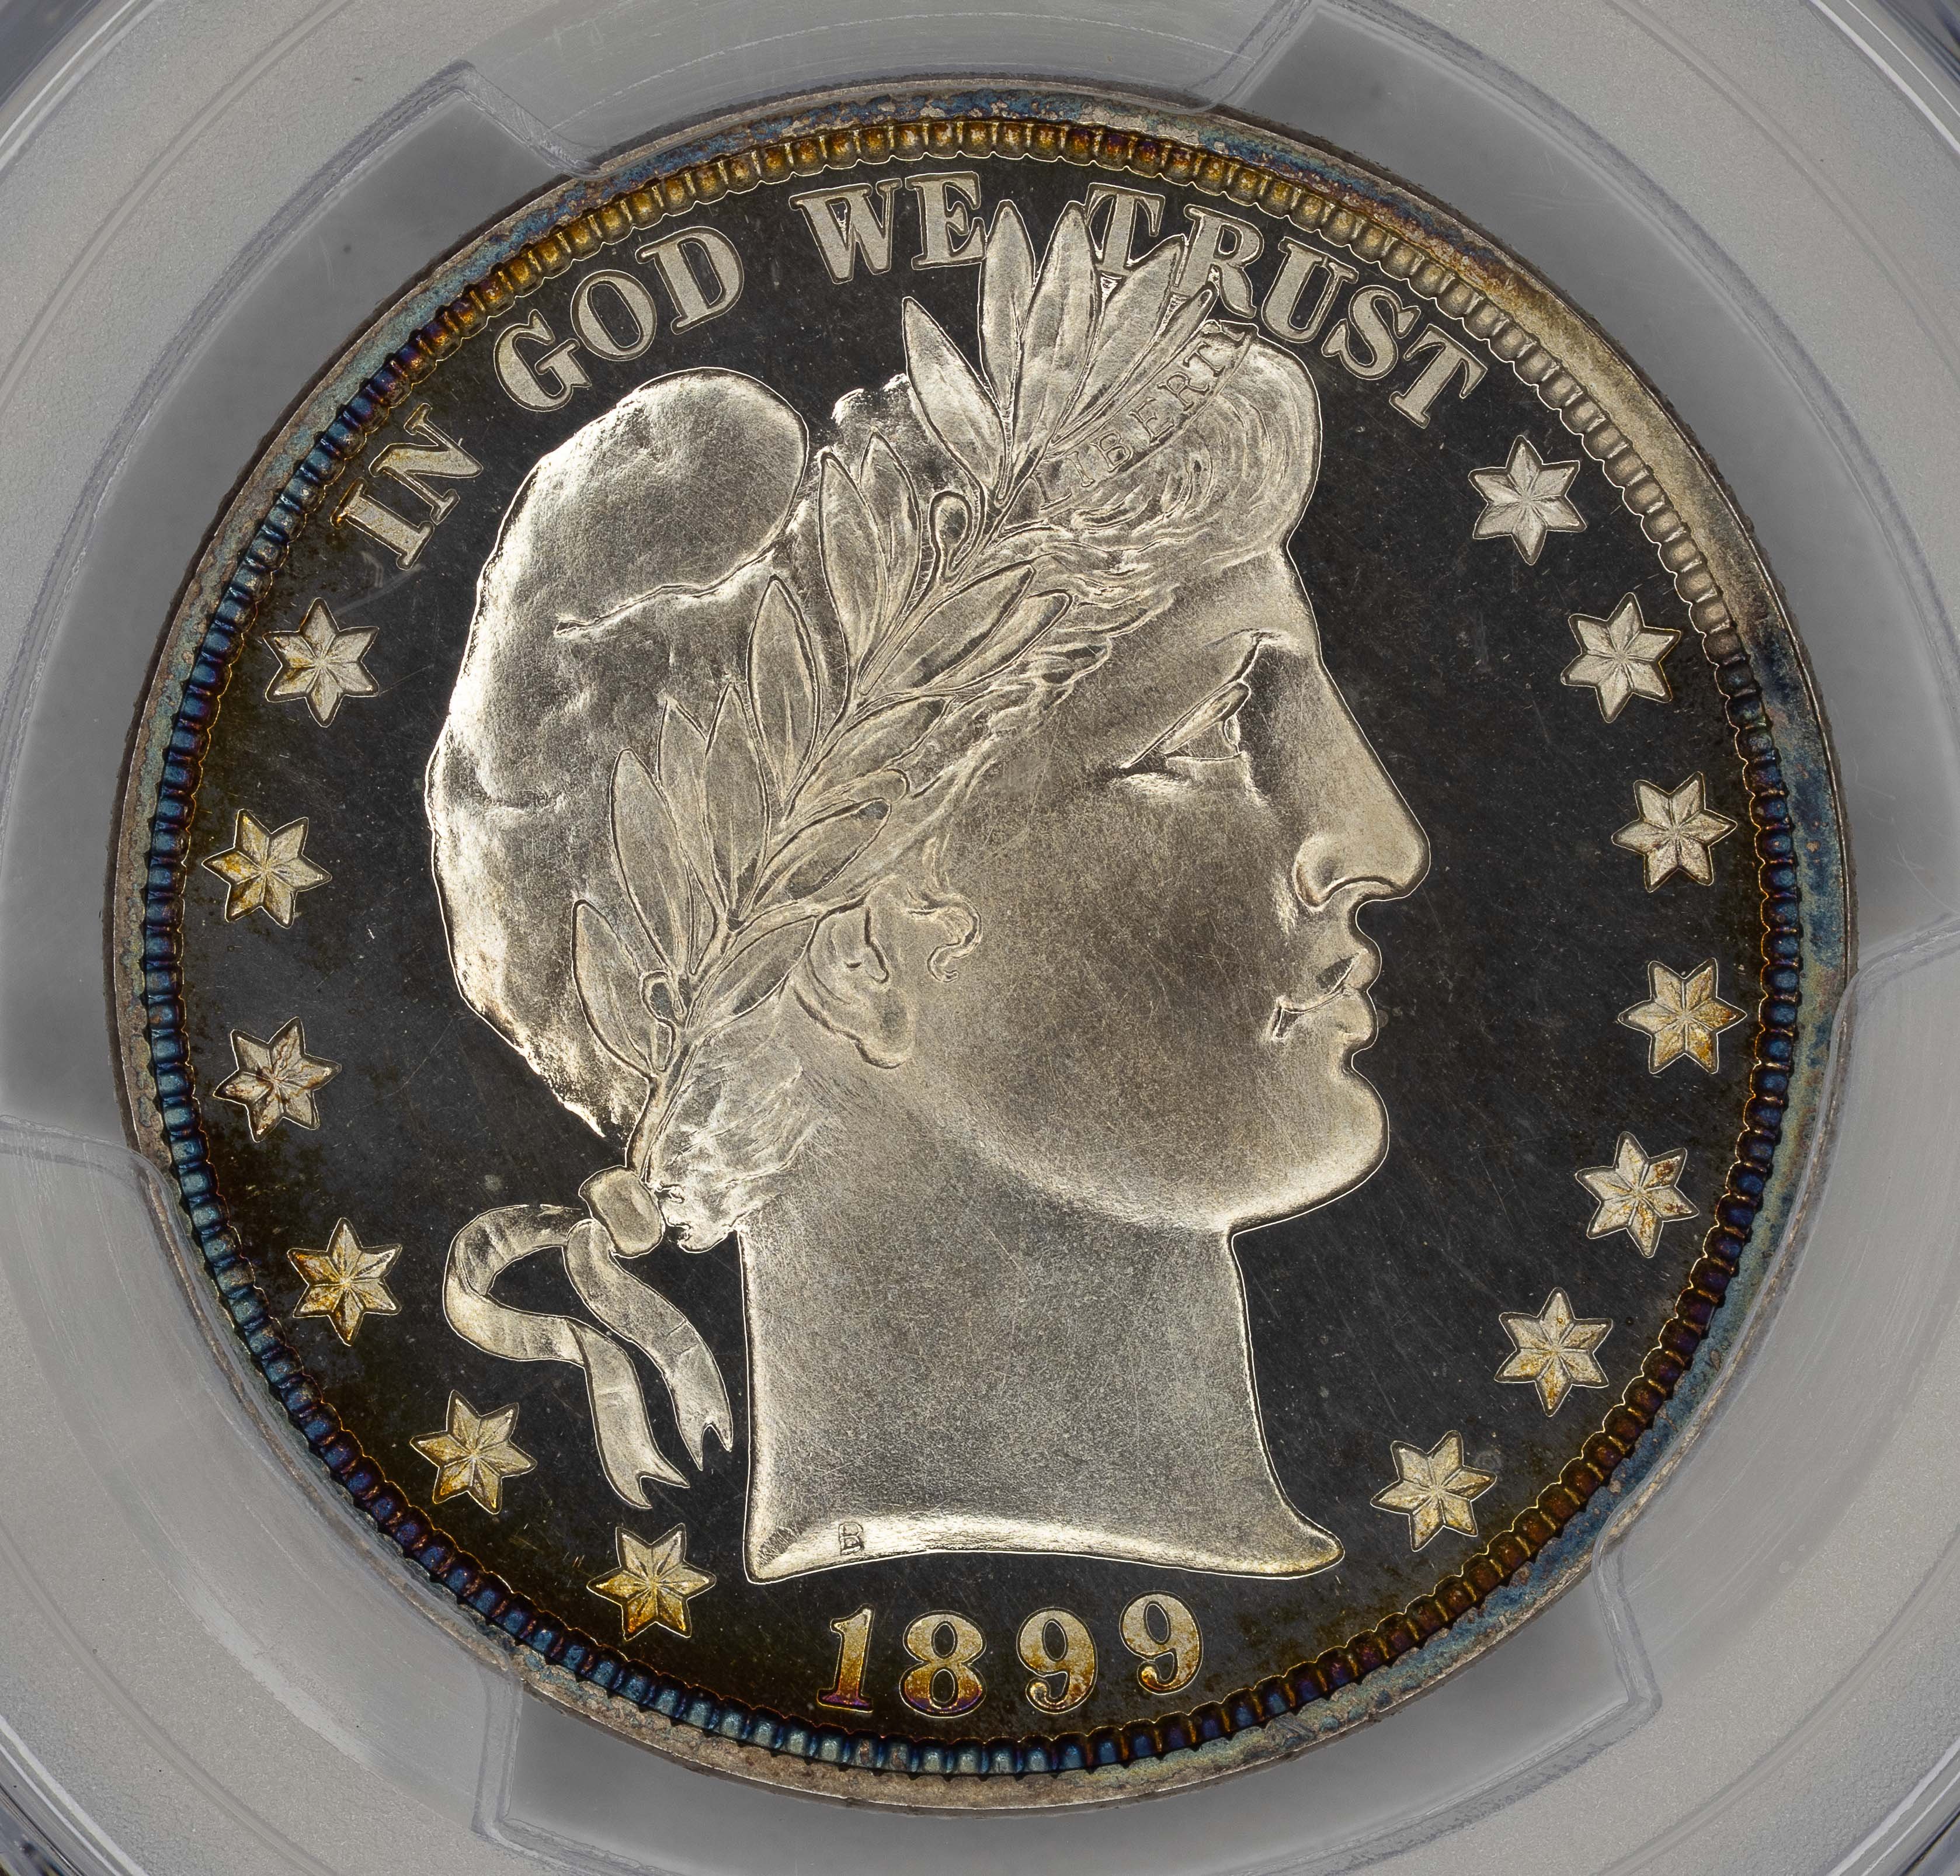
.
.
Ring lighting will cause a weird flat look on coins and make them look unnatural. See the above ring lighting versus this image under the direct lighting recommended above: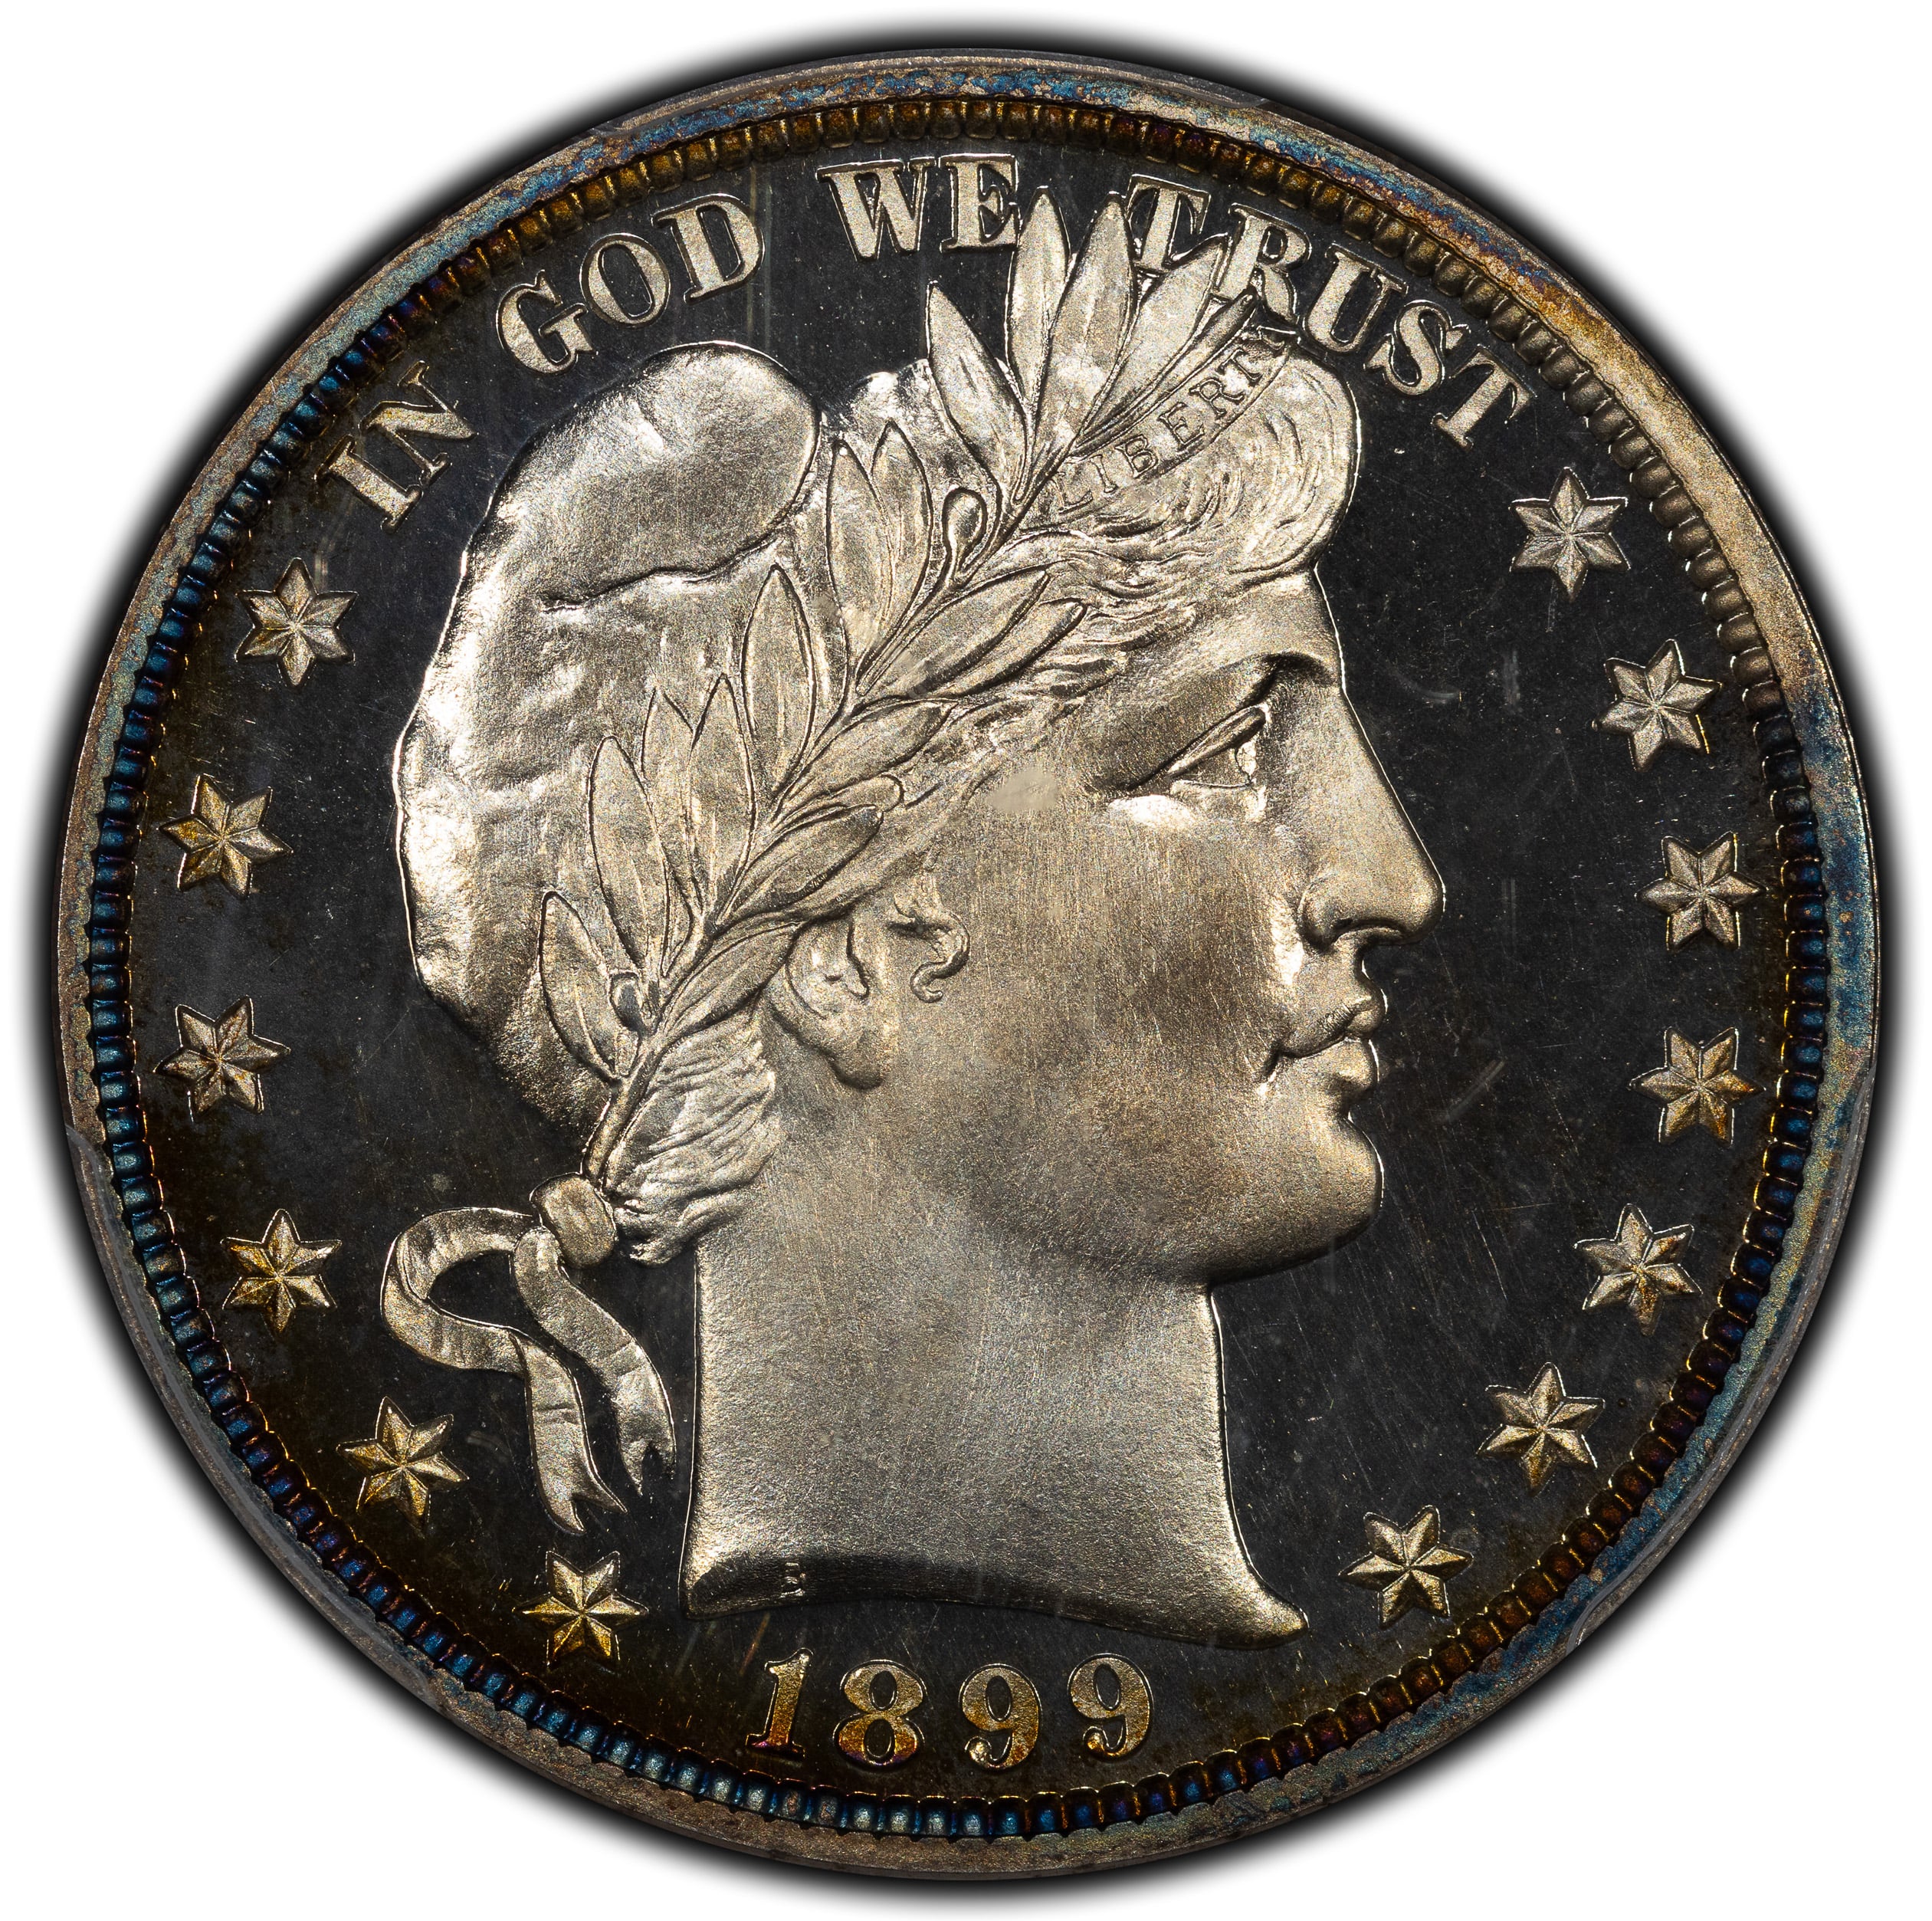
.
.
Poor Light Position: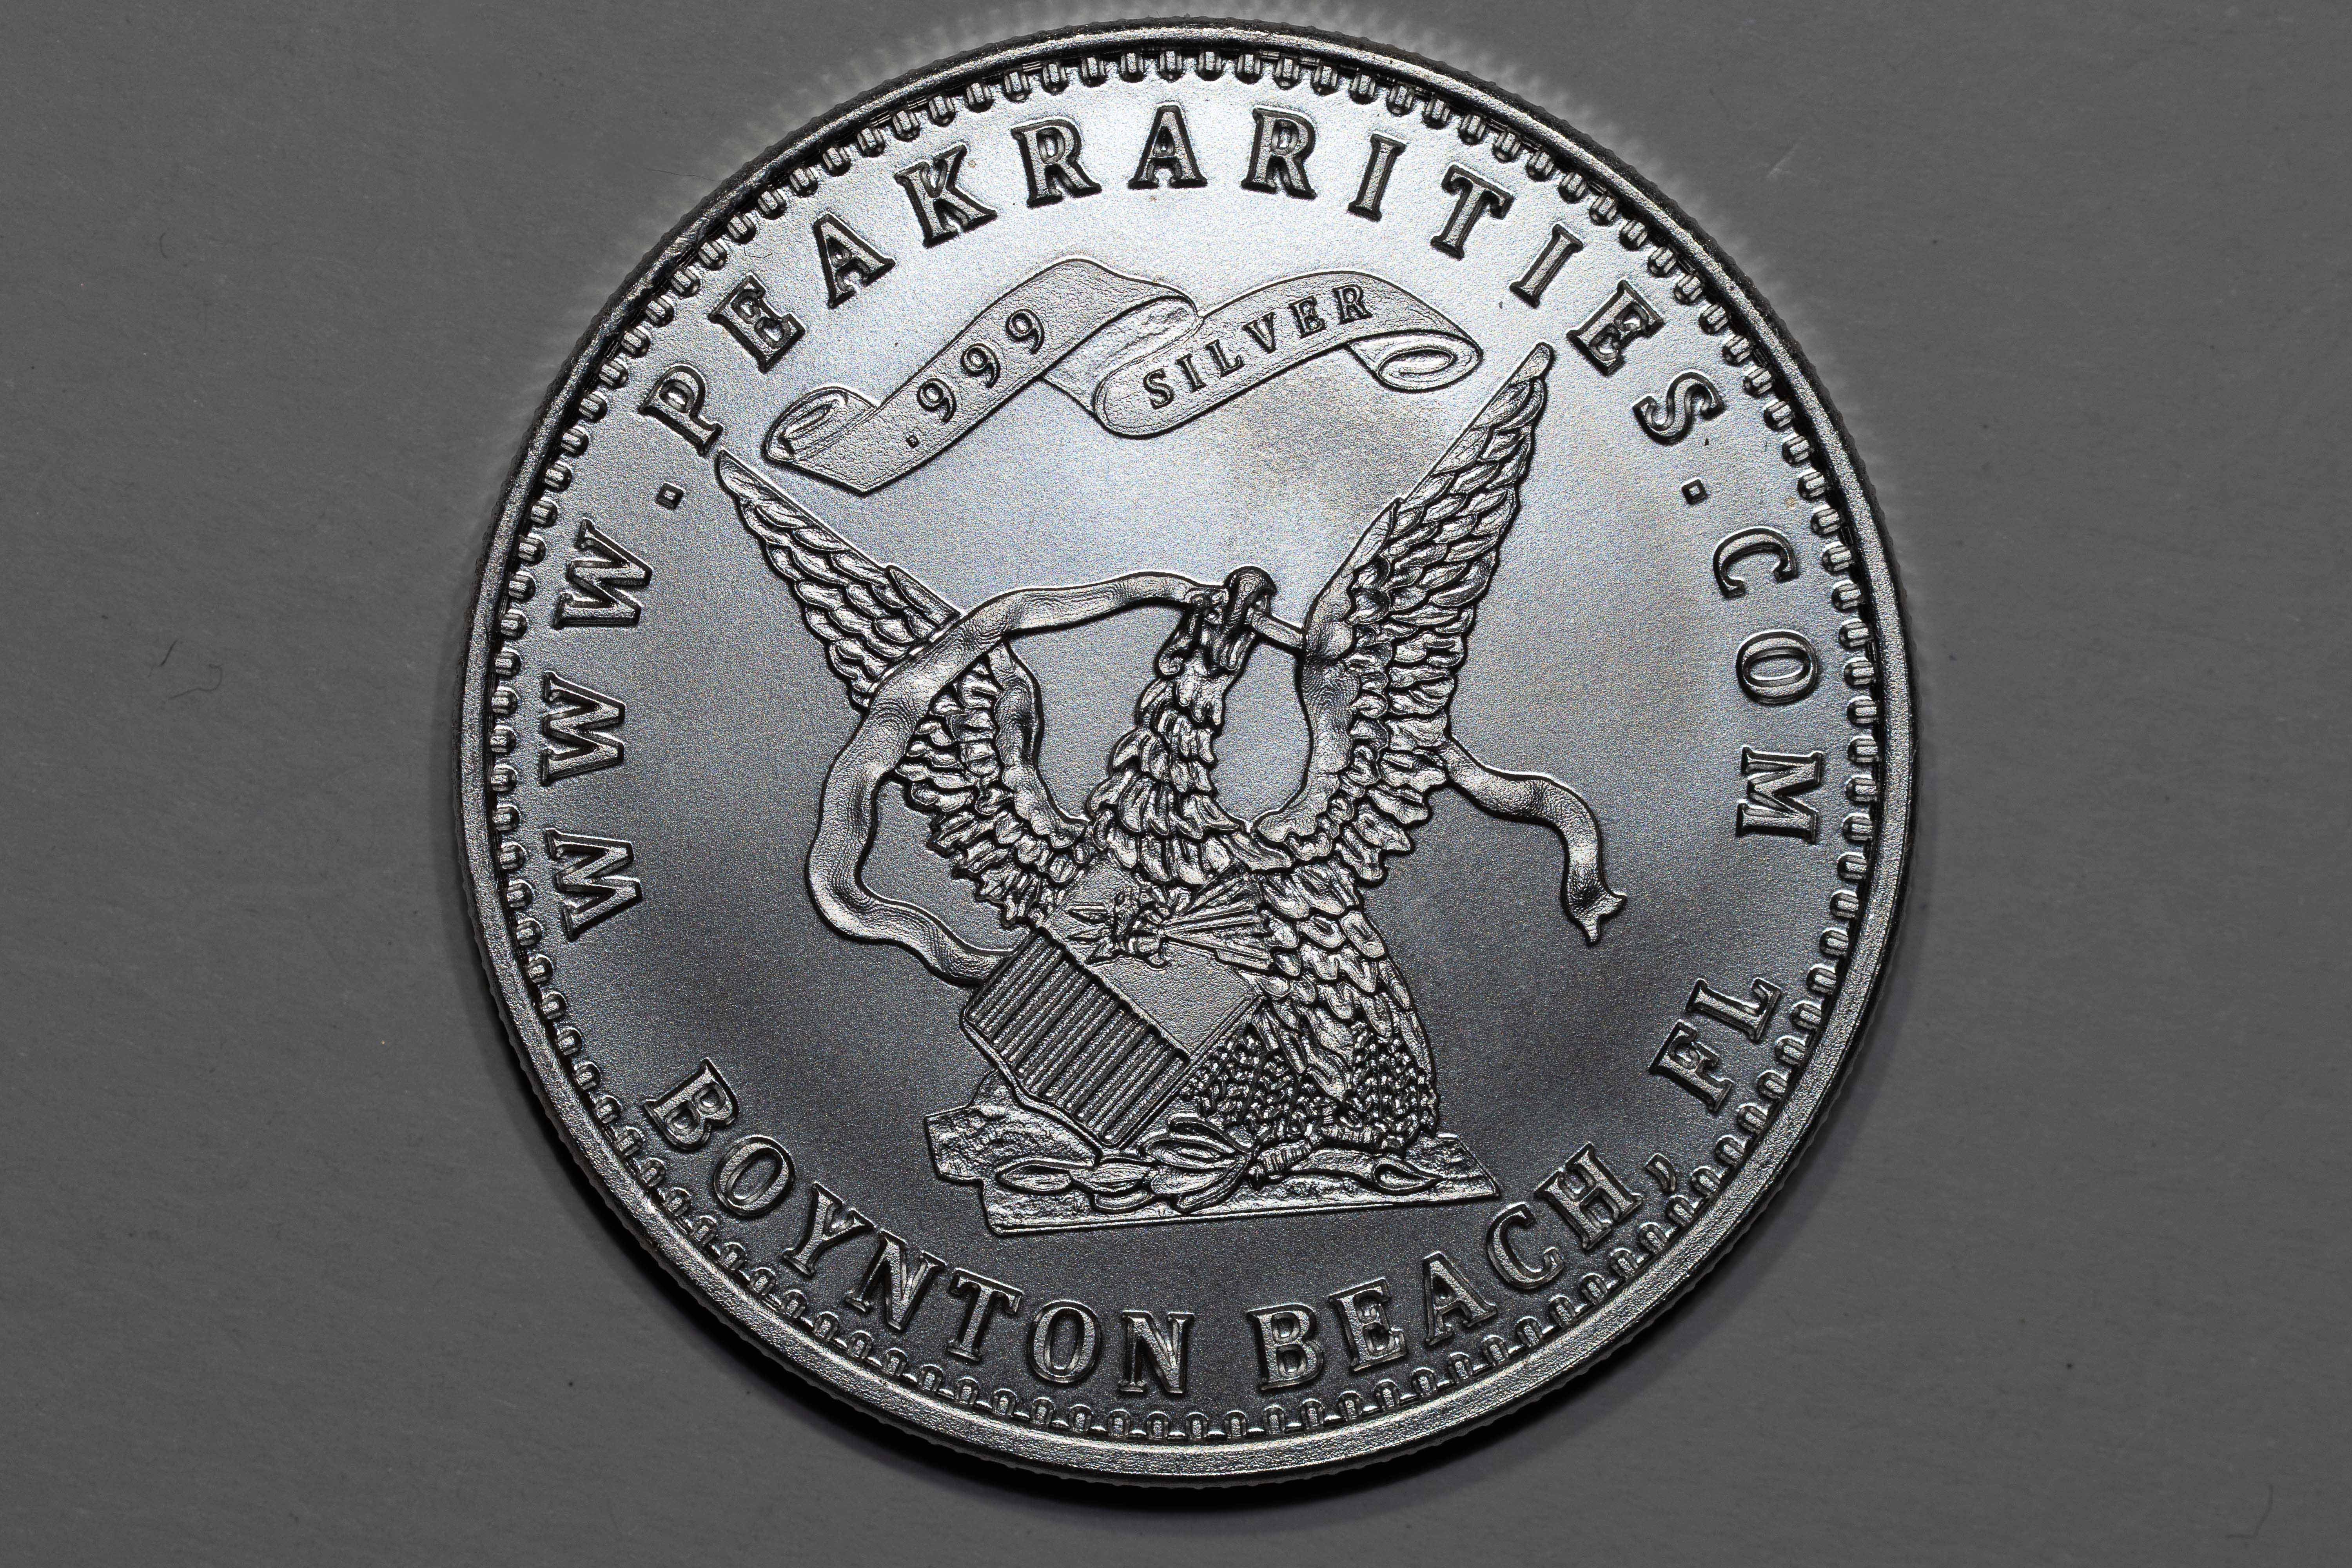
.
.
Poor light position will focus attention elsewhere on your image. You want to find the right balance of shadow and light, which really comes from where the lights are positioned. This image was taken with three lights at 12 o'clock.
Final product: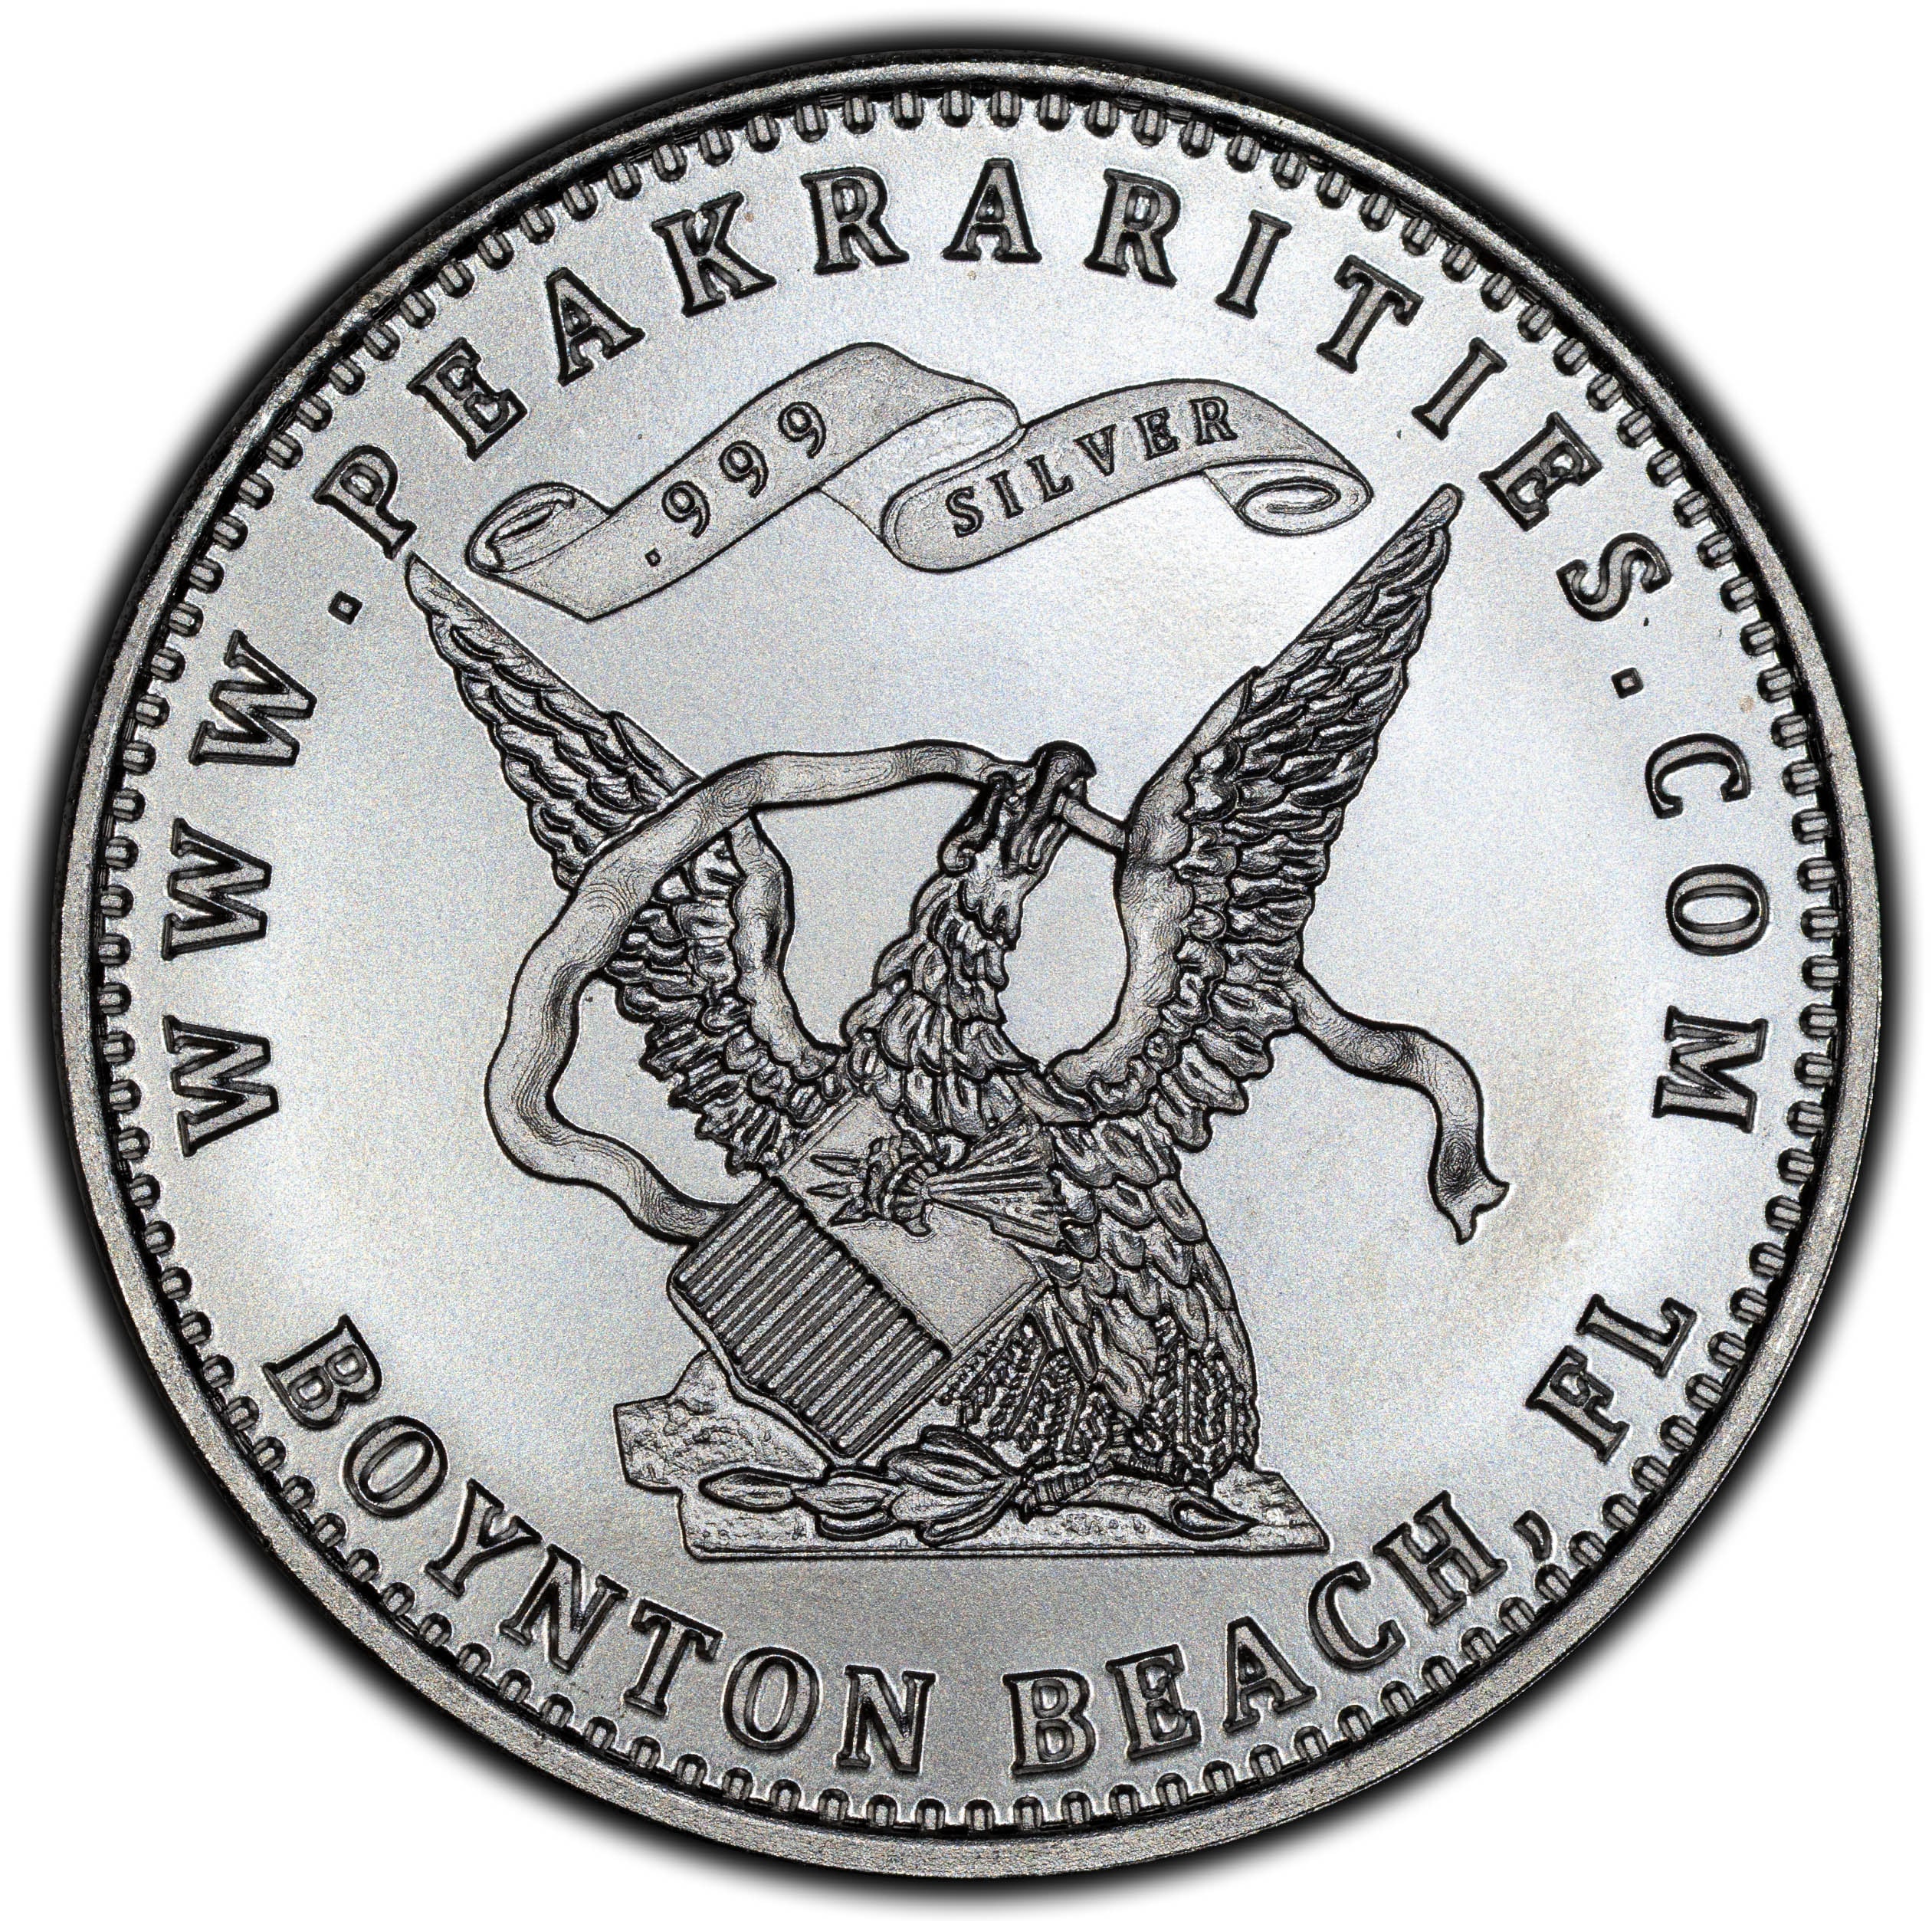
.
.
How was that image taken? 3 lights at 9, 12, and 3. F-7.1, and ISO 100. Exposure arrow at the middle of the meter. Lens and coin parallel. Click!
Comments
Wow! I did not know that I was going to get schooled today when I checked into the Forum. I have been taking coin photos for a few years. Mostly using a Nikon D5100 camera set-up. My photos are usually ok but not in the same level as yours by a huge margin. I quickly read through your post and I will now be going back and re-reading and studying further.
Thank you, Al for taking the time and effort to share your remarkable skills with us.
Wonderfully helpful thread. I’ve been looking for a thread like this for a long time.
Dave
Fantastic post!!
Roseanne Barrett I - CAC Morgan Dollar Basic Set, Circulation Strikes (Retired)
Roseanne Barrett - CAC Basic Seated Liberty Type Set, Circulation Strikes
Terrific post and much thanks!!!!!!!
Terrific write up Alex! Very good primer (and then some). WTG!!
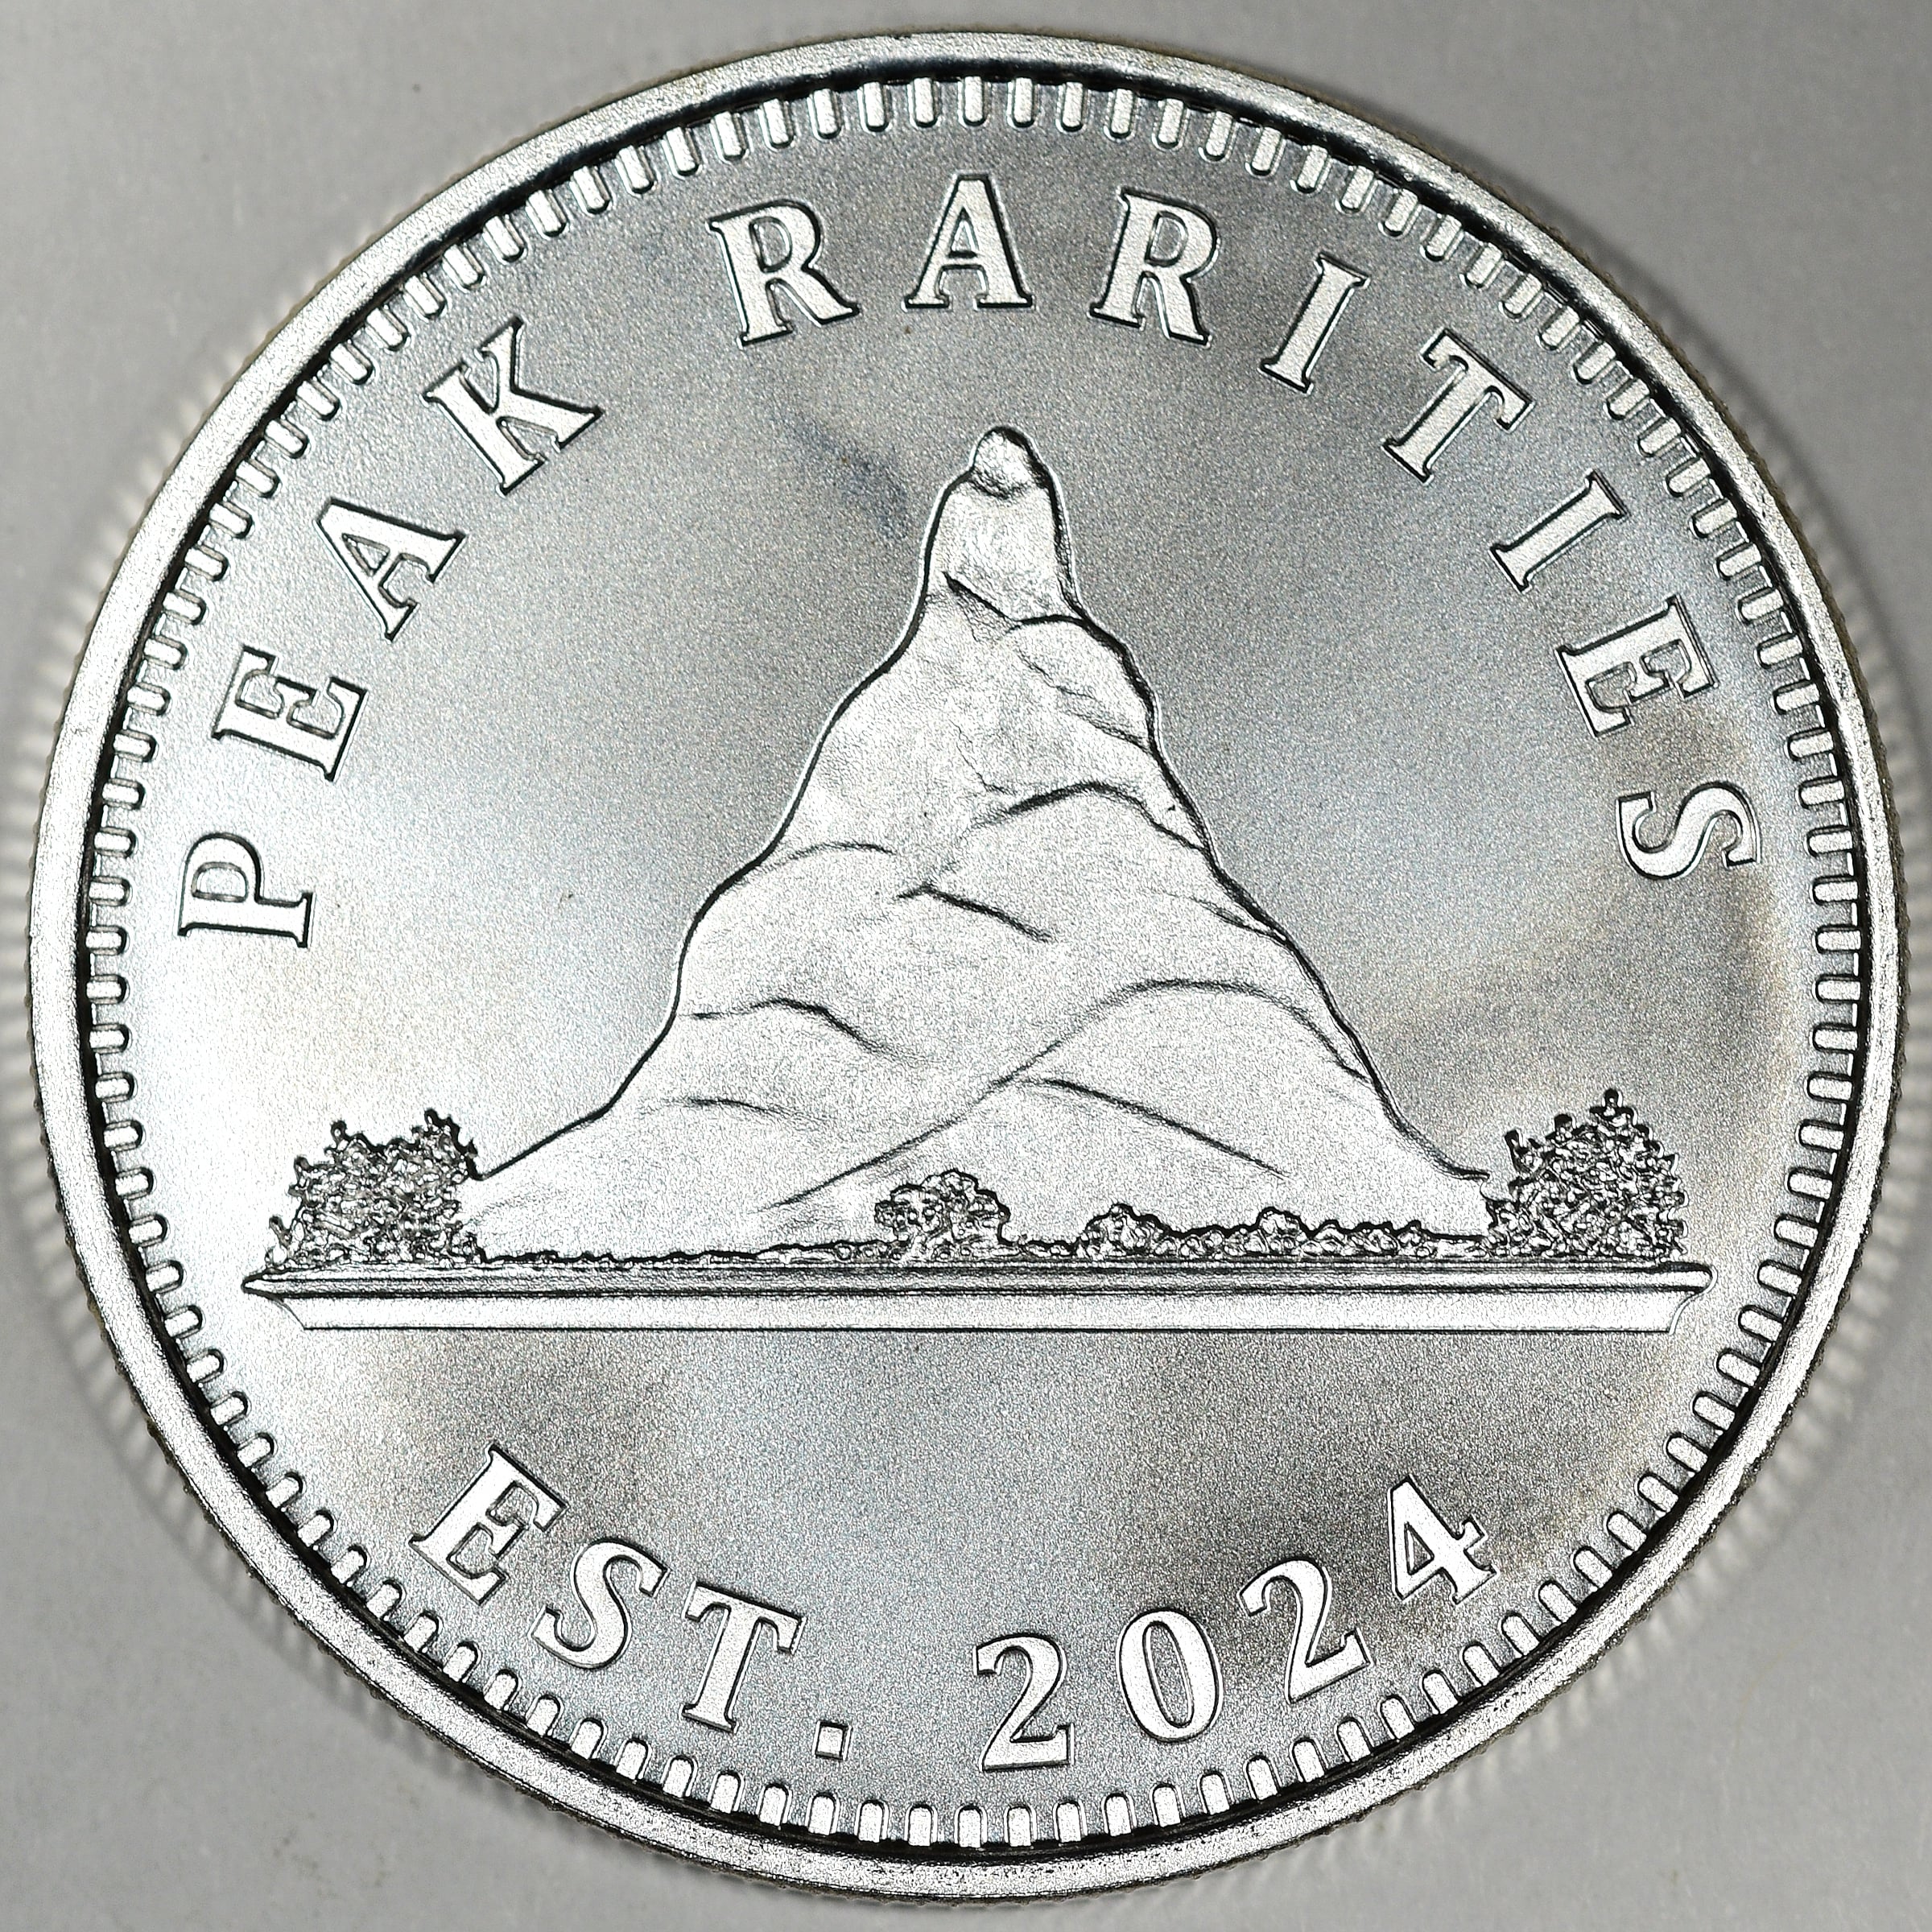
While my talents pale in comparison, since you showed the Peak Rarities medallion, I'll show what I came up with shortly after I received mine, and outline my gear. It might make for a reasonable addition to your thread.
Thanks to @PeakRarities Dan and @Davidk7 David for sending me one of these as well!
GEAR:
Nikon D3500 with Sigma 100mm 2.8 Macro
f/7.1
1/2500sec
copy stand with two Halogen P30's at a fairly high angle, tight in to lens, at about 9:30 and 2:30
manual focus
edited to add: I shot at ISO-200
.

“We are only their care-takers,” he posed, “if we take good care of them, then centuries from now they may still be here … ”
Todd - BHNC #242
Thanks for another great thread, Alex!
Mark Feld* of Heritage Auctions*Unless otherwise noted, my posts here represent my personal opinions.
A great gift and service in sharing your hard earned knowledge, wisdom and keen eye for others.
Thank you.
It’s very much appreciated!
Happy, humble, honored and proud recipient of the “You Suck” award 10/22/2014
Wonderful post. Thank you. Practical advice is why I’m here.
I’ve been struggling with my lighting, and the hint on a third light is super helpful.
I’ve been using two and rotating my coins to find an angle. It’s not consistent.
Time to order a third light.
Below is an example of a newp I just imaged yesterday, and a pic of my setup.
A couple of tips that I’d like to add is to a) always turn off any image stabilization and servo focus. You don’t want the sensor, lens stabilization, or focus moving while you shoot, and b) turn on silent mode if available so you don’t get any shutter vibration which can cause softness. Especially with macro.
Oh, and if you’re shooting raw (preferable for post processing) you can shoot auto white balance. Balance can be easily tweaked in post with a raw image.
I use Lightroom for editing and photoshop for compositing. My camera is a recent canon mirrorless and an older 180mm macro lens. The length allows more standoff from the subject which just makes things a bit easier.
Newbie collector of type and circulated Peace dollars, photographer of places and animals, player of instruments and builder of amplifiers, espresso industry professional, and a person distracted by shiny objects.
CACG Registry
MyCollect Registry