Options
share your images that have been stacked!!!
 LanceNewmanOCC
Posts: 19,999 ✭✭✭✭✭
LanceNewmanOCC
Posts: 19,999 ✭✭✭✭✭
.
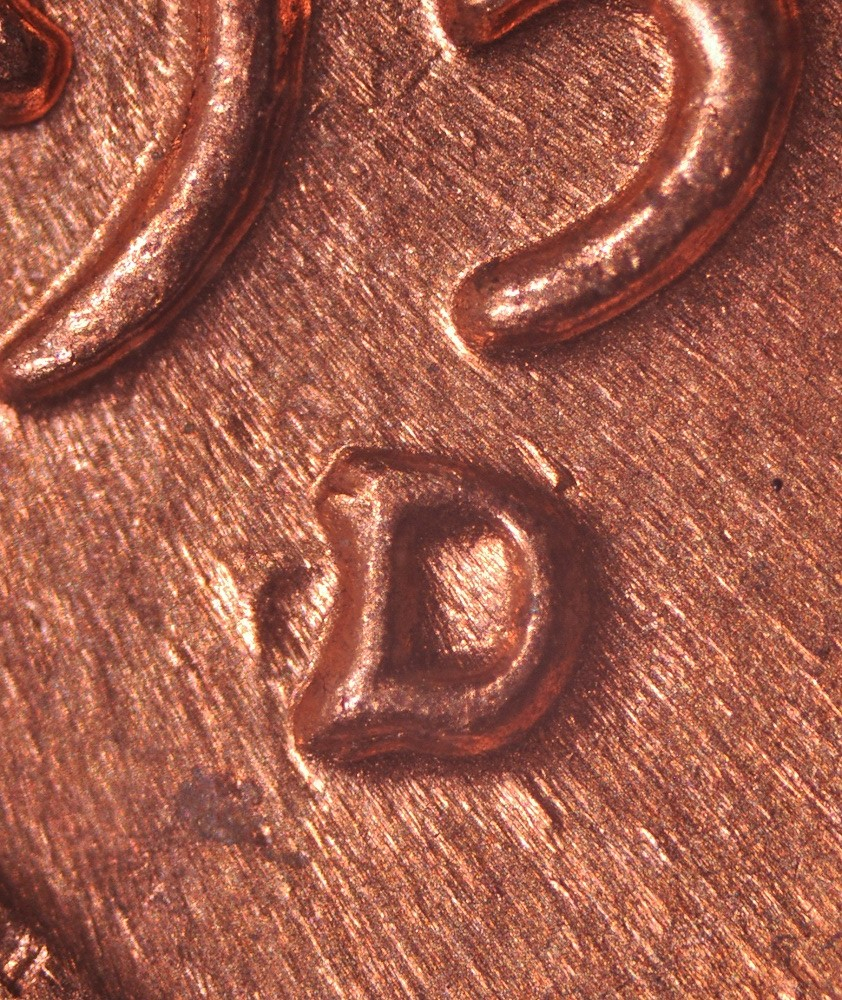
i'll start us off with 2 i found down deep in the belly of my archives.
i admit, i had trouble with what seemed like it was supposed to be an easy process. i'd give myself a b- to a solid b effort/result.
if ray comes along and posts some 3d images, i won't stop em. ![]()

 <--- look what's behind the mask! - cool link 1/NO ~ 2/NNP ~ 3/NNC ~ 4/CF ~ 5/PG ~ 6/Cert ~ 7/NGC 7a/NGC pop~ 8/NGCF ~ 9/HA archives ~ 10/PM ~ 11/NM ~ 12/ANACS cert ~ 13/ANACS pop - report fakes 1/ACEF ~ report fakes/thefts 1/NCIS - Numi-Classes SS ~ Bass ~ Transcribed Docs NNP - clashed coins - error training - V V mm styles -
12
Comments
I have lots of examples, but because you didn't specify what kind of stacking, you're stuck with two from my trip to Kauai last year")
I remember playing with this. I wasn't very good.
Lance.
Did someone say stacks?
Could one of you photo experts explain 'stacking' images? The pictures shown are really great, with a 3D effect...Being an amateur when it comes to this, I would like to understand the process. Cheers, RickO
I also have no idea what stacked images are but I do know there are some great pics here.")
Worry is the interest you pay on a debt you may not owe.
"Paper money eventually returns to its intrinsic value---zero."----Voltaire
"Everything you say should be true, but not everything true should be said."----Voltaire
The 3 of us are to old I guess. I have no idea what stacked means.")
It used to mean a girl!!
There are several types of stacking. They fall into two different camps: focus stacking and image stacking.
Focus stacking is achieved by taking photos (typically closeup/macro) and changing the focus area slightly with each picture. The best results are using a macro rail but changing the actual focus of the lens without moving anything is commonly done as well. Then you stack the images together into a tool which takes the sharpest bits of each one (the moving focus) and combines them into a seamless (ideally) image where everything front to back is sharp.
Image stacking is taking the same image at different times and combining them. It’s used in several ways: compositing images, overlays to show time (like what Jeremy posted), and for noise reduction/enhanced signal-to-noise ratio. The latter is frequently used for astrophotography images as you’re fighting various limitations in the camera, mount, and atmosphere with a moving target.
@TurtleCat thanks for the explanation, but I am to old to understand what you just said!
")
The computer stuff got away from me.
The quick and dirty is: You take a bunch of images focused on a different part of the coin and combine them into one picture where everything in the picture looks like it’s in focus.
I have stacks of photos but I don't think that's what the OP is talking about.
Can you repeat that in English?
I'll see if I can translate (I think what's written here is very good, though I come with a photography background). When you take a picture, some amount of the detail in the picture will be sharp based on the settings used to take the picture (specifically the lens aperture--how much light is getting into the camera) and the lens itself and the distance between the subject and the lens. For macro photography, the depth of sharpness can be very, very small (possibly 1mm or less, especially if you're considering perfectly sharp versus not quite perfectly sharp, rather than perfectly sharp versus acceptably sharp... there may not be something visibly out of focus). Rather than take one photo where some part is sharp and the rest is acceptable (or worse), you can take multiple photos (without moving the camera) focused to slightly different points, which will each have a different area of the subject in focus. Software can then combine these images, taking just the sharpest parts of each, so the result is one final photo where everything is perfectly sharp.
In landscape photography, this is also a common technique, but at a different scale. Suppose I photograph a mountain far away. One shot will get everything just as sharp, because everything is about the same distance away, and focused so far away, the variations in distance between the front of the mountain and the sides of the mountain won't change sharpness. But suppose I want this cool boulder (or plant, or whatever) 5 feet away from me to be in more foreground, and the mountain 5 miles away in the background. It's very unlikely you'll be able to get both sharp. But if you take two photos focused on the two subjects, you can combine them on your computer, and voila--one final photo where everything is sharp.
The photos I showed were exposure stacked. When you have a high dynamic range (a scene containing very dark to very light), there's a good chance that no single exposure will get everything. If you expose the image for the bright areas, the dark ones will be way too dark and you might lose detail. Expose for the dark areas and the light areas may be bright white with no detail that can be recovered in software. So for the photos I showed, I took three images of each--one at the "best" exposure, and then one exposed just for the dark areas and one exposed just for the bright areas (this is also called exposure bracketing). In software, the three images get combined so the resulting image has all the information for the brightest and darkest areas, and rather than just end up with a dark/bright area I can't use, I have all the information available and can then control those bright and dark areas with software to get them to show the right balance of bright/dark and detail, and you get the final image I showed. If you ever see HDR (High Dynamic Range) settings on your phone or the like, or those photos that look kind of funky where there's high detail almost everywhere (even where you'd think there's a shadow or really bright spot), this is how it's done, though those photos use this method to create a specific effect (which I think looks a bit too fake and am not a big fan of), where, when used with a lighter editing hand, the method simply makes sure the whole scene has the detail your eye saw, but a camera may not be able to capture with one click.
@airplanenut . Thanks for the explanation - Makes sense, and probably a lot more later once I break down and buy a camera. (I'll book mark this for later) By now, I could have bought a few cameras on money wasted grading nonsensical coins.
Thanks,
Chris
@TurtleCat.... @airplanenut .... Thank you both for the explanations.... I am computer literate, so I do understand what is done to achieve that result. Now, doing it, would be another thing... I do not have the camera for such endeavors... That being said, I will enjoy the great stacked photo's shown here. Cheers, RickO
Very interesting! I must admit I was also looking forward to some girly pix...")
i like that you tried!
did you ever pick up that reflector yet? saw you made a comment a couple/few months back and then after i ttt one of my old threads to inspire you in case you didn't.
for those that did get good at it (not us) they do yield some amazing results with coins and i'm sure most of us in this thread have seen even more amazing images from the natural world, when they have been professionally stacked.
October 23, 2014. Exposure Stacked and Focus Stacked 11 images with 4x5 Crop...which lead to a few more than just 11 images. This is from when I lived on the beach and there was a 12% Solar Eclipse, what I call my "Pac-Man Sunset" Photo. This took a little bit of planning the previous two days, including cleaning the pavers and pulling a few weeds from around the pavers. Not only did I want to capture the sun, but also the sky, the white sand beach, the green plants and little yellow flowers. None of this would be possible with a single photo, or even with just a few photos. I blended the images together by hand in Photoshop to recreate the scene most accurately. As for the sky that evening, 100% Pure Luck! Enjoy!
Not really looking for much these days but if I were, it might be a toner.
I did get a couple of reflectors but neither one is suitable. Too small and too dished. Still on the lookout.
Lance.
don't know if this fits your standards but it is the one i used all those years ago. (c/d cell size) instead of cutting the base, i just cut down an empty toilet paper roll and it sat it in perfectly. - 292022460879
i only wanted one that would fit US dollar size. i think it still had a little room for some medals/patterns/tokens etc with a slightly larger diameter. don't recall exactly the MM size. a lot of fun for $6.