Well done. It would be cool if someone would provide a sample list of equipment used, shared photos of the entire setup and then walked through the steps taken to produce the different photos. Then I am guessing it is a simple image stacking in Photoshop but those steps can also be shared. I’ve done limited image stacking before with landscape photography but not like this for macro.
"If it's not fun, it's not worth it." - KeyMan64 Looking for Top Pop Mercury Dime Varieties & High Grade Mercury Dime Toners.
@keyman64 said:
Well done. It would be cool if someone would provide a sample list of equipment used, shared photos of the entire setup and then walked through the steps taken to produce the different photos. Then I am guessing it is a simple image stacking in Photoshop but those steps can also be shared. I’ve done limited image stacking before with landscape photography but not like this for macro.
I'll try to explain the setup and equipment used as best I could:
Obvious needs
1. Camera: Preferably Mirrorless. This will minimize vibration for sharper images. If you're using DSLR, make sure it can do "mirror lockup" for sharpness.
2. Macro Lens.
3. Copy stand or a "Sturdy Tripod".
4. Software: Photoshop or Helicon. There are numerous "YouTube" videos that will explain the steps and process better than I could.
Special Needs and steps:
1. Remote control for your camera. Or, use your camera's timer. This will almost guarantee sharper pics. Use "LIVE VIEW" on your camera or tether to your PC/Mac.
2. You WILL NEED a focusing rail! You need to obviously take multiple photos at different focal points. Focusing rail's incremental moves will make this process much easier. Using your lens focus wheel to refocus at different focal depths will be super hard.
3. Camera setup like shutter speed, Aperture etc must stay the same the entire time you're taking photos.
4. Your macro lens MUST be able to do manual focus. Setting your lens in Auto Focus will NOT work!
5. You'll need something that you can stage your coin on an angle to get the "3D" view/perspective. You can use "bean bags" just make sure that you protect your coin(s) if raw . I prefer Sturdy Tripod over Copy Stand for this stacking technique.
Regarding lighting setup, I use a ring light attached to my lens. Just make sure you diffuse since direct light on coin will create glare. I also use light over the subject. You'll need to experiment on what works for your subject.
I have a very tricky and expensive setup for this focus stacking technique that I'd rather not show . I am designing something that is all in one that is also cost effective. Once it's done, I will post!
Thank you! I have a Nikon Z9 so I’m good there. I have everything but the focusing rail and that’s the key component of the system. That’s what I needed to know, thanks! Then I just need the time to get it alllllll put together and figured out. Maybe one day.
"If it's not fun, it's not worth it." - KeyMan64 Looking for Top Pop Mercury Dime Varieties & High Grade Mercury Dime Toners.
 in2Coins
Posts: 380 ✭✭✭✭✭
in2Coins
Posts: 380 ✭✭✭✭✭
Comments
amazing details - nice pic
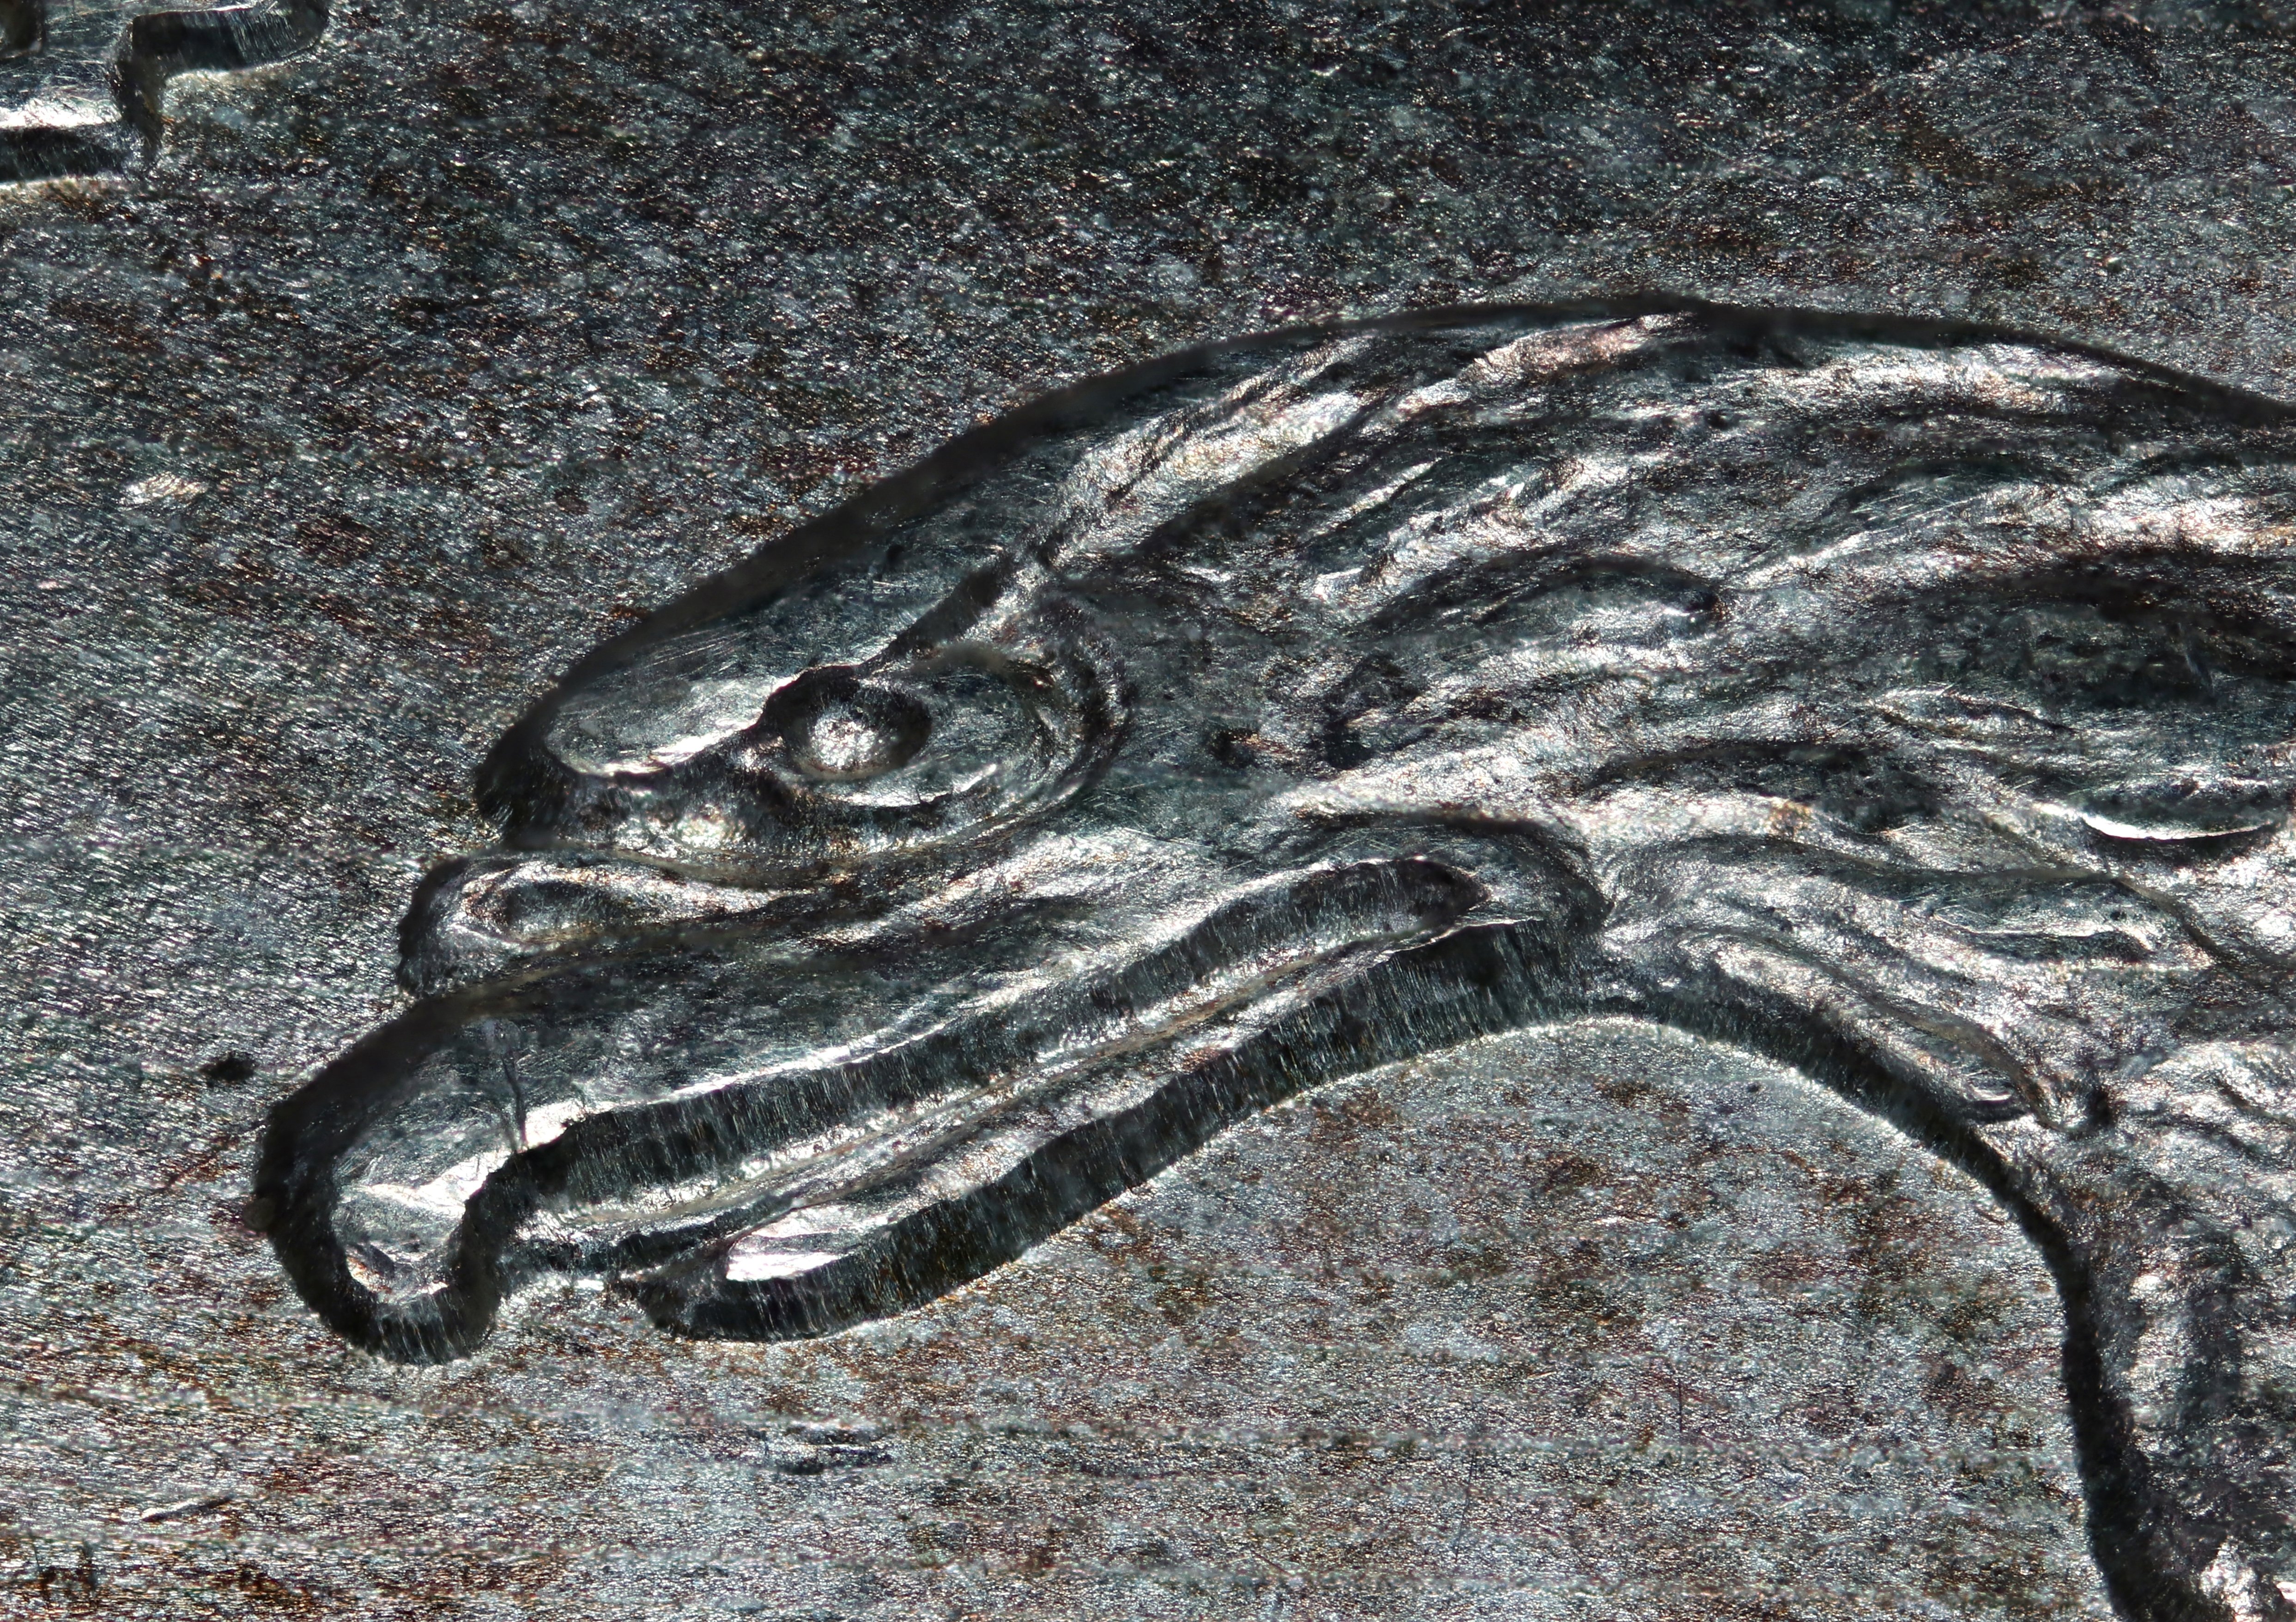
That is very nice. A "true" 3D/perspective view. What magnification did you use?
http://macrocoins.com
Thanks! 4x Mag
I would be interesting to hear about the technique and software used
OMG ... My Mother was Right about Everything!
I wake up with a Good Attitude Every Day. Then … Idiots Happen!
Well done. It would be cool if someone would provide a sample list of equipment used, shared photos of the entire setup and then walked through the steps taken to produce the different photos. Then I am guessing it is a simple image stacking in Photoshop but those steps can also be shared. I’ve done limited image stacking before with landscape photography but not like this for macro.
Looking for Top Pop Mercury Dime Varieties & High Grade Mercury Dime Toners.
I'll try to explain the setup and equipment used as best I could:
Obvious needs
1. Camera: Preferably Mirrorless. This will minimize vibration for sharper images. If you're using DSLR, make sure it can do "mirror lockup" for sharpness.
2. Macro Lens.
3. Copy stand or a "Sturdy Tripod".
4. Software: Photoshop or Helicon. There are numerous "YouTube" videos that will explain the steps and process better than I could.
Special Needs and steps:") . I prefer Sturdy Tripod over Copy Stand for this stacking technique.
. I prefer Sturdy Tripod over Copy Stand for this stacking technique.
1. Remote control for your camera. Or, use your camera's timer. This will almost guarantee sharper pics. Use "LIVE VIEW" on your camera or tether to your PC/Mac.
2. You WILL NEED a focusing rail! You need to obviously take multiple photos at different focal points. Focusing rail's incremental moves will make this process much easier. Using your lens focus wheel to refocus at different focal depths will be super hard.
3. Camera setup like shutter speed, Aperture etc must stay the same the entire time you're taking photos.
4. Your macro lens MUST be able to do manual focus. Setting your lens in Auto Focus will NOT work!
5. You'll need something that you can stage your coin on an angle to get the "3D" view/perspective. You can use "bean bags" just make sure that you protect your coin(s) if raw
Regarding lighting setup, I use a ring light attached to my lens. Just make sure you diffuse since direct light on coin will create glare. I also use light over the subject. You'll need to experiment on what works for your subject.
Thank you! I have a Nikon Z9 so I’m good there. I have everything but the focusing rail and that’s the key component of the system. That’s what I needed to know, thanks! Then I just need the time to get it alllllll put together and figured out. Maybe one day.
Looking for Top Pop Mercury Dime Varieties & High Grade Mercury Dime Toners.
@keyman64: Buy a nice focusing rail. Novoflex for me is the best due to their built and fine focus capability.
I have 3 of their focusing rails. One is similar as shown below. If you’re interested, PM me and I’ll try to make you a deal….