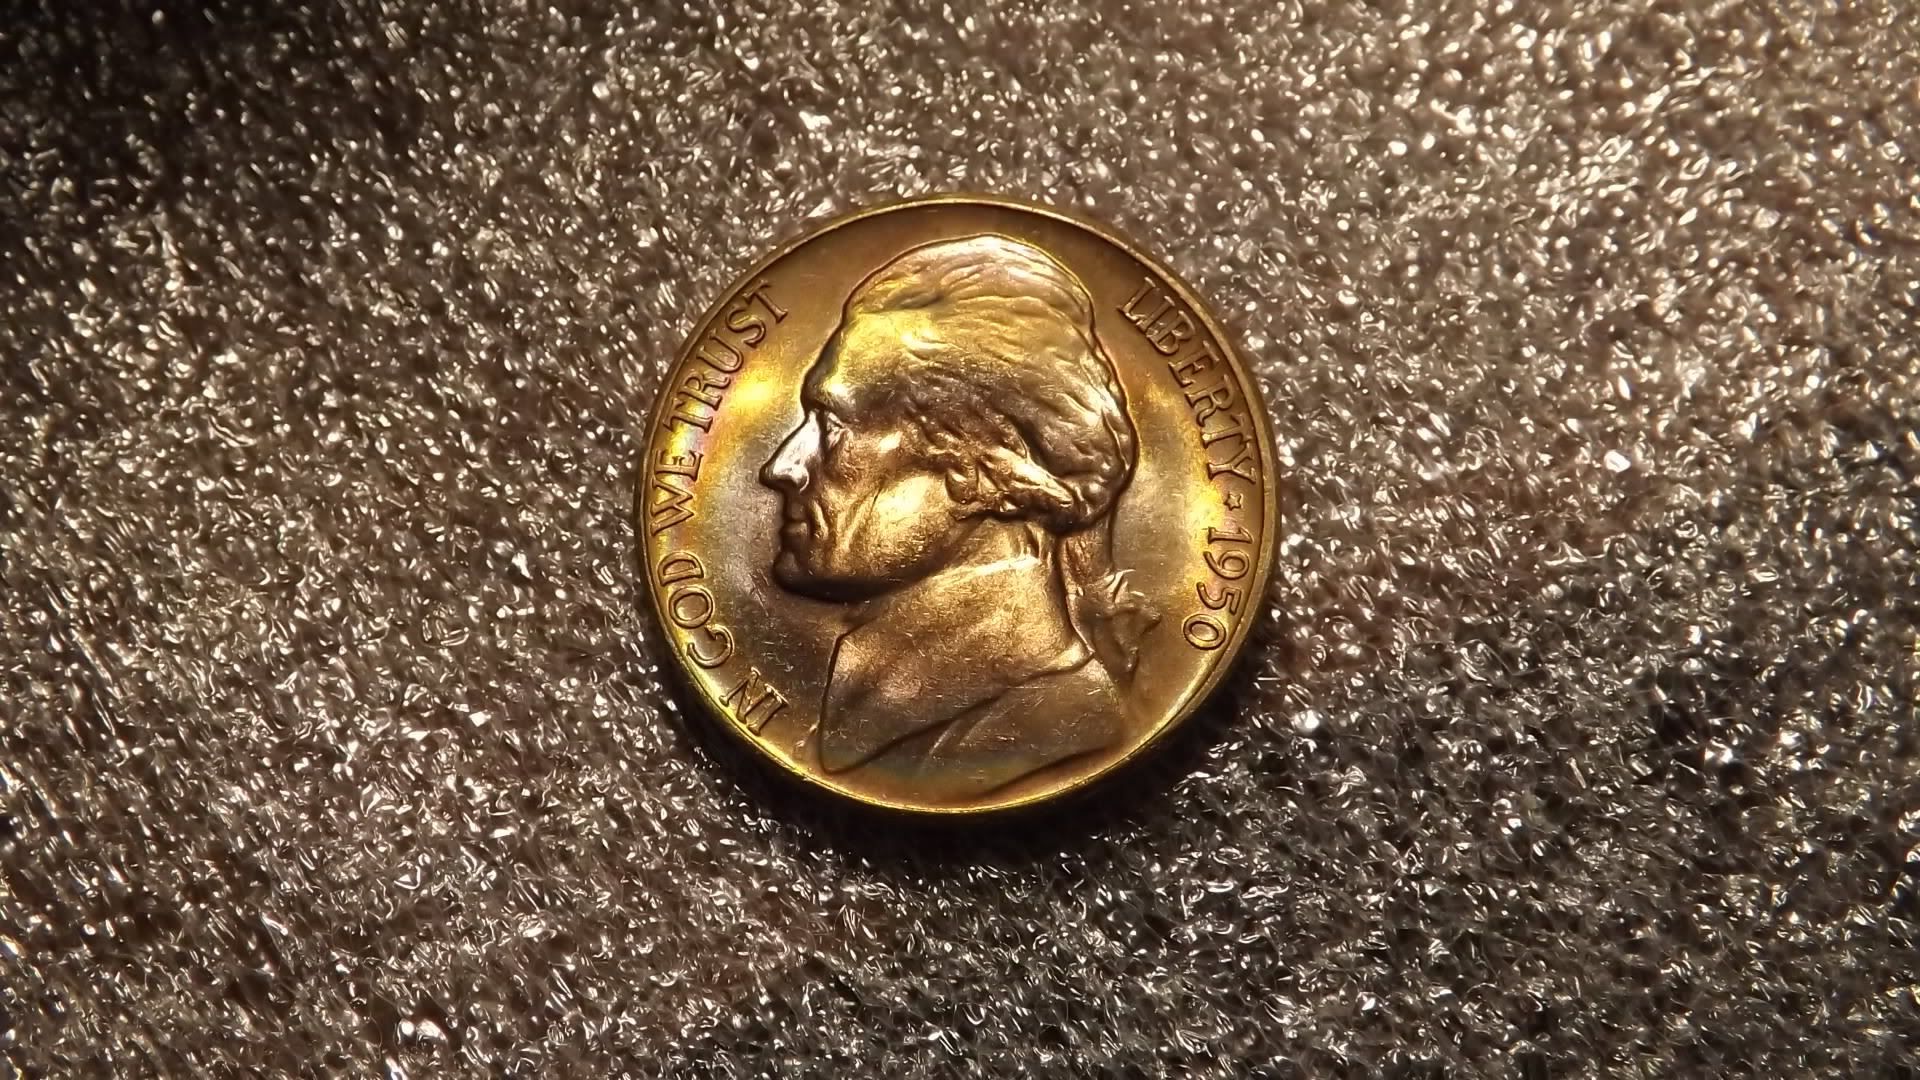
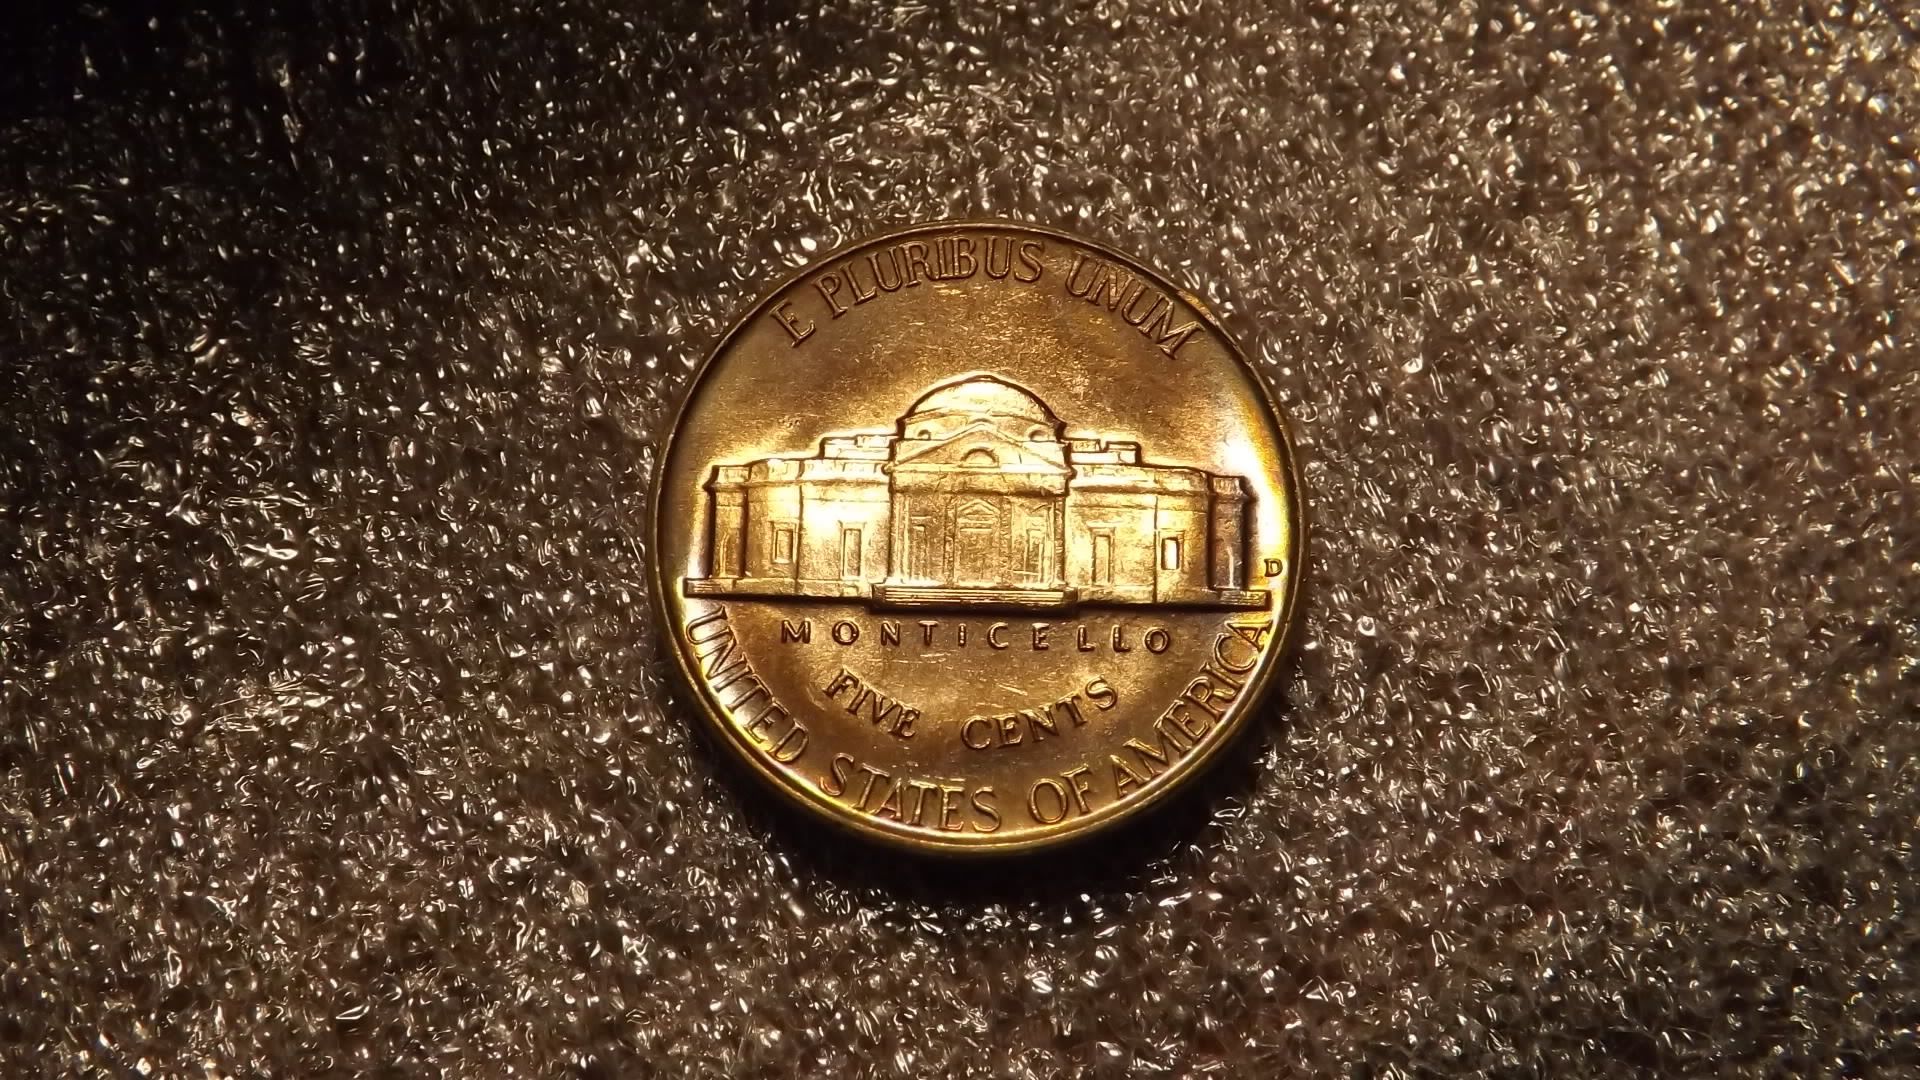
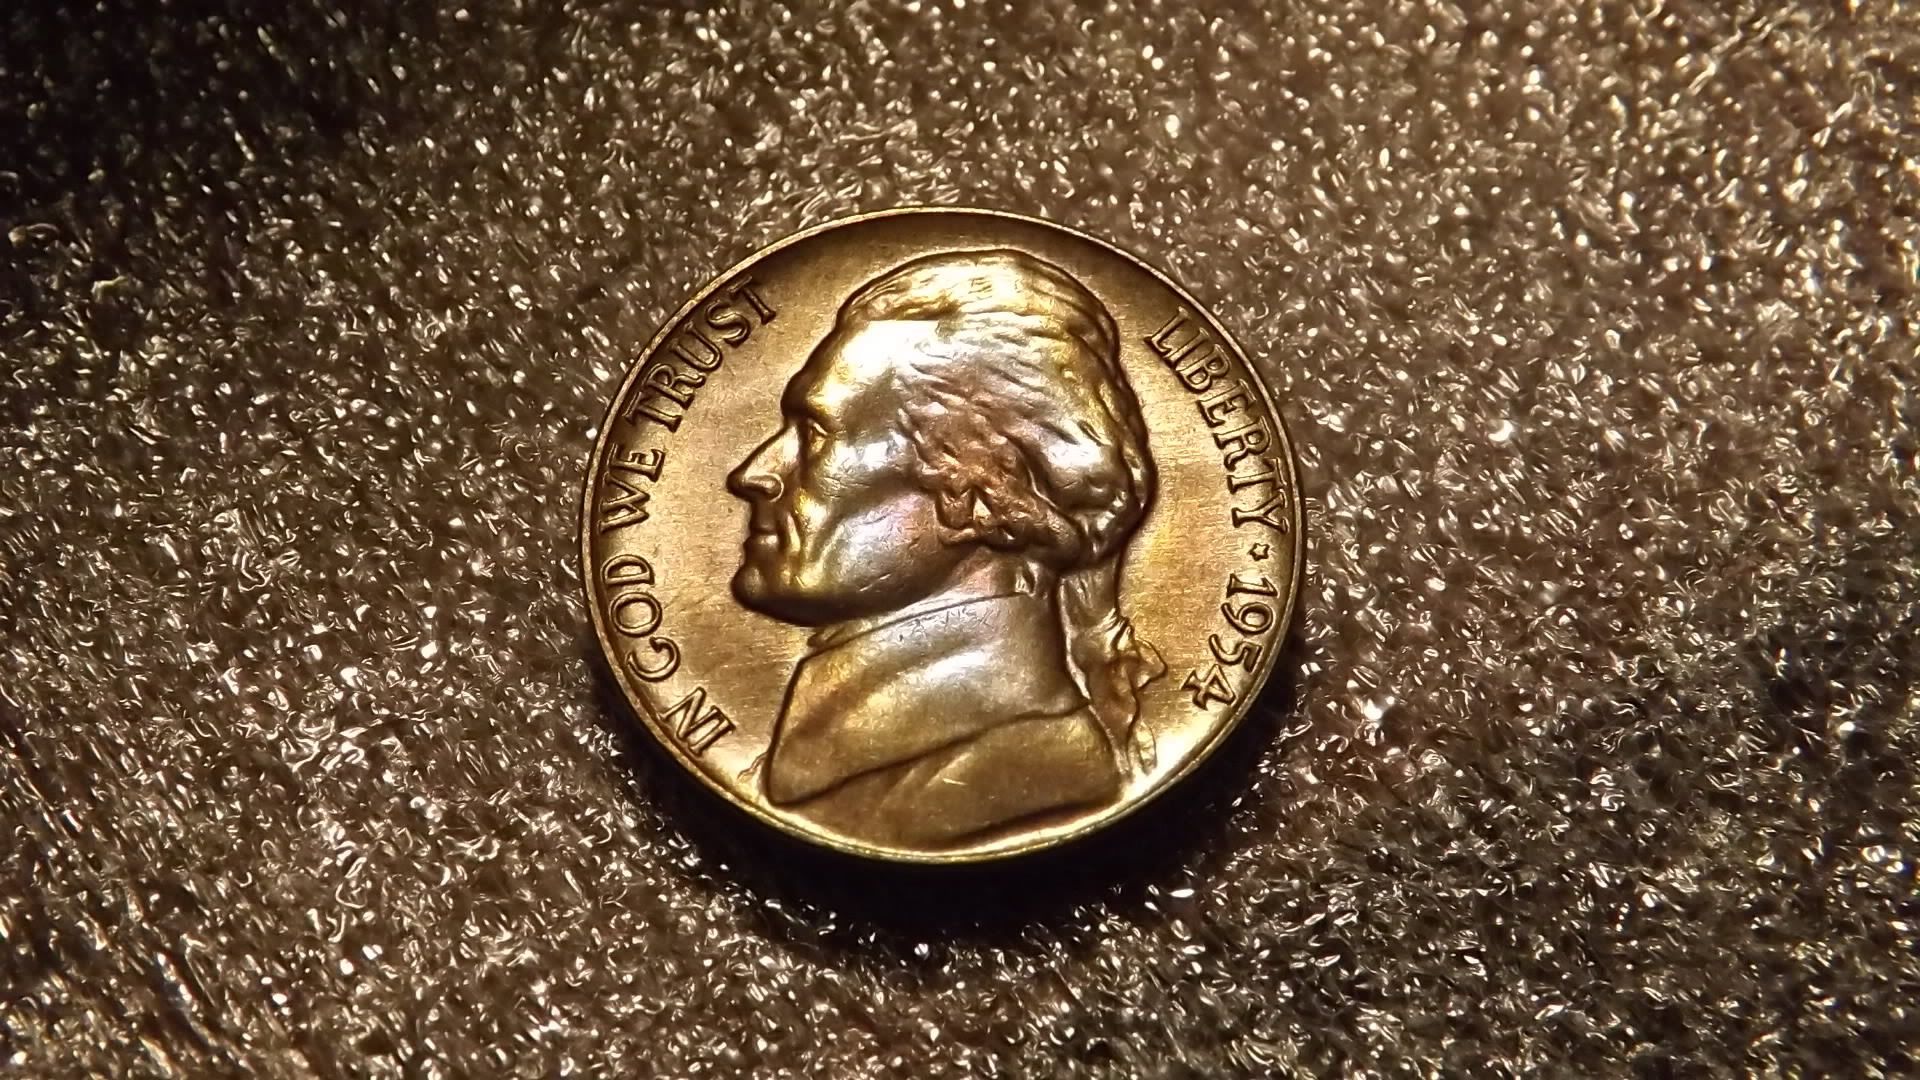
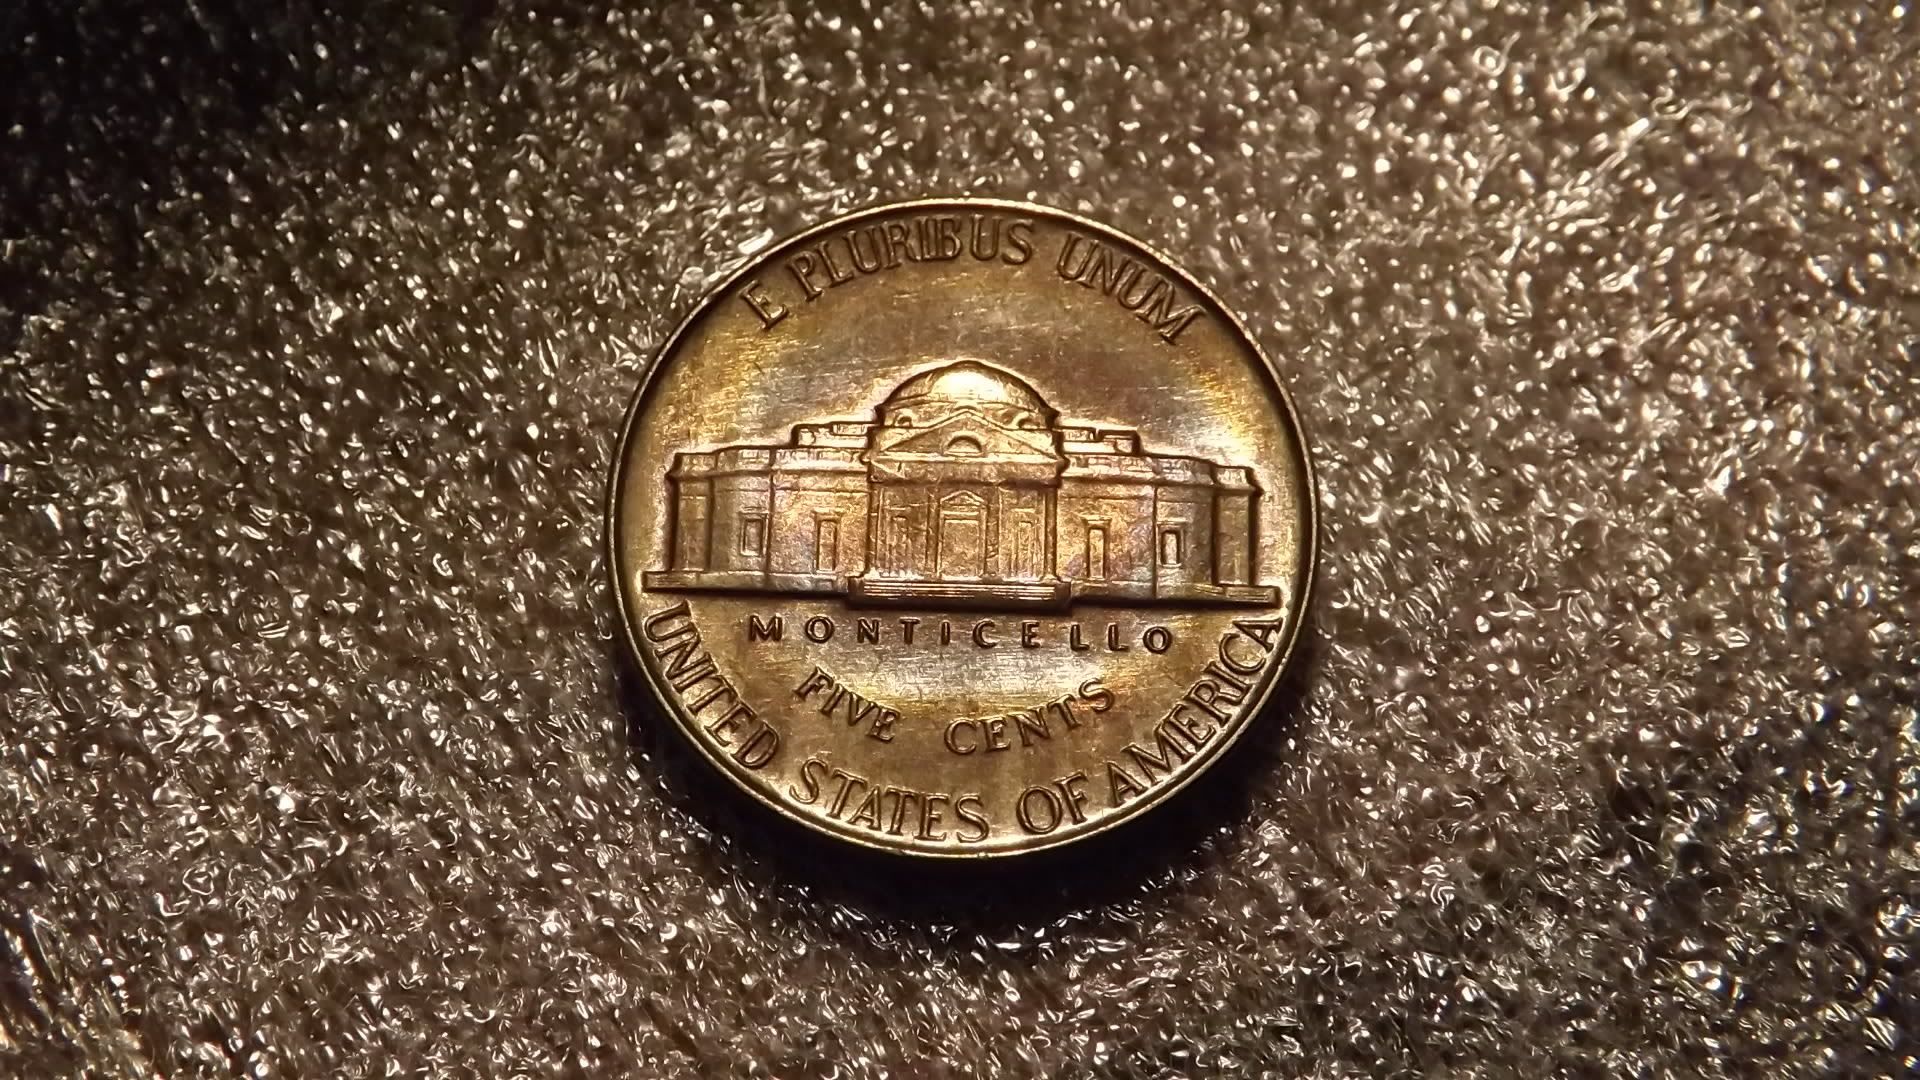
Some Jefferson.
 Type2
Posts: 13,985 ✭✭✭✭✭
Type2
Posts: 13,985 ✭✭✭✭✭
Not much but i like them.
Hoard the keys.
0
Type2
Posts: 13,985 ✭✭✭✭✭
Comments
Sean Reynolds
"Keep in mind that most of what passes as numismatic information is no more than tested opinion at best, and marketing blather at worst. However, I try to choose my words carefully, since I know that you guys are always watching." - Joe O'Connor
7,645 posts, ok it is time for a tutorial in image cropping.
1. open paint
2. if you don't have a multi-screen setup, then shrink the browser so that you can see paint and the browser simultaneously.
3. left click and hold the image you want to "drag and drop" then drag it to paint and let go
4. control+A in paint to select the whole image. now drag that sucker around and move the sides until you get the following!
(#3 can be substituted by saving the image to the desktop or a folder of your choice or you can even right click and "copy image")
(sometimes certain methods won't work depending on the script of the page, but there is ALWAYS a way)
(worst-case scenario, just use "snip" that comes with windows.
this image size in pixels is 655x642. the difference is negligible and can be easily corrected but that is next.
with the win7 paint and maybe older versions you can "resize" images quickly, easily and accurately.
in paint, on the toolbar (should be there) just click resize. then in the little window that pops up, you'll see "percentage" and "pixels" click the dot for pixels and unselect "maintain aspect ratio"
since we want the dimensions to be close to equal, we won't let the computer do the auto maintain aspect ratio. the images are a little too big to put side by side, so lets shrink these suckers.
600x300 or each image 300x300
we may have lost some quality because i just wanted to zip this tutorial out quickly just to show how it is done. if i implemented just a couple different steps, there would be less pixelation. if i had the original unedited images, i could resize with unnoticeable loss of quality all day.
900x450 or each image 450x450
EASY PEASY!!
disclosure (time for this post 3-4 minutes or less)
.
INYNWHWeTrust-TexasNationals,ajaan,blu62vette
coinJP, Outhaul ,illini420,MICHAELDIXON, Fade to Black,epcjimi1,19Lyds,SNMAN,JerseyJoe, bigjpst, DMWJR , lordmarcovan, Weiss,Mfriday4962,UtahCoin,Downtown1974,pitboss,RichieURich,Bullsitter,JDsCoins,toyz4geo,jshaulis, mustanggt, SNMAN, MWallace, ms71, lordmarcovan
<< <i>.
7,645 posts, ok it is time for a tutorial in image cropping.
1. open paint
2. if you don't have a multi-screen setup, then shrink the browser so that you can see paint and the browser simultaneously.
3. left click and hold the image you want to "drag and drop" then drag it to paint and let go
4. control+A in paint to select the whole image. now drag that sucker around and move the sides until you get the following!
(#3 can be substituted by saving the image to the desktop or a folder of your choice or you can even right click and "copy image")
(sometimes certain methods won't work depending on the script of the page, but there is ALWAYS a way)
(worst-case scenario, just use "snip" that comes with windows.
this image size in pixels is 655x642. the difference is negligible and can be easily corrected but that is next.
with the win7 paint and maybe older versions you can "resize" images quickly, easily and accurately.
in paint, on the toolbar (should be there) just click resize. then in the little window that pops up, you'll see "percentage" and "pixels" click the dot for pixels and unselect "maintain aspect ratio"
since we want the dimensions to be close to equal, we won't let the computer do the auto maintain aspect ratio. the images are a little too big to put side by side, so lets shrink these suckers.
600x300 or each image 300x300
we may have lost some quality because i just wanted to zip this tutorial out quickly just to show how it is done. if i implemented just a couple different steps, there would be less pixelation. if i had the original unedited images, i could resize with unnoticeable loss of quality all day.
900x450 or each image 450x450
EASY PEASY!!
disclosure (time for this post 3-4 minutes or less)
. >>
Very cool but sound like alot of work and i do to much of that. I'll make it smaller or crop it just for you next time.
Hoard the keys.
<< <i>.
EASY PEASY!!
disclosure (time for this post 3-4 minutes or less)
. >>
Looks like your using too much lighting to bring out those colors with your FinePix S4200 camera.
The more qualities observed in a coin, the more desirable that coin becomes!
My Jefferson Nickel Collection
"Jesus died for you and for me, Thank you,Jesus"!!!
--- If it should happen I die and leave this world and you want to remember me. Please only remember my opening Sig Line.The more qualities observed in a coin, the more desirable that coin becomes!
My Jefferson Nickel Collection
Steve
Have a Great Day!
Louis
<< <i>Looks like your using too much lighting to bring out those colors with your FinePix S4200 camera. >>
it is from improper lighting and/or improper camera settings. easily fixable from windows photo gallery, maybe even paint. but i use photo gallery which takes a few seconds unless one has their camera settings/lighting set properly.
.
<< <i>
<< <i>Looks like your using too much lighting to bring out those colors with your FinePix S4200 camera. >>
it is from improper lighting and/or improper camera settings. easily fixable from windows photo gallery, maybe even paint. but i use photo gallery which takes a few seconds unless one has their camera settings/lighting set properly.
. >>
I find it interesting that my computer can draw settings from someone else's photos. Here they are, perhaps you could give some insight with them?
F-Stop f/4.5
Exposure time 1/90 sec.
ISO speed 400
Exposure bias 0 step
Focal length 10mm
Max aperture 3.2645364064955475
flash mode no flash, compulsory
Brightness 3.82
Light source unknown
exposure program normal
saturation
Sharpness normal
white balance auto
EXIF 0230
What can you make of all that? I did read these Fujifilm cameras don't do well above ISO 200.......maybe that's the problem
And that they need a lot of light to take decent pics.
The more qualities observed in a coin, the more desirable that coin becomes!
My Jefferson Nickel Collection
i bet it is just the wrong type of bulbs for the camera and/or settings. i recommend 60W Reveal Bulbs. I think those are the ones I read that were recommended from MG's book
if those are being used, then it is for sure 100% improper camera settings and easily fixable
.
Hoard the keys.